Chapter 3 Disassembly and Maintenance
3-7. Adjustments
CL-E700 series 3-62
Adjustment Procedure
Perform the following procedure to eliminate ribbon wrinkles.
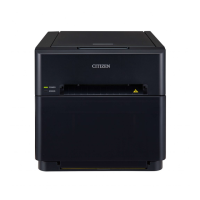
(1) Ribbon wrinkle visual check
Checking the ribbon surface visually is a good way to see whether wrinkles are on the
ribbon or not. You can find wrinkles by the reflected light on the ribbon surface.
Check wrinkles on both the front side (take-up side) and rear side (supply side) to see
where wrinkles are observed.
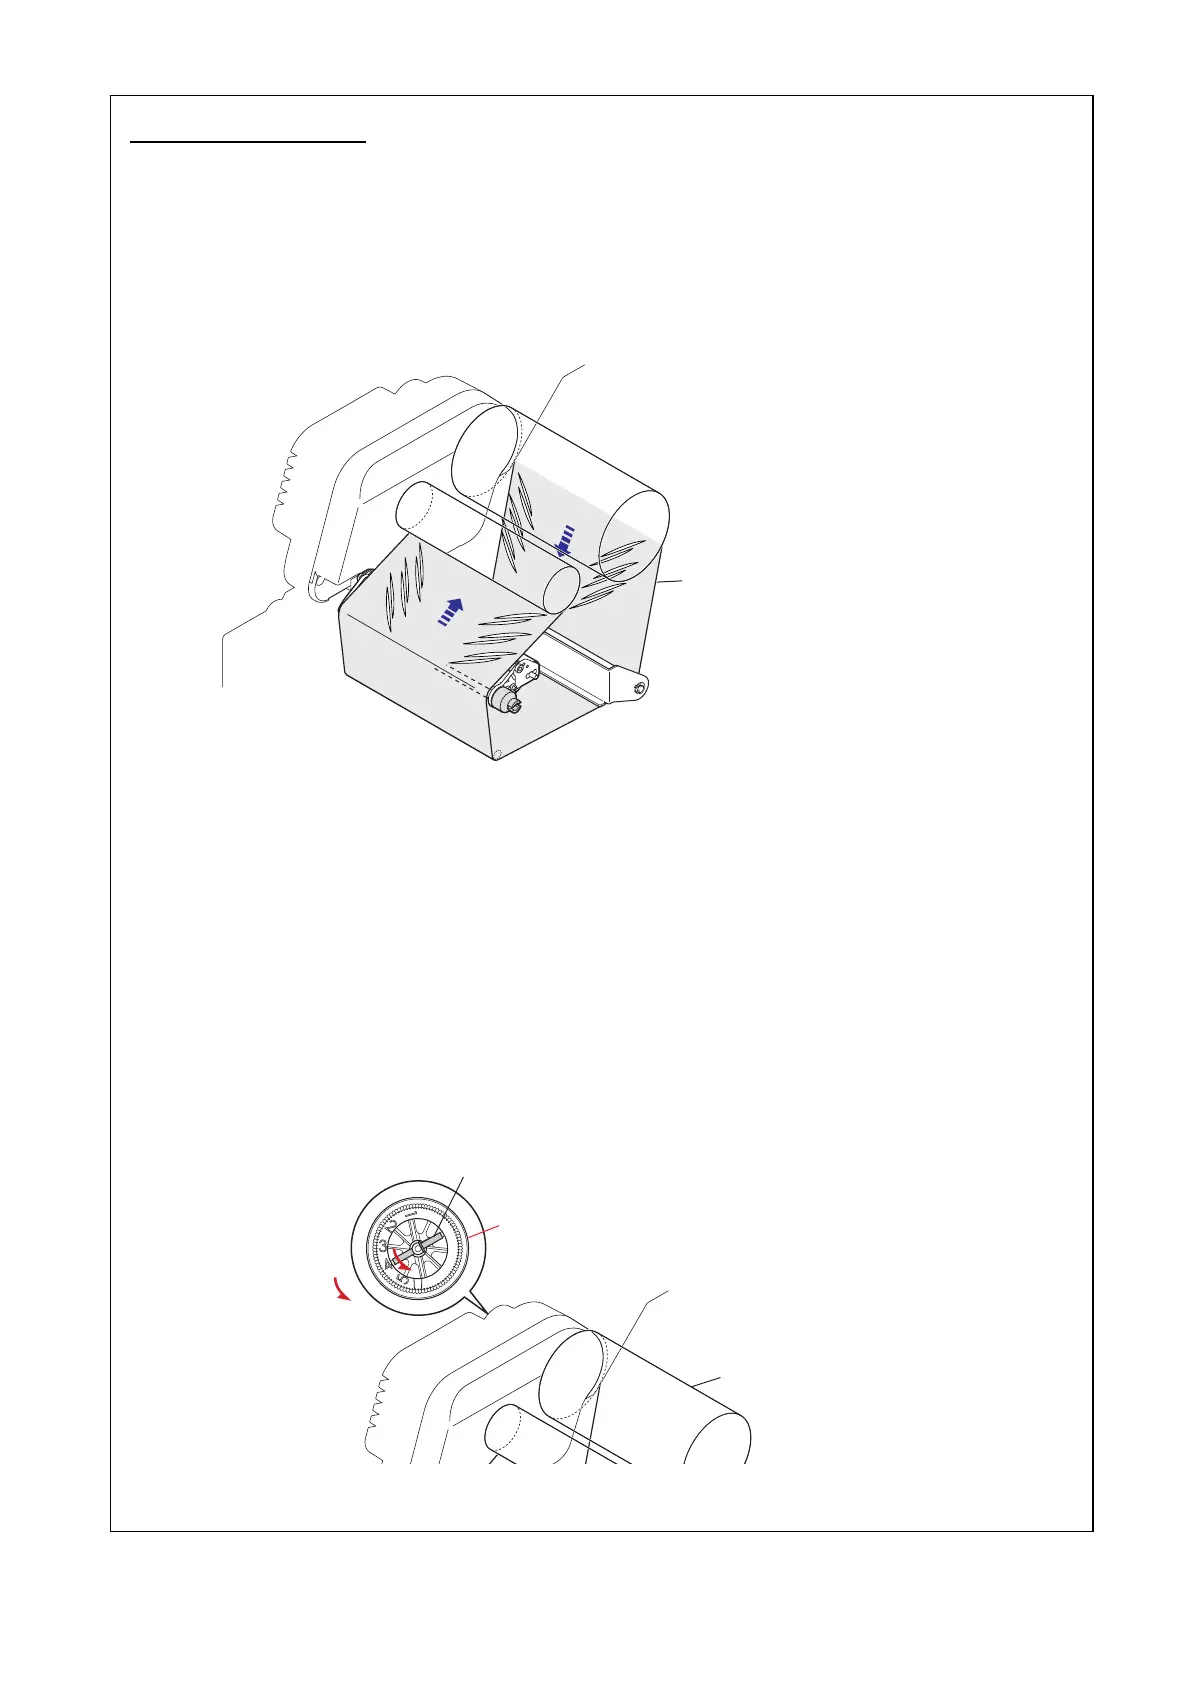
(2) Back tension adjustment (Left/rear side)
Adjust the tension applied to the supply side ribbon by setting the parallel pin (dial) of the
“SA Ribbon Tension Unit R” of the “Unit Ribbon” on the left/rear side.
1. Perform test print in self print mode. (Refer to “2-3-2(1) Self print mode”.)
2. Visually check ribbon wrinkles.
3. Set the tension to reduce wrinkles by turning the parallel pin (dial).
Setting value: 1 to 5 (5: max. tension)
* By setting the number to a larger one i.e., by giving a stronger tension to the ribbon,
wrinkles tend to be reduced.
4. Proceed to the next item.
Ribbon
Ribbon
SA Ribbon Tension Unit R
Parallel Pin (Dial)
Strong
Weak
Tension

 Loading...