Chapter 4 Troubleshooting
4-2. Troubleshooting
4-13 CL-E700 series
[Sensor Adjustment for user (Transparent Sensor/Reflective Sensor)]
The following describes the transparent sensor (SA TRA Sen PCB) and reflective sensor (SA Ref
Sensor PCB) adjustment method for user.
* This method is described in “Sensor Adjustments” in the User’s Manual.
Preparation:
(1) Transparent sensor
1. Peel off labels from the liner.
2. Open the head block and put that liner so that it is located on the platen roller and both
transparent sensor (SA TRA Sen PCB) and reflective sensor (SA Ref Sensor PCB).
NOTE: If the liner has a black mark, keep away the black mark from both sensors.
3. Close the head block.
(2) Reflective sensor
1. Open the head block and put the label media so that it is located on the platen roller
and the reflective sensor (SA Ref Sensor PCB).
• When die cut label media with black marks is used, peel off a label beforehand.
• When butt cut label media with black marks is used, leave the labels as they are.
NOTE: Keep away the black mark from the reflective sensor.
2. Close the head block.
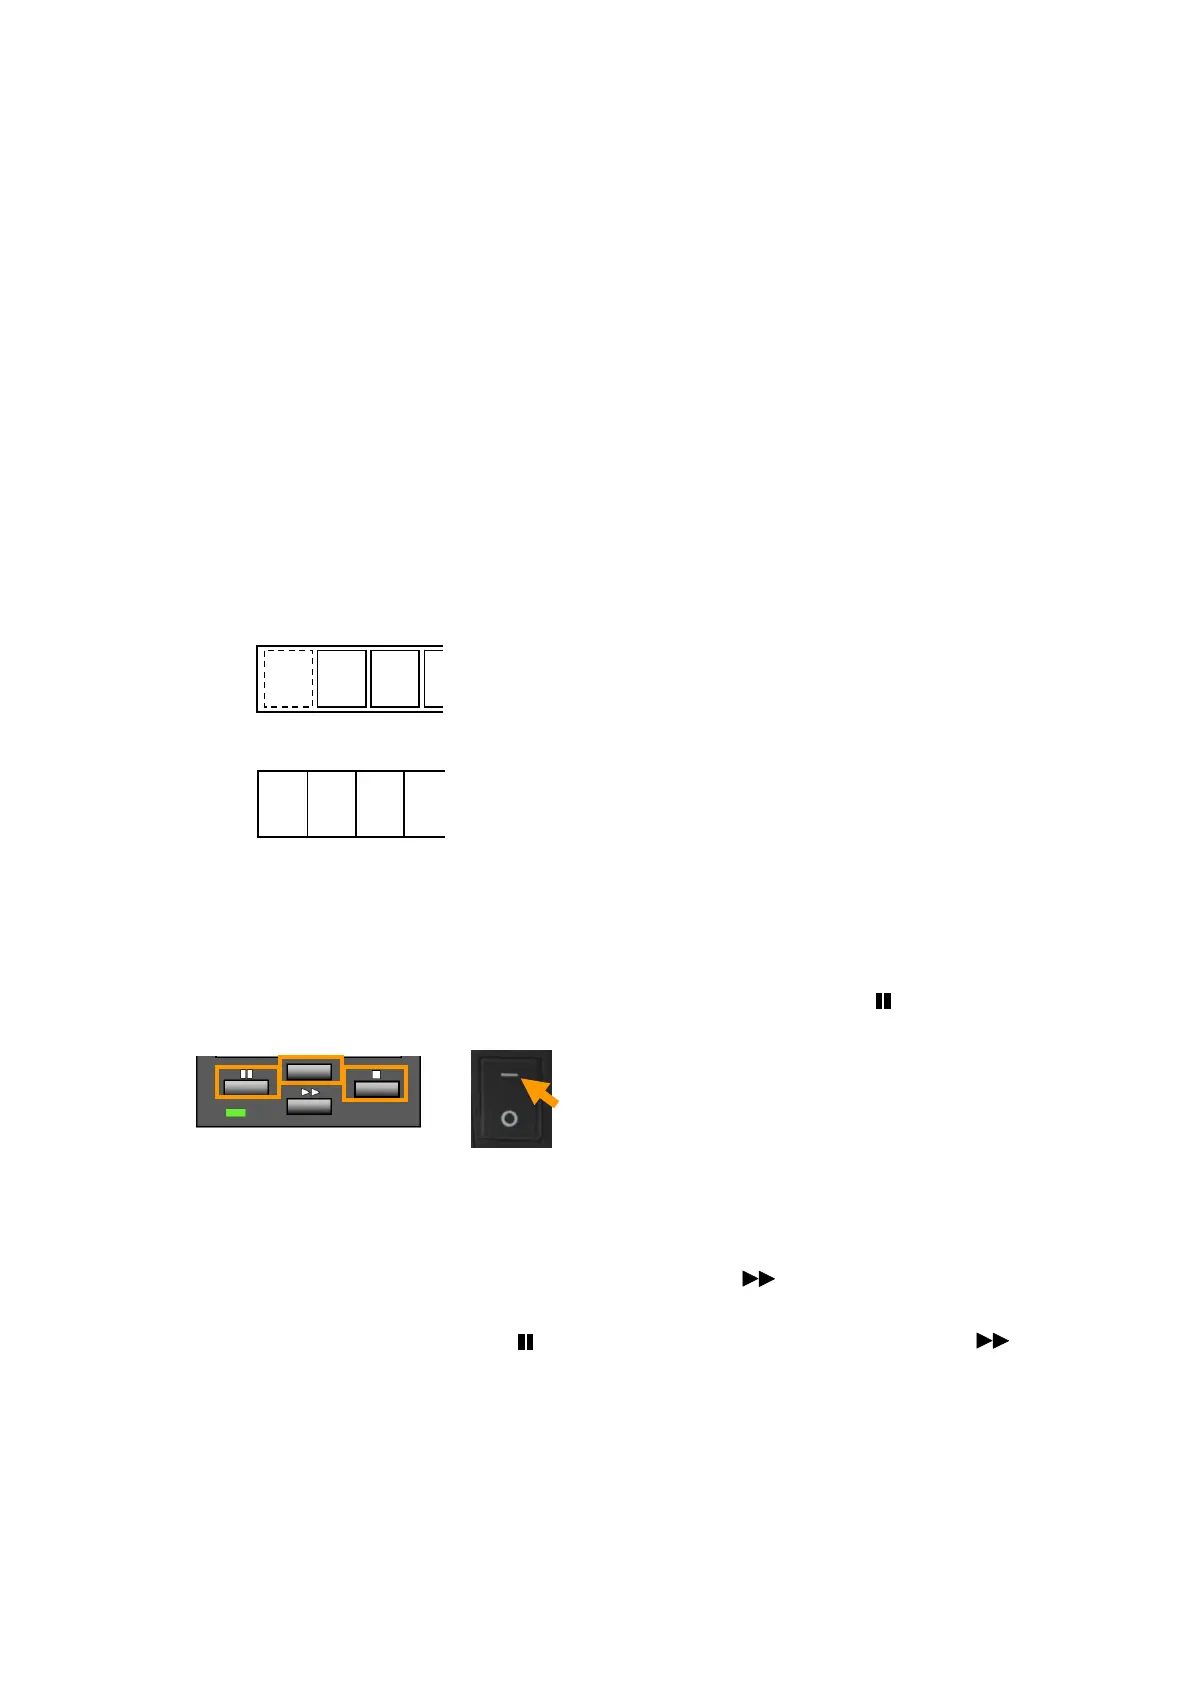
Sensor Adjustment Procedure (common to both sensors):
1. Turn on the power while pressing and holding the [MENU], [PAUSE] ( ), and [STOP] (
■)
keys.
2. Release the keys when the LED lights in green and “Sensor Cal Mode See Through” is
displayed on the LCD.
To switch the LCD display between “See Through” and “Reflect”, press and release the
[STOP] (
■) key while pressing and holding the [FEED] () key.
Choose either one as required.
3. Press and release the [PAUSE] ( ) key while pressing and holding the [FEED] () key.
“Sensor Cal Mode Executing” and then “Sensor Cal Mode Succeeded” will be displayed on
the LCD.
* If the adjustment ends abnormally (adjustment impossible), the LED flashes in red and
“Failed” is displayed on the LCD.
4. Press the [STOP] (
■) key.
Then the printer internally restarts, and then enters the normal operation.
(Die cut label media: Gap between labels exists.)
(But cut label media: No gap between labels exists.)

 Loading...