xStack® DGS-3120 Series Layer 3 Managed Gigabit Ethernet Switch Web UI Reference Guide
240
State
Use the drop-down menu to enable or disable the input interface as a Candidate
Enter the Candidate BSR priority value.
Hash Mask Len (0-128)
Enter the length (in bits) of the mask. It makes use of a hash function for the case
where a group range has multiple RPs with the same priority.
Click the Apply button to accept the changes made.
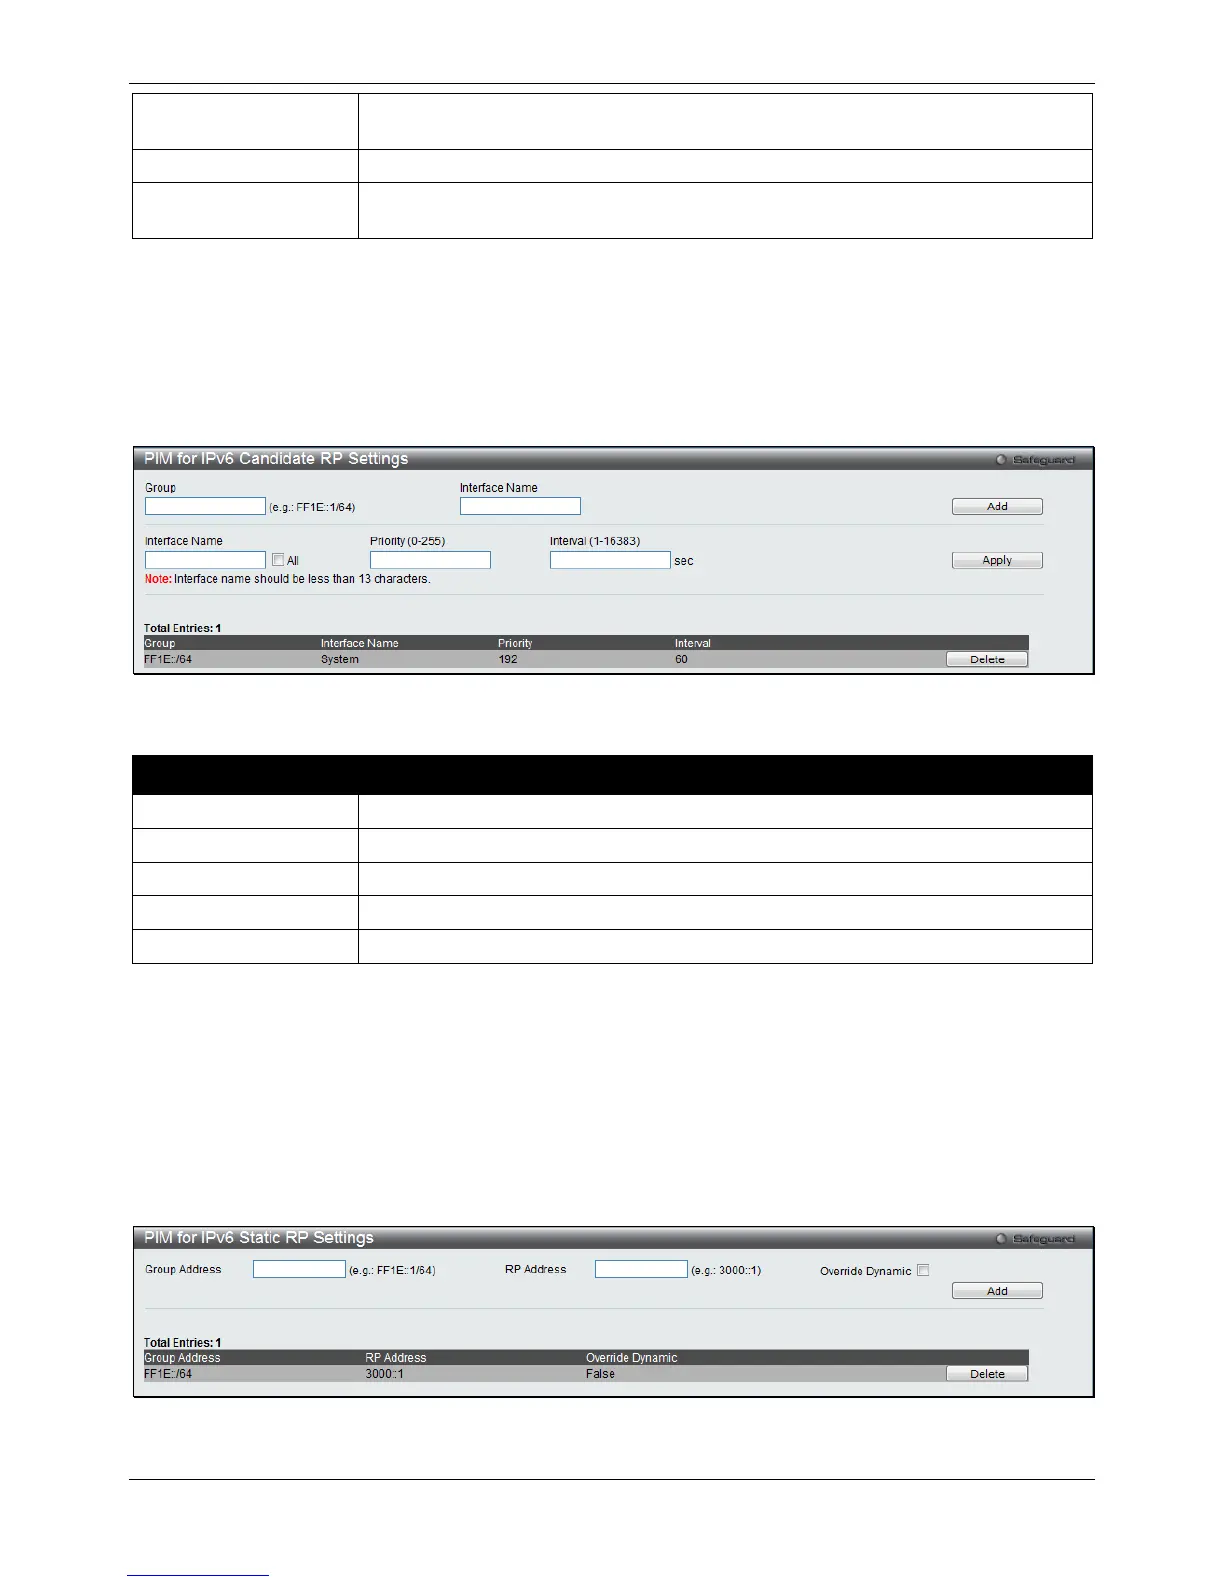
PIM for IPv6 Candidate RP Settings
This window is used to set the candidate rendezvous point (RP) related parameters.
To view the following window, click L3 Features > IP Multicast Routing Protocol > PIM > PIM for IPv6 > PIM for
IPv6 Candidate RP Settings, as shown below:
Figure 5-122 PIM for IPv6 Candidate RP Settings window
The fields that can be configured are described below:
Parameter Description
Enter the IPv6 group address range served by the RP.
Enter the interface that will act as the Candidate RP.
Enter the RP IP interface used. Tick the All check box to select all RP IP interface.
Enter the RP priority value that will be used in the election process.
Enter the Candidate RP advertisement interval in seconds.
Click the Add button to add a new entry based on the information entered.
Click the Apply button to accept the changes made.
Click the Delete button to remove the specific entry.
PIM for IPv6 Static RP Settings
This window is used to create a static RP.
To view the following window, click L3 Features > IP Multicast Routing Protocol > PIM > PIM for IPv6 > PIM for
IPv6 Static RP Settings, as shown below:
Figure 5-123 PIM for IPv6 Static RP Settings window

 Loading...