xStack® DGS-3120 Series Layer 3 Managed Gigabit Ethernet Switch Web UI Reference Guide
296
packet content mask. This will change the menu according to the requirements for
the type of profile.
Select Ethernet to instruct the Switch to examine the layer 2 part of each packet
header.
Select IPv4 to instruct the Switch to examine the IP address in each frame's
header.
Select IPv6 to instruct the Switch to examine the IP address in each frame's
header.
Select Packet Content Mask to specify a mask to hide the content of the packet
IPv6 Class Checking this field will instruct the Switch to examine the class field of the IPv6
header. This class field is a part of the packet header that is similar to the Type of
Service (ToS) or Precedence bits field in IPv4.
IPv6 Flow Label Checking this field will instruct the Switch to examine the flow label field of the
IPv6 header. This flow label field is used by a source to label sequences of
packets such as non-default quality of service or real time service packets.
IPv6 Source Mask
The user may specify an IP address mask for the source IPv6 address by
checking the corresponding box and entering the IP address mask.
IPv6 Destination Mask
The user may specify an IP address mask for the destination IPv6 address by
checking the corresponding box and entering the IP address mask.
Click the Select button to select a CPU ACL type.
Click the Create button to create a profile.
Click the <<Back button to discard the changes made and return to the previous page.
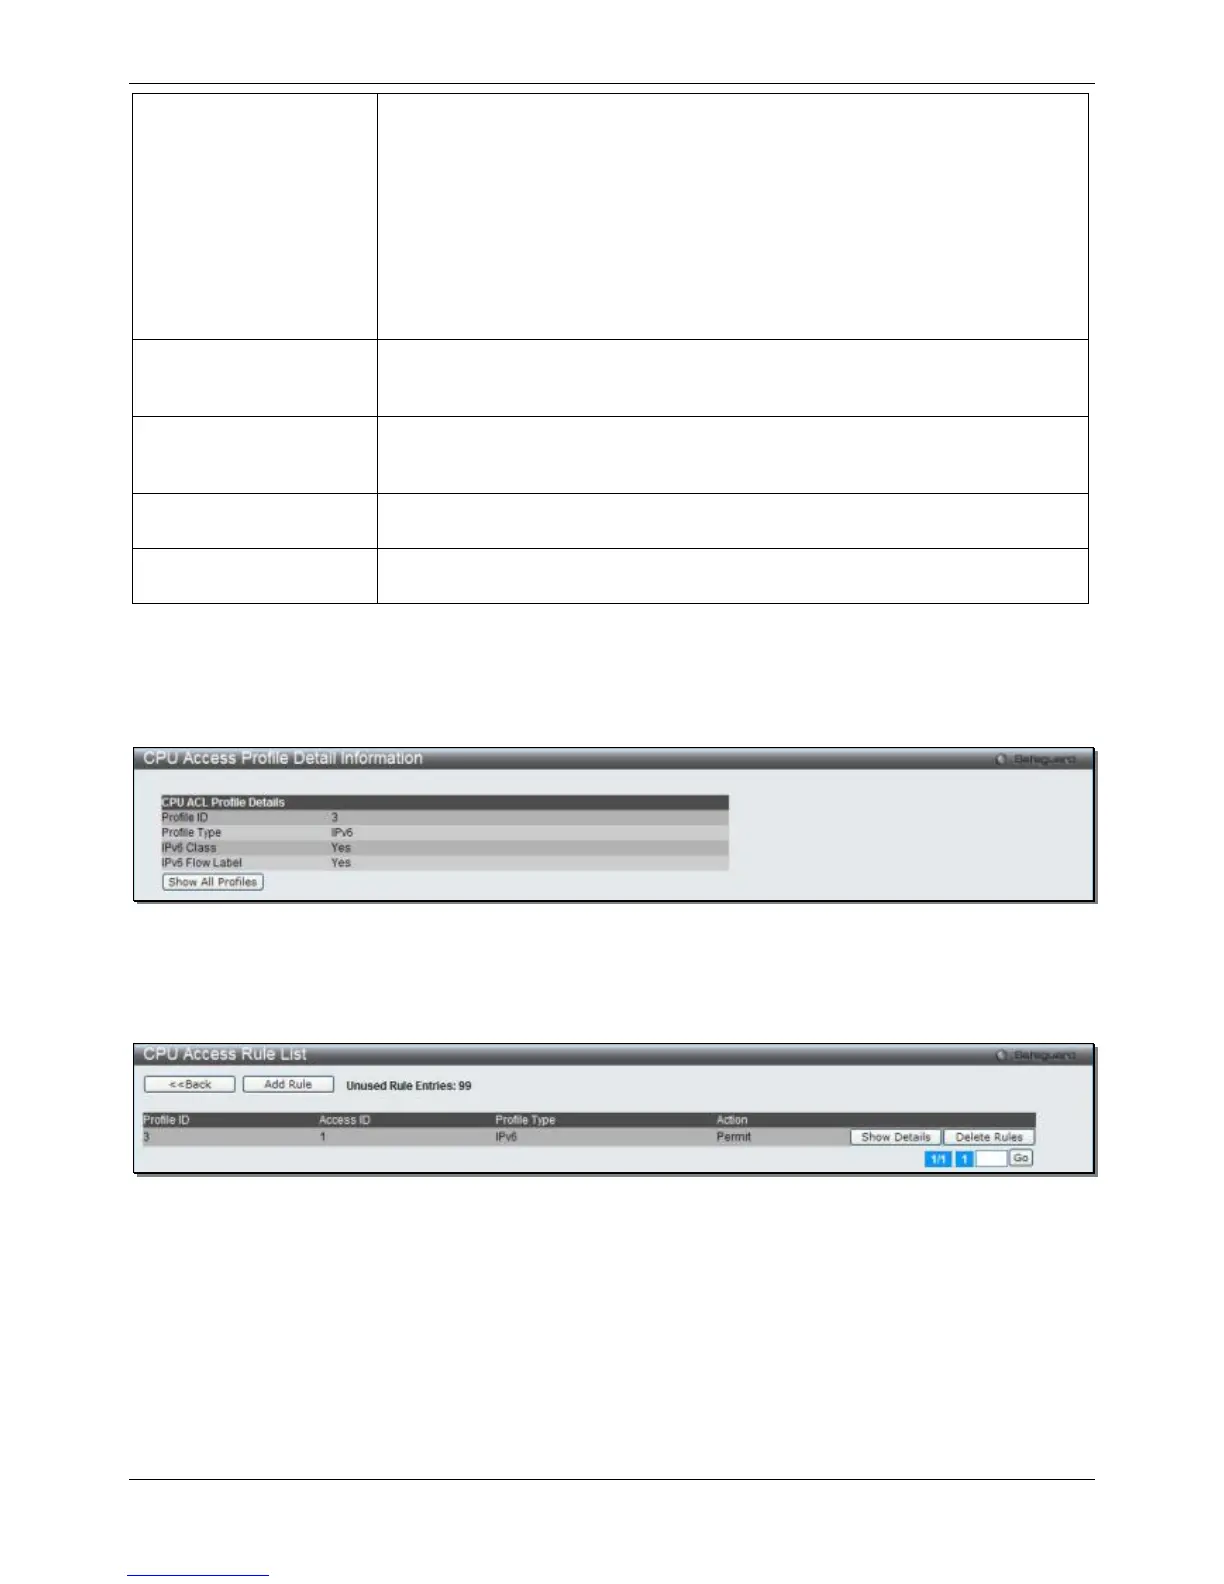
After clicking the Show Details button, the following window will appear:
Figure 7-35 CPU Access Profile Detail Information (IPv6 ACL)
Click the Show All Profiles button to navigate back to the CPU ACL Profile List Page.
After clicking the Add/View Rules button, the following window will appear:
Figure 7-36 CPU Access Rule List (IPv6 ACL)
Click the Add Rule button to create a new CPU ACL rule in this profile.
Click the <<Back button to return to the previous page.
Click the Show Details button to view more information about the specific rule created.
Click the Delete Rules button to remove the specific entry.
Enter a page number and click the Go button to navigate to a specific page when multiple pages exist.
After clicking the Add Rule button, the following window will appear:

 Loading...