Epson Artisan 810/835/837/710/725/730/Epson Stylus Photo PX810FW/TX810FW/PX820FWD/TX820FWD/PX830FWD/PX710W/TX710W/PX720WD/TX720WD/PX730WD/TX730WD
Revision G
Artisan 837/730/PX830FWD/PX730WD/TX730WD
Disassembly/assembly 301
Confidential
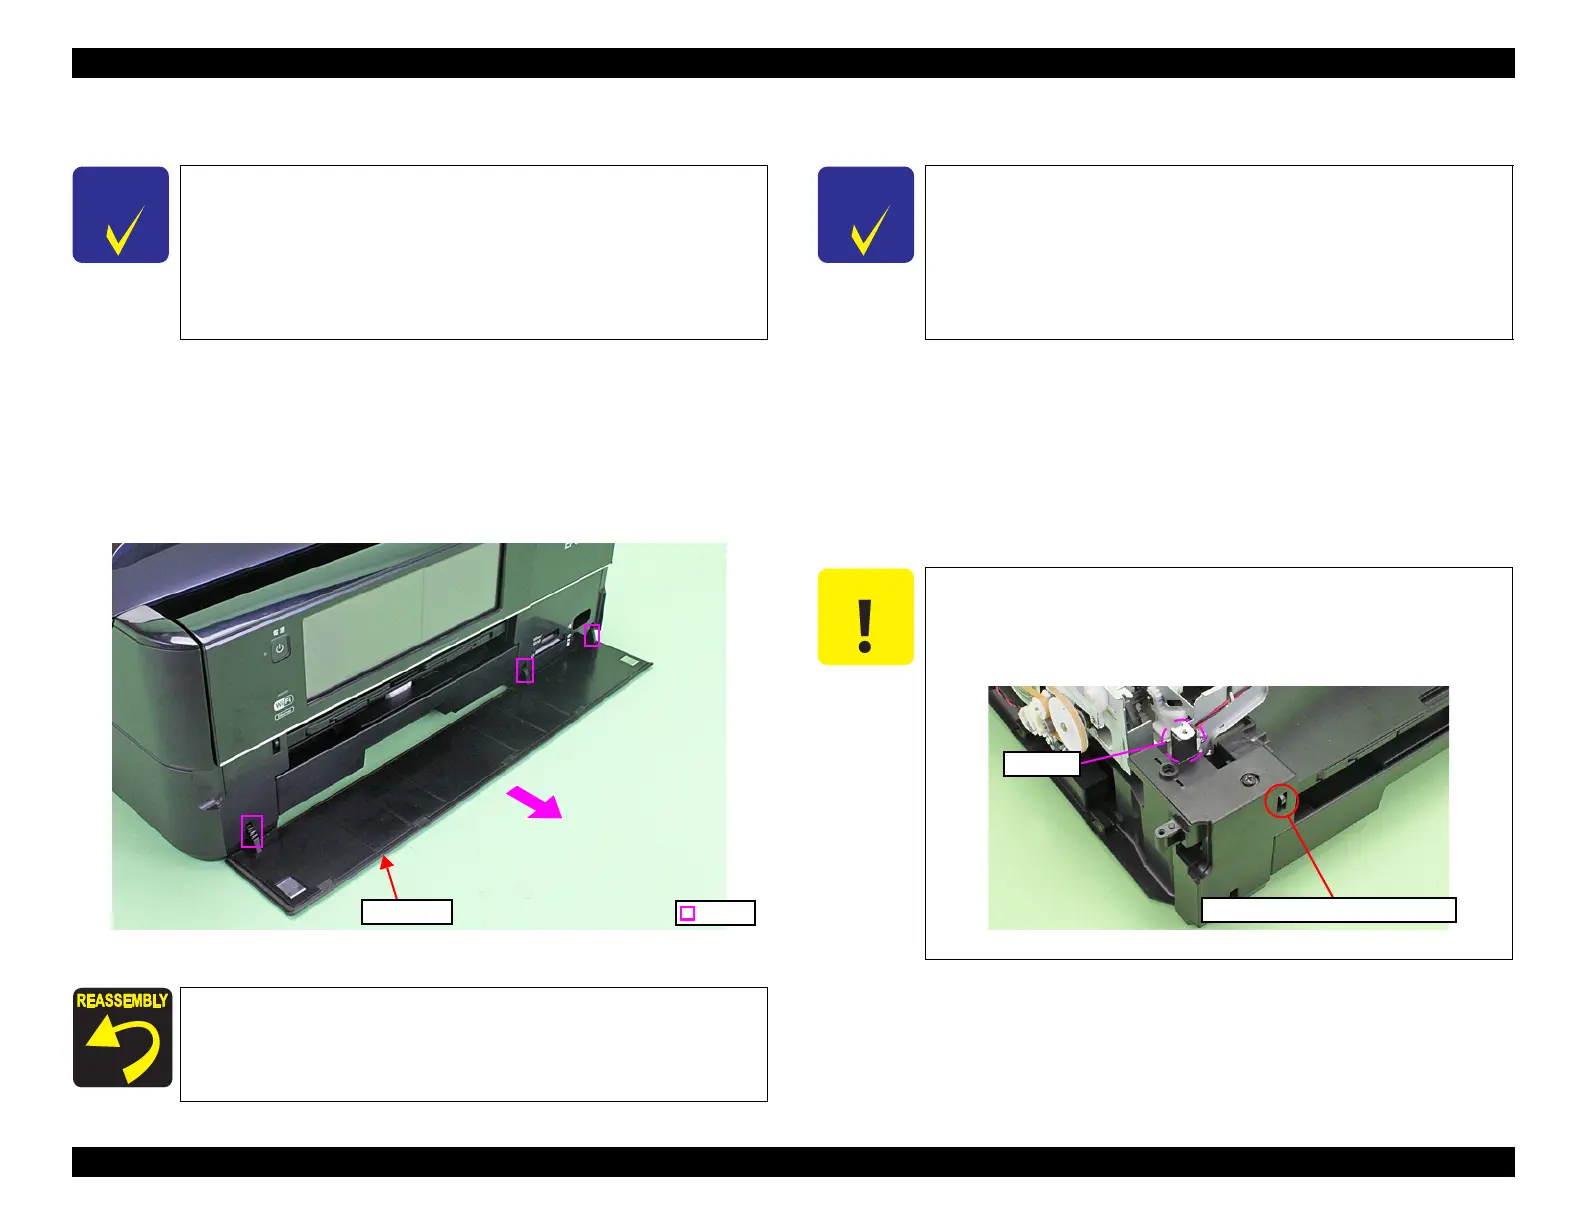
9.4.2.8 Front Cover
Parts/Components need to be removed in advance:
None
Removal procedure
1. Pull the Front Cover in the direction of the arrow, and remove the Front
Cover.
Figure 9-22. Removing the Front Cover
9.4.2.9 Housing Front Left
Parts/Components need to be removed in advance:
ADF Unit (Artisan 837/PX830FWD only)/Scanner Unit/Decoration Plate Left
Upper Sub/Paper Guide Top Assy/Upper Housing/Rear Left Housing/Left
Housing/Front Cover
Removal procedure
1. Remove the screw (x1) that secures the Housing Front Left. (See Fig. 9-24.)
This section describes the disassembly/reassembly procedures of the
Front Cover for Artisan 837/730/PX830FWD/PX730WD/
TX730WD.
The procedures are described using Artisan 837/PX830FWD in this
section. Artisan 730/PX730WD/TX730WD can be disassembled/
reassembled in the same procedures, though the shape of some parts
are different.
Attach the Front Cover by inserting the hooks (x3) into the holes for
them on the printer. After attaching it, confirm the cover is secured
with the hooks (x3) and smoothly moves open and closed by opening
and shutting it.
This section describes the disassembly/reassembly procedures of the
Housing Front Left for Artisan 837/730/PX830FWD/PX730WD/
TX730WD.
The procedures are described using Artisan 837/PX830FWD in this
section. Artisan 730/PX730WD/TX730WD can be disassembled/
reassembled in the same procedures, though the shape of some parts
are different.
When removing the Housing Front Left, be careful not to
damage the lever of the Electromagnetic Plunger.
Make sure not to damage the section A of the Housing Front
Left with the Frame.
Figure 9-23. Lever of the Electromagnetic Plunger
Lever of Electromagnetic Plunger
Section A

 Loading...


