Epson Artisan 810/835/837/710/725/730/Epson Stylus Photo PX810FW/TX810FW/PX820FWD/TX820FWD/PX830FWD/PX710W/TX710W/PX720WD/TX720WD/PX730WD/TX730WD
Revision G
ADJUSTMENT Adjustment Using Adjustment Program 224
Confidential
5.2.10 Banding Reduction System (BRS) Adjustment /
Paper Feed Amount Profile (PFP) Correction
Overview
This section explains how to carry out BRS/PFP adjustments.
Tools and paper required to perform the adjustment
Specified Scanner to perform the adjustment
The scanners that can be used for scanning the pattern in BRS/PFP adjustment is shown
in
Table 5-6
. When starting up the adjustment program, select the scanner to use.
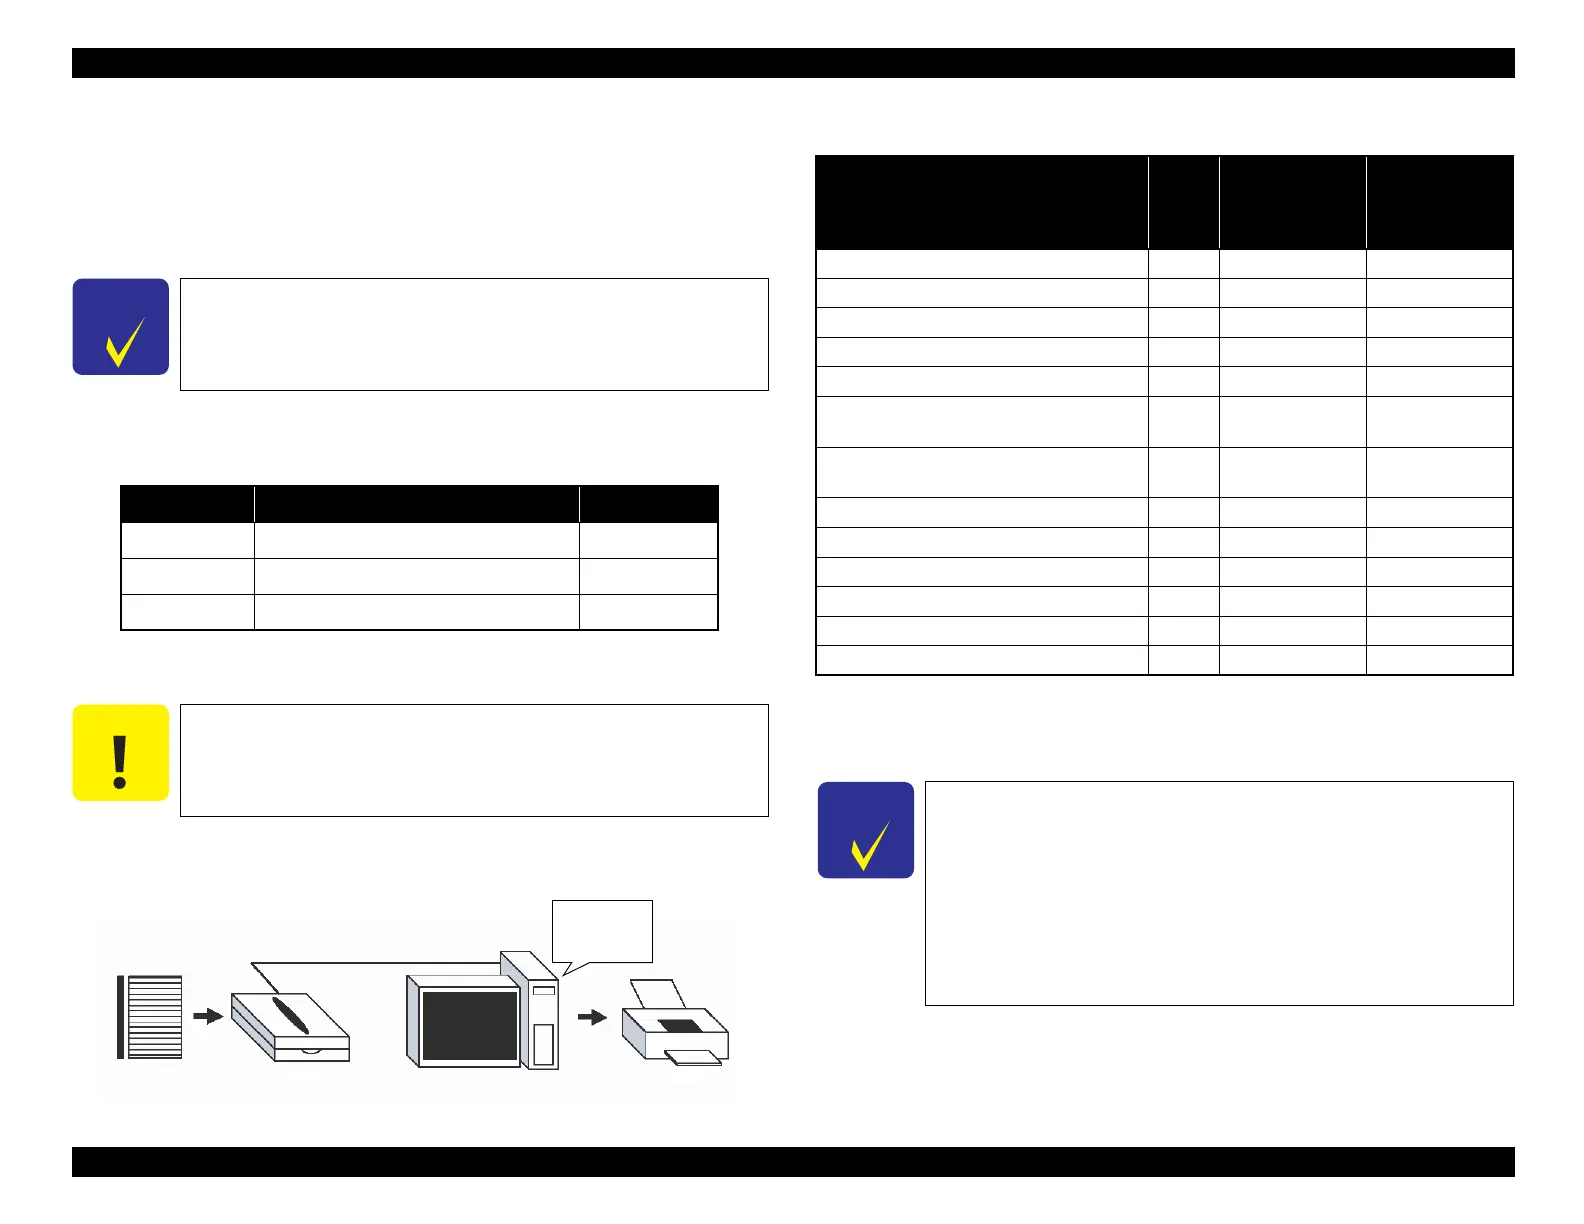
Figure 5-23. System Configuration
Note *1 : Use the internal scanner.
*2 : Two PFP Base scales are required for PFP adjustment. They should be set on the
origin side and also on right side of the PFP Adjustment Pattern. (See Figure. 5-27.)
To calculate the correction value by scanning the printed pattern
for BRS/PFP adjustment, be sure to prepare a specified scanner
beforehand. Before scanning, confirm that the document table is
free from any dirt or stain.
Table 5-5. Tools and Paper for BRS/PFP Adjustment
Tools/Paper Product Code
Common PFP Base scale 1453980
BRS Matte Paper-Heavyweight (A4) ---
PFP Premium Glossy Photo Paper (4 x 6) ---
Install the driver of the scanner to the PC in advance.
As the profile required for the adjustment is not prepared for
scanners other than the ones specified below, BRS/PFP
Adjustment can not be carried out by the other scanners.
Calculate
correction
value
Test Pattern Scanner PC Printer
Table 5-6. Specified Scanner for BRS/PFP Adjustment
Model Name
Sensor
type
Artisan 810/710/
PX810FW/
TX810FW/
PX710W/TX710W
Artisan 835/725/
PX820FWD/
TX820FWD/
PX720WD/
TX720WD
Epson Perfection 4990 Photo CCD
O O
Epson Perfection V700/V750 Photo CCD
O O
Epson Stylus Photo RX560/RX580/RX590
*1
CIS
O O
Epson Stylus Photo RX585/RX595/RX610
*1
CIS
O O
Epson Stylus Photo RX680/RX685/RX690
*1
CIS
O O
Epson Artisan 800/Epson Stylus Photo
PX800FW/TX800FW
*1
CIS
O
O
Epson Artisan 700/Epson Stylus Photo
PX700W/TX700W
*1
CIS
O
O
Epson Stylus Photo PX650/TX650/TX659
*1*2
CIS
O O
Artisan 810/PX810FW/TX810FW
*1*2
CIS
O O
Artisan 710/PX710W/TX710W
*1*2
CIS
O O
Epson Stylus Photo PX660
*1*2
CIS ---
O
Artisan 835/PX820FWD/TX820FWD
*1*2
CIS ---
O
Artisan 725/PX720WD/TX720WD
*1*2
CIS ---
O
Depending on the sensor type of the scanner to use for the
adjustment, drying time required after the BRS adjustment pattern
has been printed differs. For PFP adjustment pattern/PFP check
pattern, drying time is not required.
For “CCD” sensor:
Printed pattern can be scanned straight away. (Drying time of
about 2 minutes is recommended.)
For “CIS” sensor:
Printed pattern needs to be dried more than 5 minutes.

 Loading...


