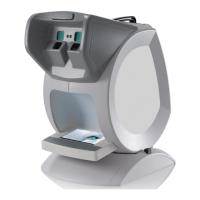
On the tracer (if the connection to the tracer is activated)
There are 3 ways to call a traced job on a tracer and to carry out a job
&
:
1. Calling up the current job:
> Press to display the shape being processed on the tracer.
2. Job called saved on the tracer:
Press for a few seconds to open the numeric keypad.
> You can then call up a shape via the ID
&
allocated to it.
3. Calling a shape by barcode:
> Scan the barcodes using the barcode reader (optional).
A warning message is displayed.
• Press to replace the job displayed by the job called.
• Press to cancel: the job is not sent to the tracer-centerer-blocker.
The shape appears in the centering screen.
2. CENTERING A SINGLE VISION LENS
Prerequisite: before carrying out lens centering, a shape must be displayed on the centering screen.
If necessary, we recommend that you first:
• Modifying or retouching the traced shape (F p.72)
• Preparing the drilling points to be created (option) (F p.82)
• Place the stickers recommended by the manufacturer on hydrophobic lenses (F p.62)
Concerning the use of the stickers, be careful to change the centering tube with a larger diameter one
to optimise the effectiveness of the sticker.
This section describes the procedures for centering a single vision lens:
For centering using three focimeter dots
Prerequisite: the lens must be marked using a lensmeter.
The three focimeter dots must be:
• Lined up
• At the same distance from the central dot
• 0.5 to 1.5 mm in diameter
• In the color white
At the time of the release of the lens on the centering tube, be sure to align the three focimeter dots
with the notches designed for this purpose in order not to alter the marking.