2. CONFIGURING A DRILLING POINT
This section describes the procedures for the creation and positioning of a drilling point:
• Creating a drilling point (F p.85)
• Delete one drilling point (F p.86)
• Dimensioning a drilling point (F p.86)
• Adjusting the position of a drilling point (F p.87)
The positions of the various drilling points must be set before the centering of the lens.
Both lenses are set simultaneously.
a. Creating a drilling point
Press to create a new drilling point.
Select the type of drilling (drill-hole, slot or notch).
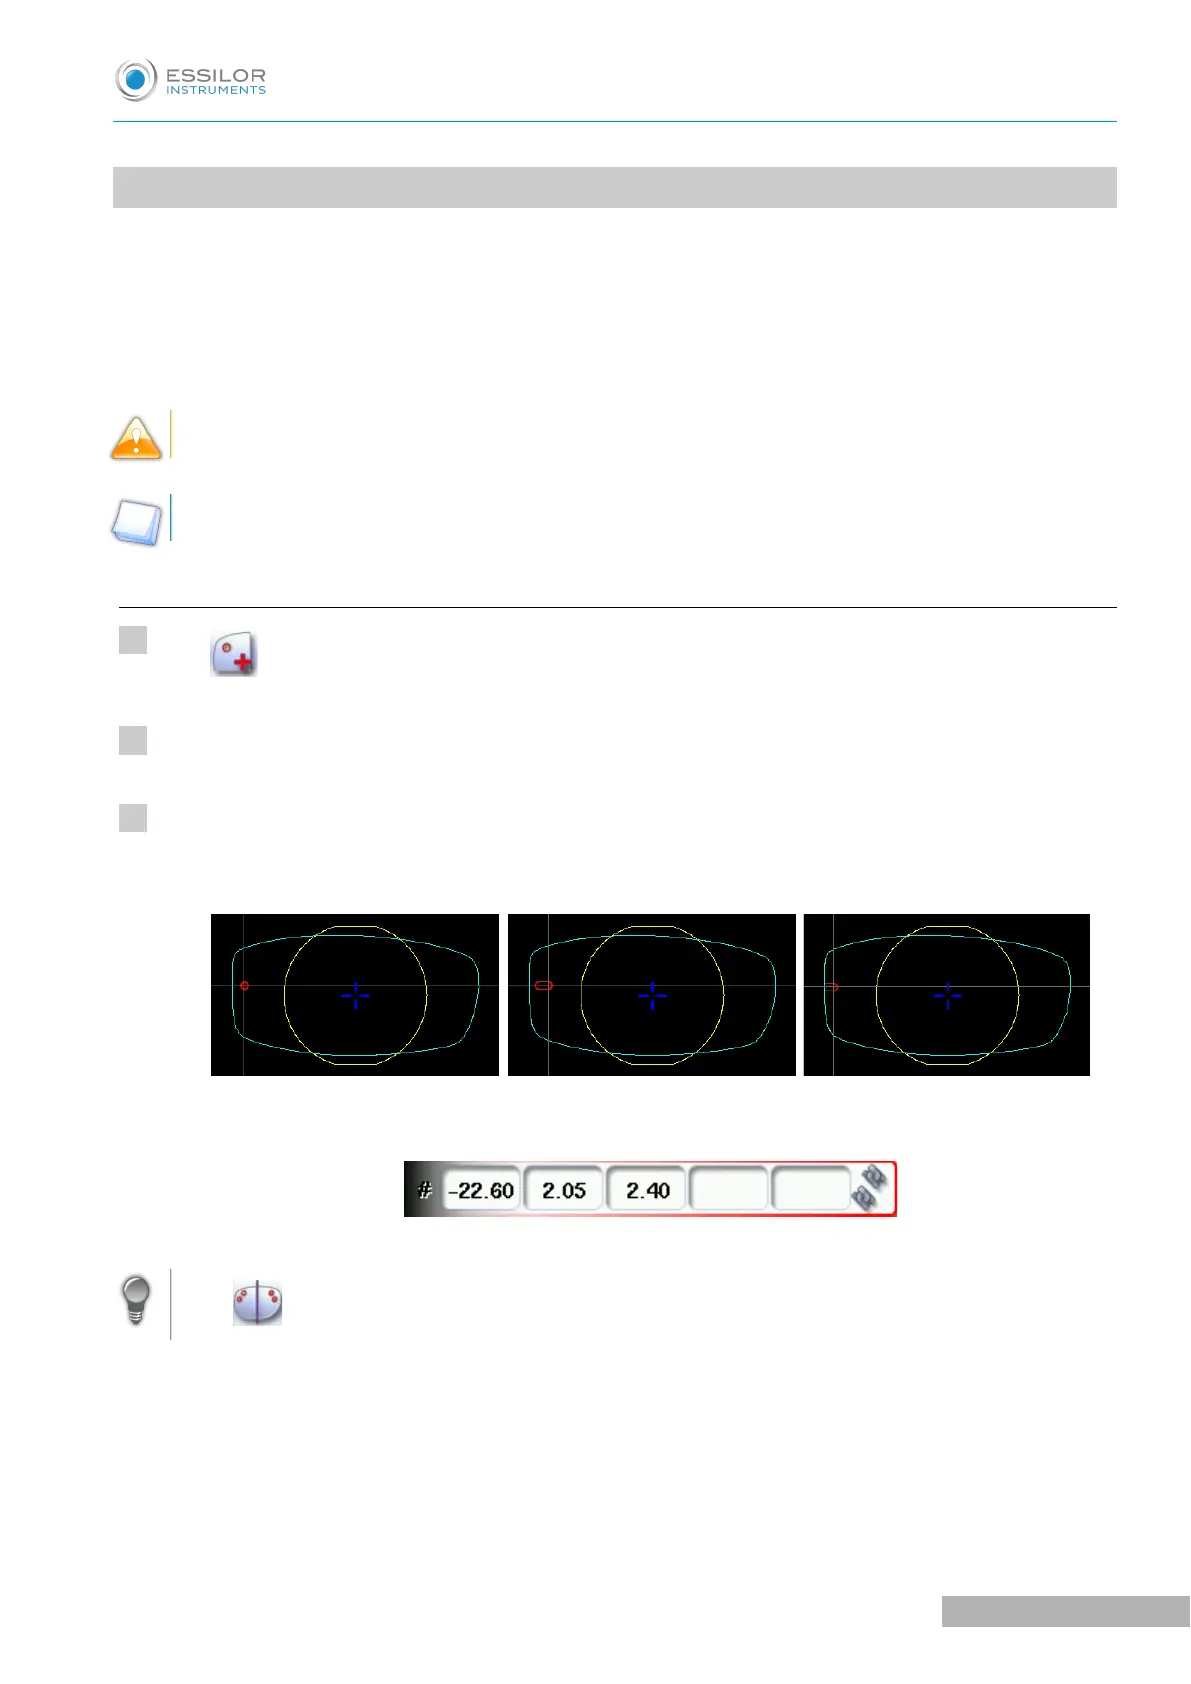
Press on the shape at the spot where you want to position the drilling point.
The drilling point created is displayed in red in the shape:
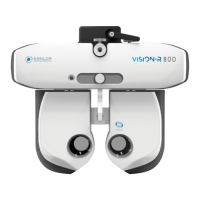
The drilling coordinates are displayed on the right of the work screen;
Press to copy the drilling points from the nasal area to the temporal area and vice-versa.
On the tracer-centerer-blocker, you can configure up to 6 drilling points per side (nasal and temporal) of a
shape.