FT-111, User Manual Rev. 2.0.0, June 2022 Page 80 of 137
11.3 INSTALLATION OF SD CARD
Some features of the FT-111 need to be inserted into the SD card located close to the USB connector on the
main board which is named as SD2. Some options might be activated by SD pack which should be supplied
from Flintec. Up to 16 GB standard SD cards can be used for data logging and backup & restore the setup.
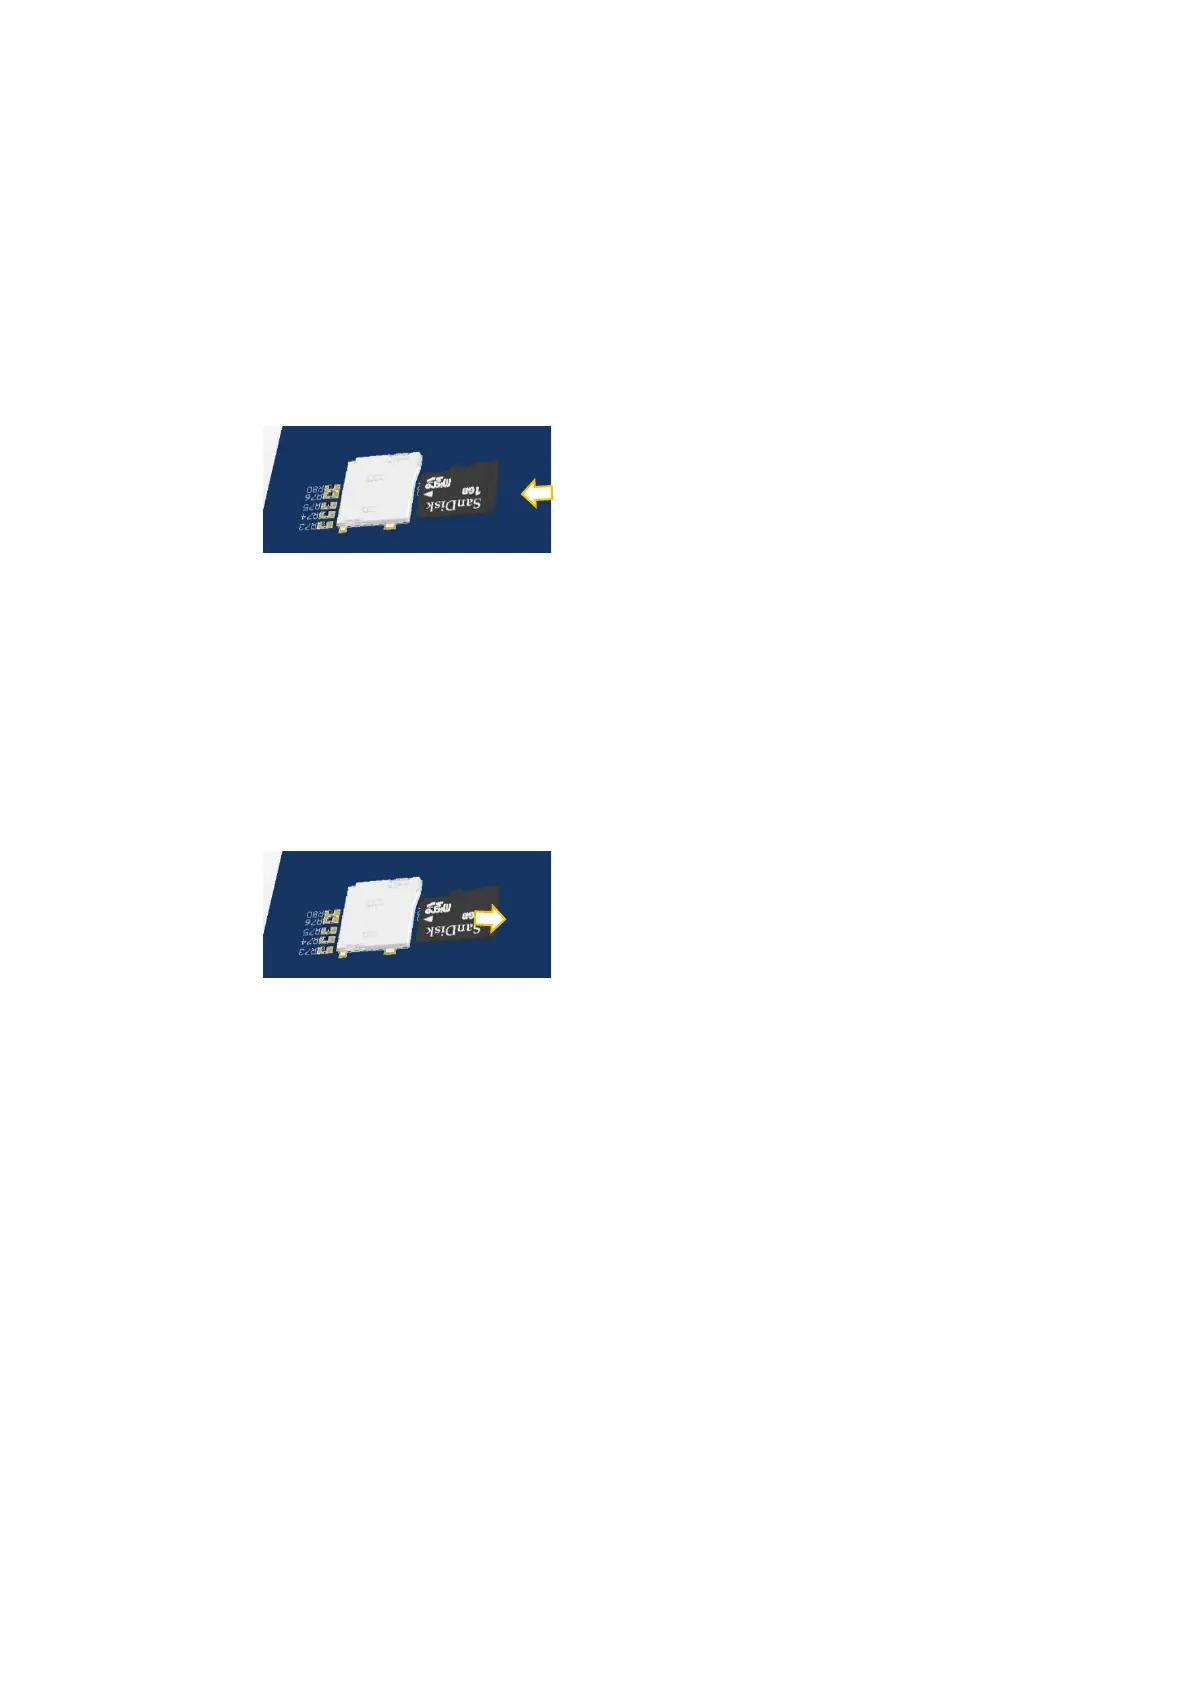
Inserting the SD card
1. De-energize the instrument and wait 30 seconds before interfering with the instrument in safe area.
2. Remove screws of the backplane.
3. Insert the SD card into the slot until it locks into place. Do not use screwdriver to install SD card.
4. Mount the backplane to the body.
5. Energize the instrument. FT-111 read the SD card at power on to initiate its function.
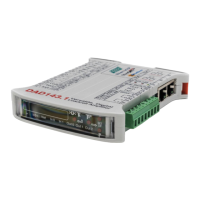
Removing the SD card
1. De-energize the instrument and wait 30 seconds before interfering the instrument in safe area.
2. Remove screws of the backplane.
3. Remove the SD card by pressing it gently as shown in the pictures below. Do not use screwdriver to
remove SD card.
4. Insert the new SD card as described above, if need be.
5. Mount the backplane to the body.
6. Energize the instrument.