Copyright © 2016 Frontier Communications. All Rights Reserved.
not require a wrench.
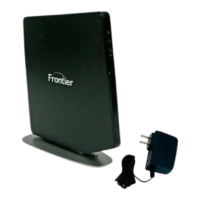
4. Plug the power cord into the power port on the back of your Gateway
and then into a power outlet. The Gateway automatically turns on as
soon as power is plugged in.
Important: Wait until the Power/Internet light on the front of the Gateway
stops flashing and is solid white. If the light turns red, check the trouble-
shooting steps in the Troubleshooting section
of the user guide.
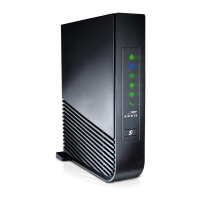
2.0b/ STEP 2 - CONNECT YOUR DEVICE TO YOUR GATEWAY
If connecting a device using wired Ethernet (preferred for initial setup):
• Plug one end of the supplied yellow Ethernet cable into one of the
four yellow Ethernet ports in the back of your Gateway.
Alternatively, you can use your own Ethernet cable of any color to
connect from the yellow Ethernet ports on the back of your
Gateway to your device with an Ethernet connector.
• Plug the other end of the yellow Ethernet cable into the Ethernet port
of your network device.
If connecting a wireless device:
• Access the Wi-Fi setting on your wireless device, then select your new
Gateway using the wireless network name (ESSID) shown on the
sticker located on the side of your Gateway.
• Enter the wireless password (WPA2 key) also shown on the sticker.
2.0c/ STEP 3 - CONFIGURE YOUR GATEWAY: