4.2 Loading Paper 133
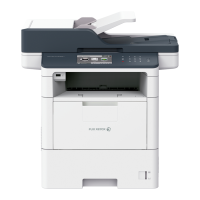
5. Unscrew the screw of the front guide and
remove the guide from the tray.
6. Insert the small protrusions at the bottom of
the guide into the holes corresponding to the
paper size (1). Insert the protrusion on the
tray into a hole corresponding to the paper
size on the top of the guide, and tighten up
the screw (2).
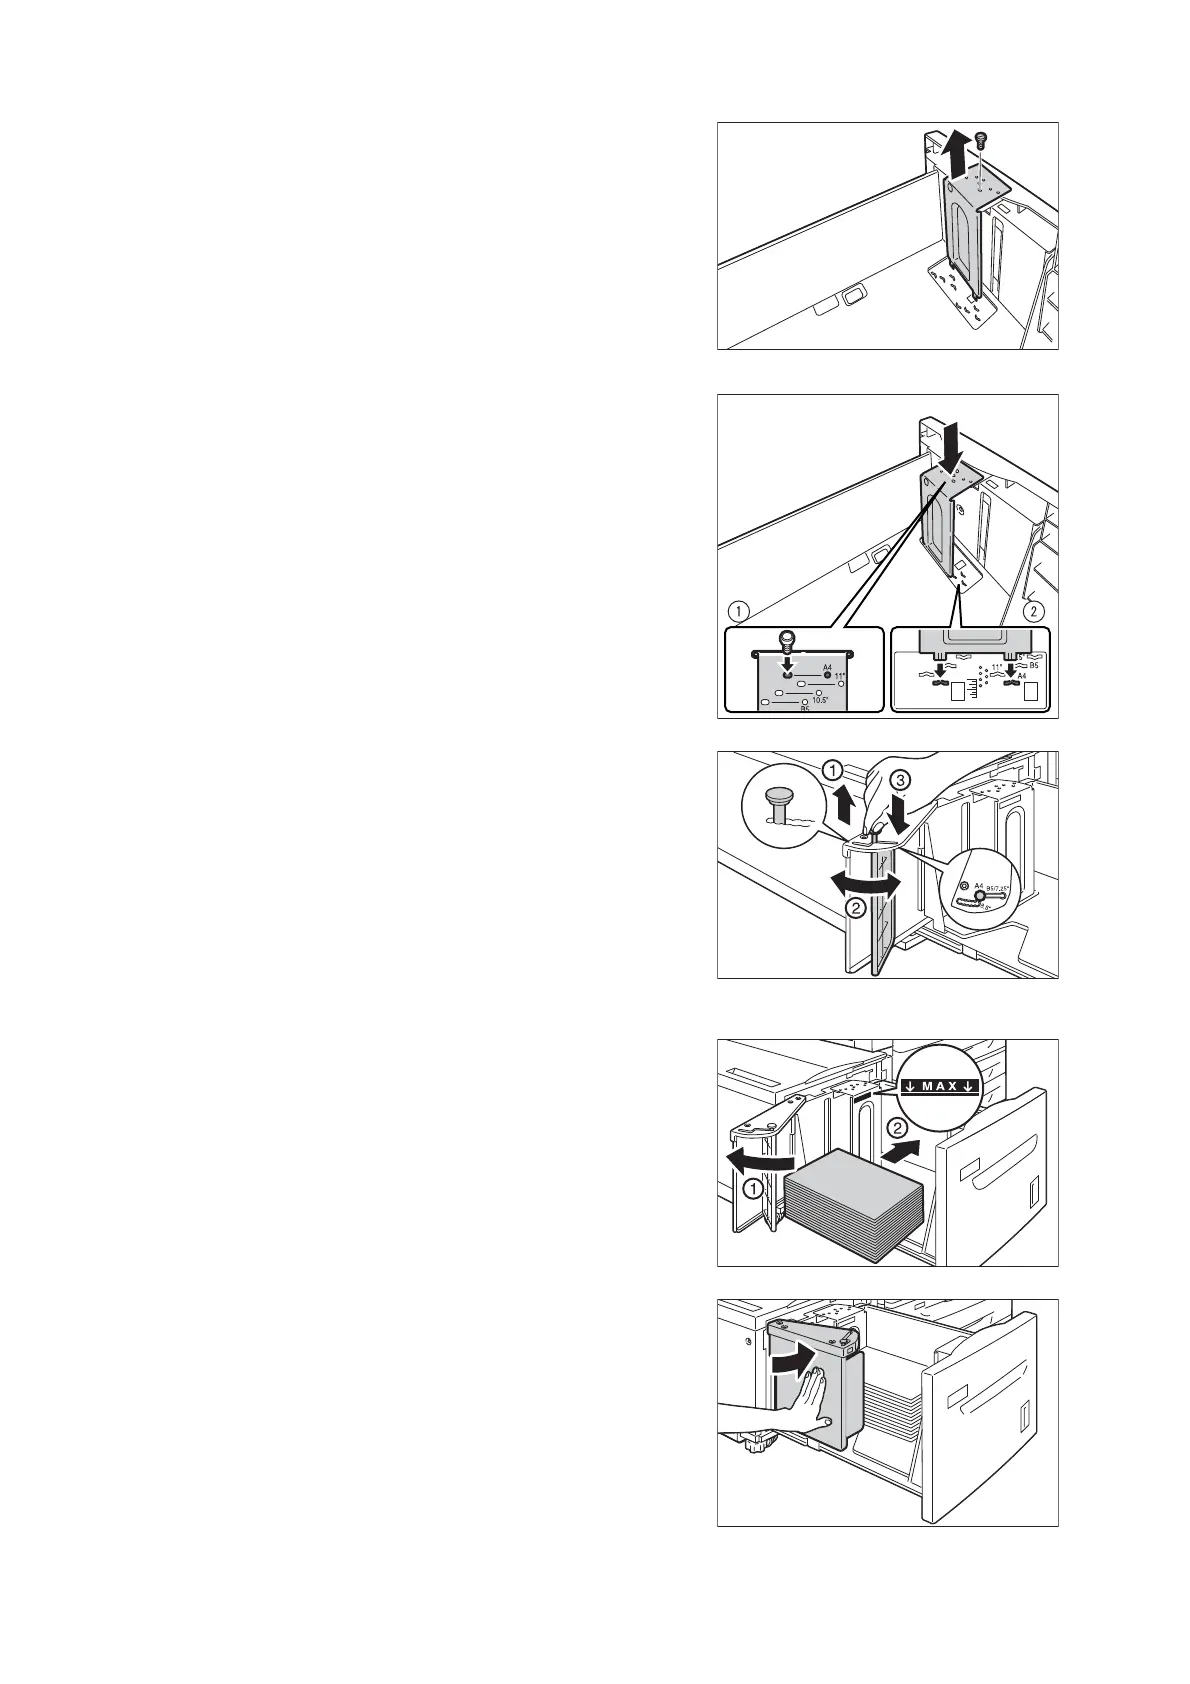
7. Pull up the lever of the end guide (1). Move
the lever along the slot, and set it at the
position corresponding to the paper size (2).
And then press the lever down (3).
Important
• Adjust the end guide correctly to the size of the paper. If
the end guide is not adjusted correctly, the machine
cannot feed the paper properly, resulting in paper jams.
Note
• The slot to the left of 8.5" is not used.
8. Open the end guide (1), and load and align
the edge of the paper against the right edge
of the tray with the side to be printed on
facing up (2).
Important
• Do not load paper of different types into the tray. Doing so
can cause paper jams.
• Do not load paper above the maximum fill line. It may
cause paper jams.
9. Close the end guide securely.

 Loading...