En-13
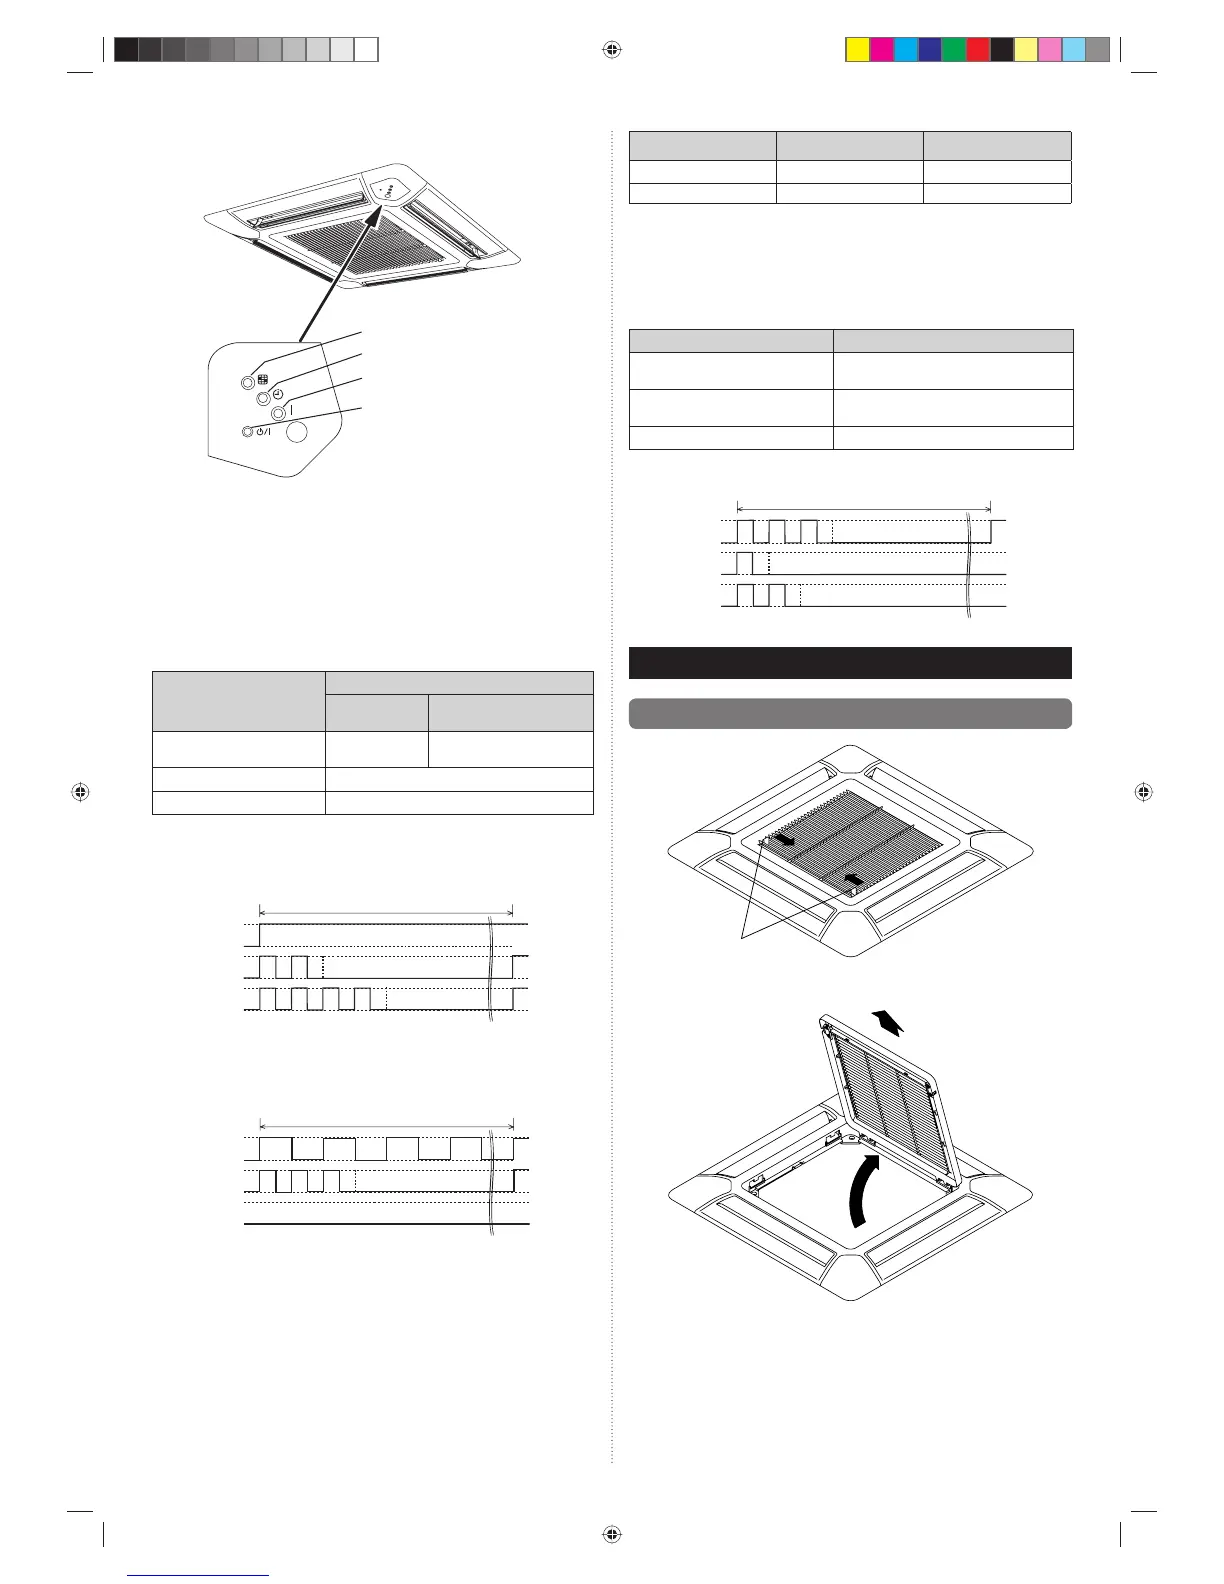
7.4.1. Button name and function
OPERATION indicator lamp (Green)
FILTER indicator lamp (Red)
TIMER indicator lamp (Orange)
MANUAL AUTO button
7.4.2. Checking the function settings
• Press and hold the “MANUAL AUTO” button on the indoor unit for 3 seconds to check
the function settings. It is necessary to disconnect the power in order to return to
normal operation mode.
(1) Indoor unit and refrigerant address indication
Indication pattern
Indicator name
Indication pattern
Indoor unit
address
Refrigerant address
OPERATION indica-
tor lamp (Green)
ON Flash (1.0s ON/1.0s OFF)
TIMER indicator lamp (Orange) Address: tens place (0.5s ON/0.5s OFF)
FILTER indicator lamp (Red) Address: ones place (0.5s ON/0.5s OFF)
• Indoor unit address example
(Example) ADDRESS : 24
OPERATION
indicator lamp
(Green)
TIMER
indicator lamp
(Orange)
FILTER
indicator lamp
(Red)
10 sec
1 cycle 12 sec
8 sec
ON
OFF
0.5s
0.5s 0.5s 0.5s
0.5s
0.5s
0.5s 0.5s
0.5s
0.5s
0.5s 0.5s
ON
OFF
ON
OFF
ON
• Refrigerant address example
(Example) ADDRESS : 30
OPERATION
indicator lamp
(Green)
TIMER
indicator lamp
(Orange)
FILTER
indicator lamp
(Red)
9 sec
1 cycle 12 sec
ON
OFF
1.0s 1.0s 1.0s
1.0s 1.0s 1.0s 1.0s
0.5s
0.5s
0.5s 0.5s 0.5s 0.5s
ON
OFF
ON
OFF
OFF
• Setting details
Function number Item Setting number
01 Indoor unit address 00 to 63
02 Refrigeration address 00 to 99
For use with a remote controller, set all rotary switches to 0, and refer to “7.1. Setting the
address” for details.
All switches are set to 0 at the factory.
(2) Others
Indication pattern
Indicator Name Indication pattern
OPERATION indicator lamp (Green)
Function number; tens place (0.5s ON/0.5s
OFF)
TIMER indicator lamp (Orange)
Function number; ones place (0.5s ON/0.5s
OFF)
FILTER indicator lamp (Red) Setting number: (0 to 9) (0.5s ON/0.5s OFF)
(Example) Function : 31, Setting number : 2
OPERATION
indicator lamp
(Green)
TIMER
indicator lamp
(Orange)
FILTER
indicator lamp
(Red)
11 sec
10 sec
9 sec
1 cycle 12 sec
ON
OFF
0.5s
0.5s
0.5s
0.5s
0.5s
0.5s
0.5s
0.5s
0.5s
0.5s 0.5s 0.5s
ON
OFF
ON
OFF
8. CASSETTE GRILLE INSTALLATION
8.1. Remove the intake grille
(1) Slide the 2 grille hook
Grille hook
(2) Open the intake grille and remove.
9371022253-01_IM.indb Sec1:139371022253-01_IM.indb Sec1:13 2012-7-12 14:34:452012-7-12 14:34:45
 Loading...