▶
Push the four latches outward (see arrows).
▶
Fasten the four captive screws in the sequence printed on the heat sink (1 to
4), by proceeding as follows:
T
orque: 0.9 Nm (not used in Japan)
▶
First, fasten the captive screws 1 and 2 completely.
▶
Fasten the captive screws 3 and 4 completely
.
▶
Proceed for the second LC heat sink in the same way.
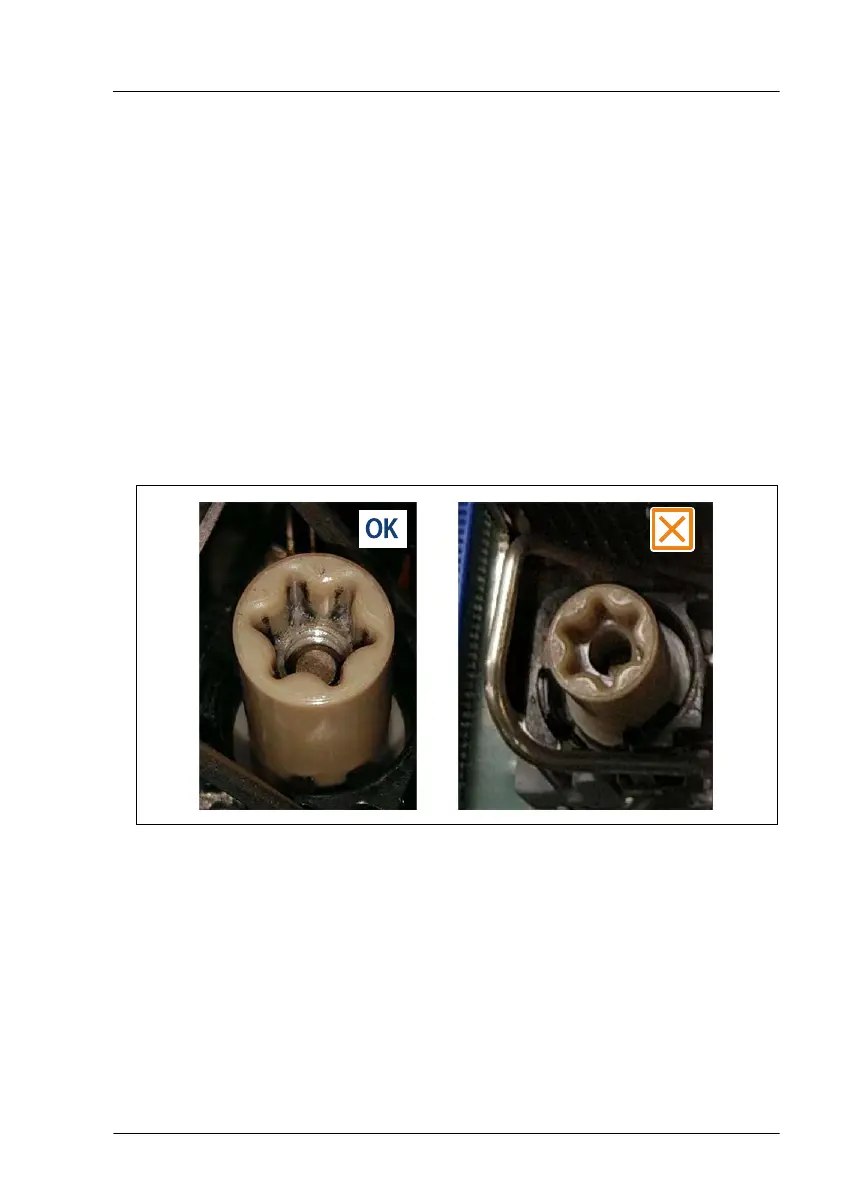
Note when tightening the screws of the CPU heat sink:
▶
As shown in the figure below, tighten the screws while checking the screw
tip until it is visible through the screw hole.
▶
When you reach the above position, hold the screw driver with two fingers
and tighten the screw firmly.
Liquid cooling (LC)
RX2530 M6 Upgrade and Maintenance Manual 309

 Loading...


