30
3. Load samples and slides.
For details of the sample and slide loading method. Section 3.3.
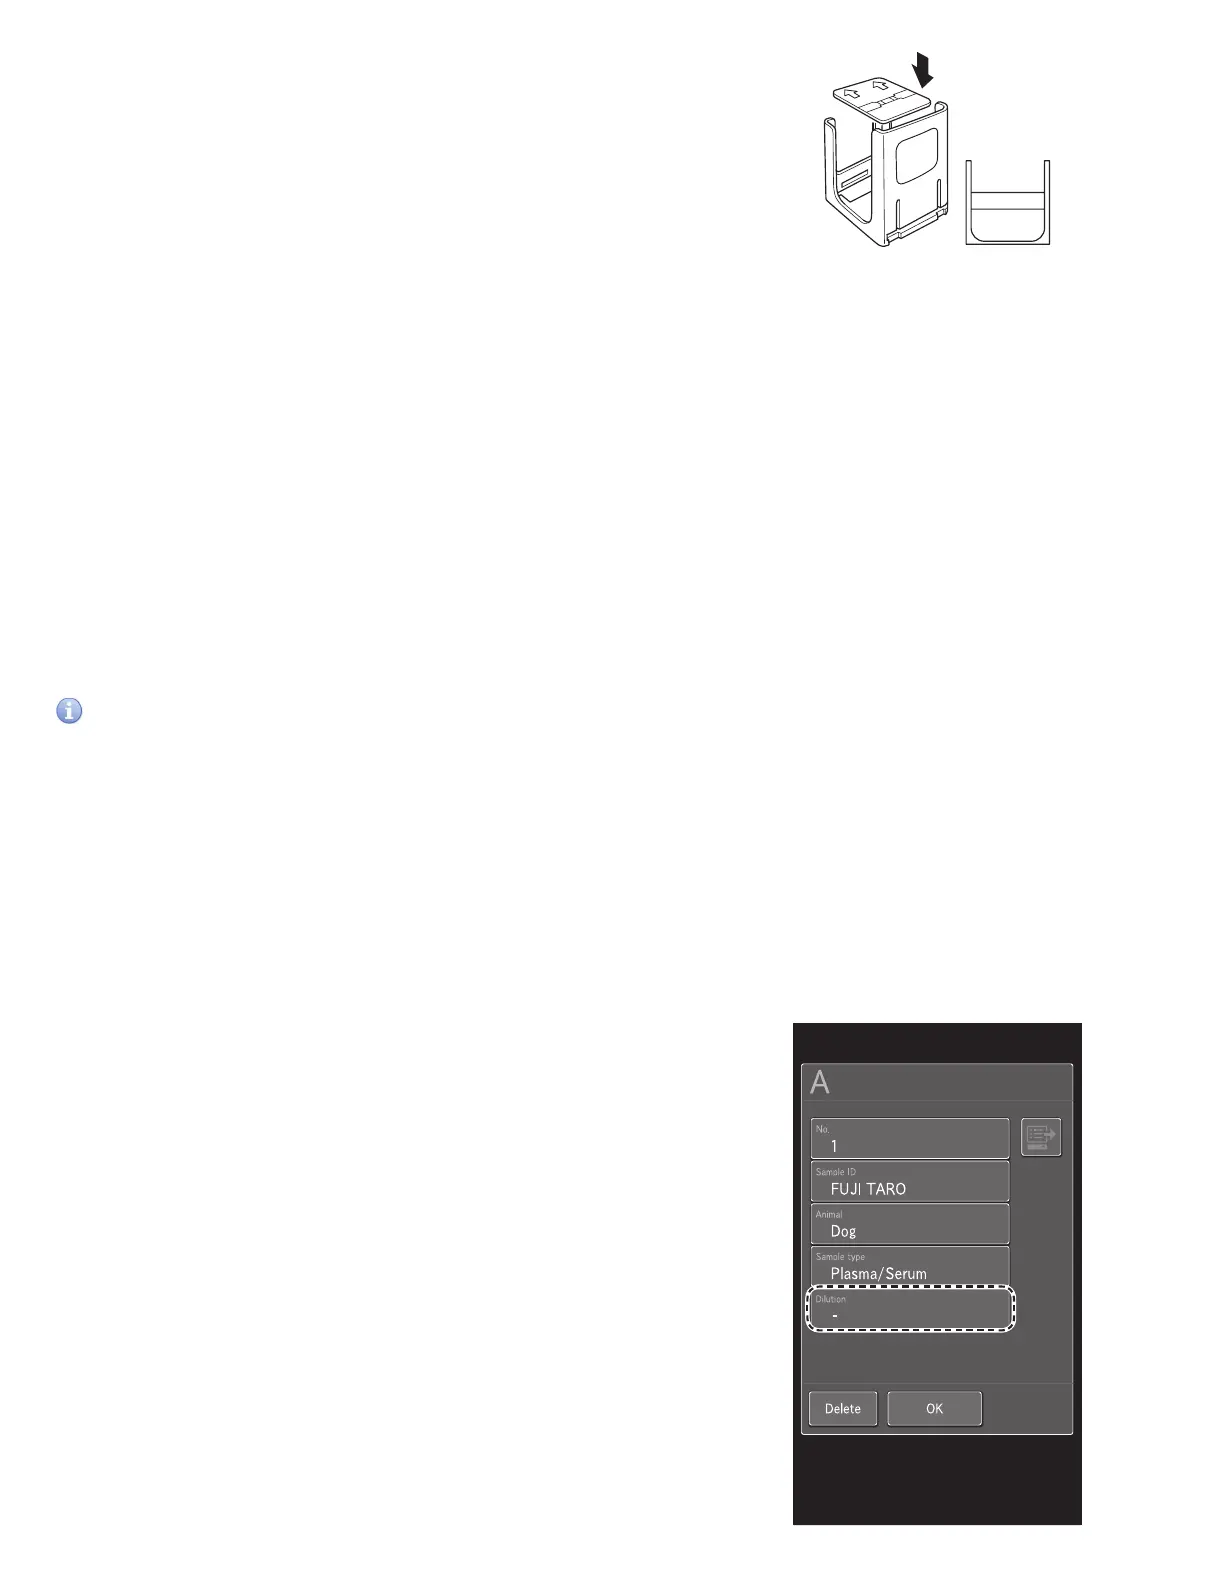
NOTE: Place an ISE slide with the arrows facing up and
pointing opposite the sample label of the cartridge (in this
case, “A”) as shown in the illustration.
NOTE: When you measure an ISE slide and CM slide at the
same time, we recommend loading the ISE slide first in the
cartridge. Section 4.4
4. Close the sampler cover.
5. At the Measurement-preparation screen, touch START to
begin measurement.
3.6 Dilution Tests
There are 2 types of dilution measurement.
• Dilute and measure automatically by using [Dilution setting] in Mode function for administrator to preset dilution factors
for each test and sample type. This is not commonly used in veterinary clinics. Section 8.4.11
• Dilute and measure all items to be measured by setting a dilution factor for each sample at the sample information
registration screen.
The second method at the sample information registration screen is explained in this section.
IMPORTANT
If bubbles appear in the tip when diluting a plasma/serum sample, perform the measurement again from the beginning.
NOTE: The results of measurements that included dilution are calculated automatically, so the results can be reported without
adjustment.
NOTE: The maximum number of dilution measurements from one mixing cup well (hole) is three. When the diluted sample in
the well is insufficient, the analyzer automatically dilutes using the next well.
A
CM slide
ISE slide
(Example) When diluting Sample A 2x
1. Check the remaining volume of the consumables (tips, mixing cups, and diluent).
If consumables are insufficient, supplement or replace them.
• Loading tips. Section 5.2
• Loading mixing cups. Section 5.3
• Loading diluent. Section 5.4
2. Load samples and slides.
For details of the sample and slide loading method. Section 3
STOP
0
3
A
B D
C
E
MYID001
..0160503010
..0160503009
3. Touch SAMPLE RACK DISPLAY A. In the Sample information
registration screen, touch DILUTION.