Figure 4-9. Attaching Rack Flanges to HP 8110A
Installing the HP 8110A
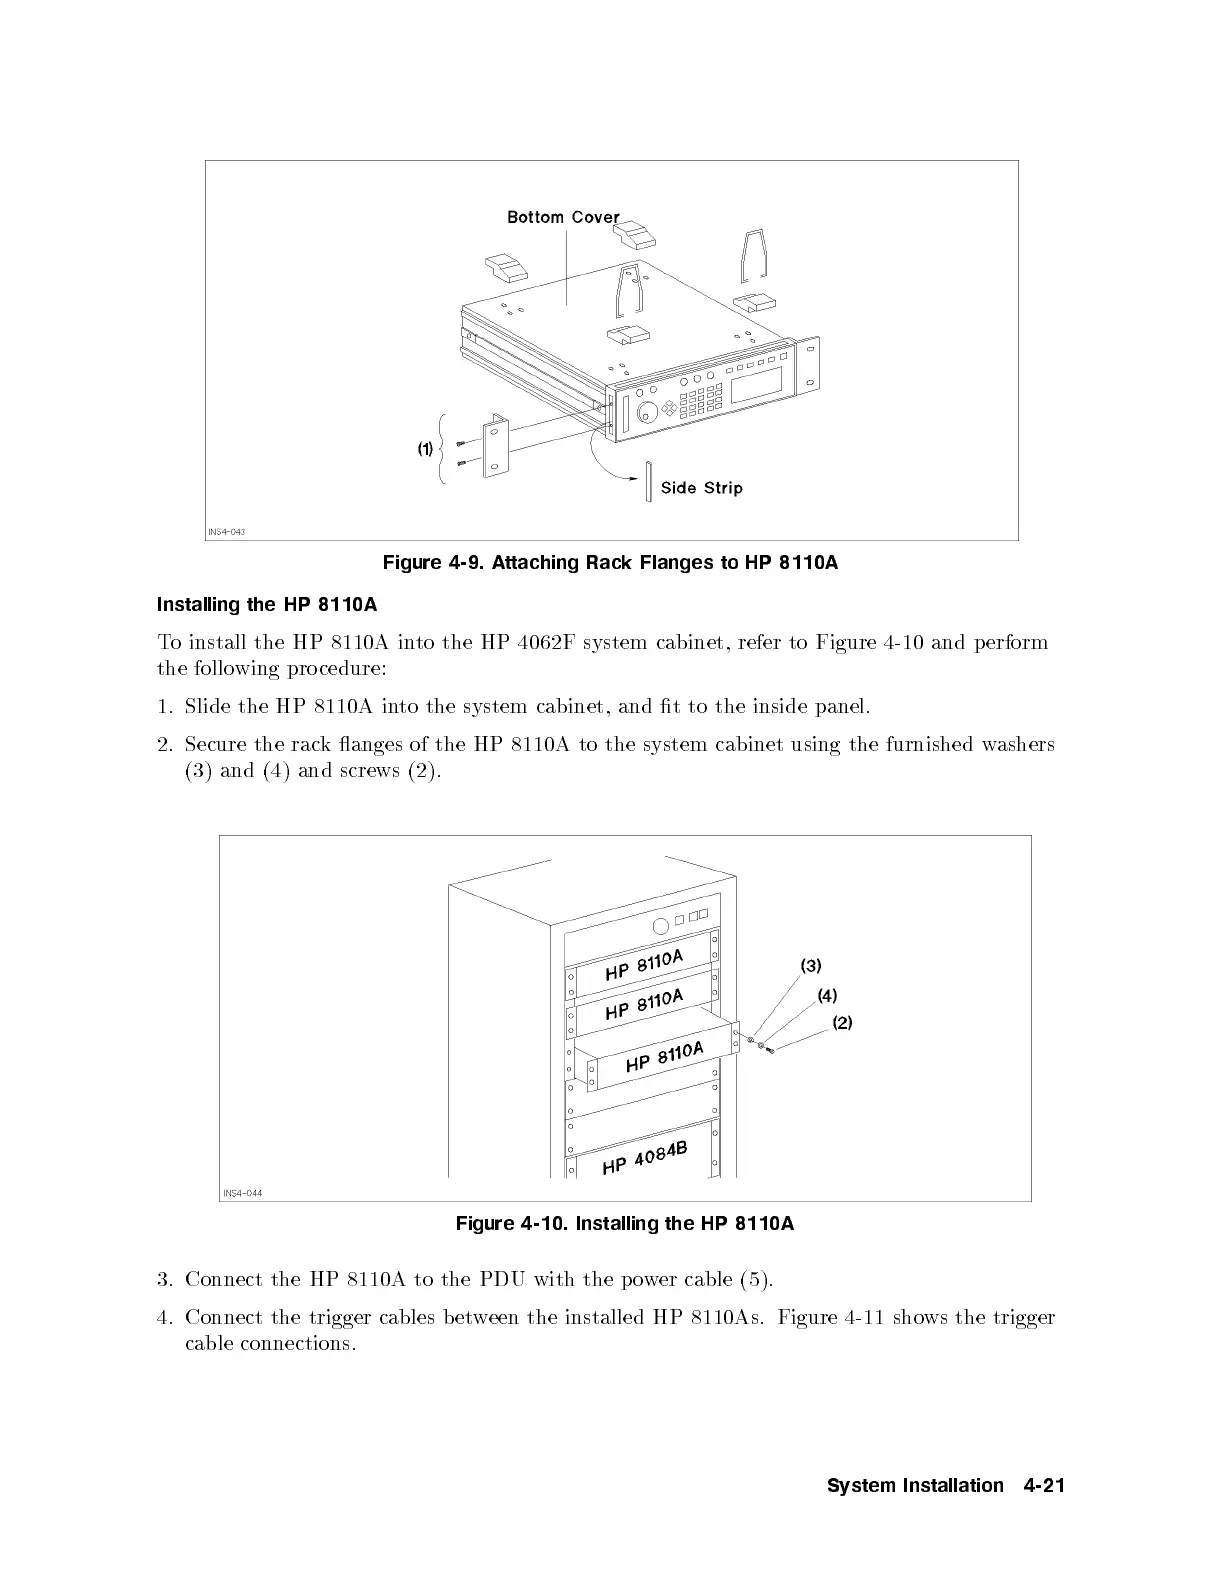
To install the HP 8110A into the HP 4062F system cabinet, refer to Figure 4-10 and p erform
the follo wing procedure:
1. Slide the HP 8110A into the system cabinet, and t to the inside panel.
2. Secure the rack anges of the HP 8110A to the system cabinet using the furnished w
ashers
(3) and (4) and screws (2).
Figure 4-10. Installing the HP 8110A
3. Connect the HP 8110A to the PDU with the p ower cable (5).
4. Connect the trigger cables between the installed HP 8110As. Figure 4-11 shows the trigger
cable connections.
System Installation 4-21