Caution
Wear rubb er gloves when handling pin b oards. If rubber gloves are not
available, hold the board by its edges as shown in Figure 3-2.
6. Insert each pin b oard into the desired slot and connect the cable assembly of the board to
the corresp onding p osition on the measurement pin mounting ring.
7. Reconnect the pin b oard control cables, reinstall the board struts, and replace the b ottom
panel.
Installing a Port Expander
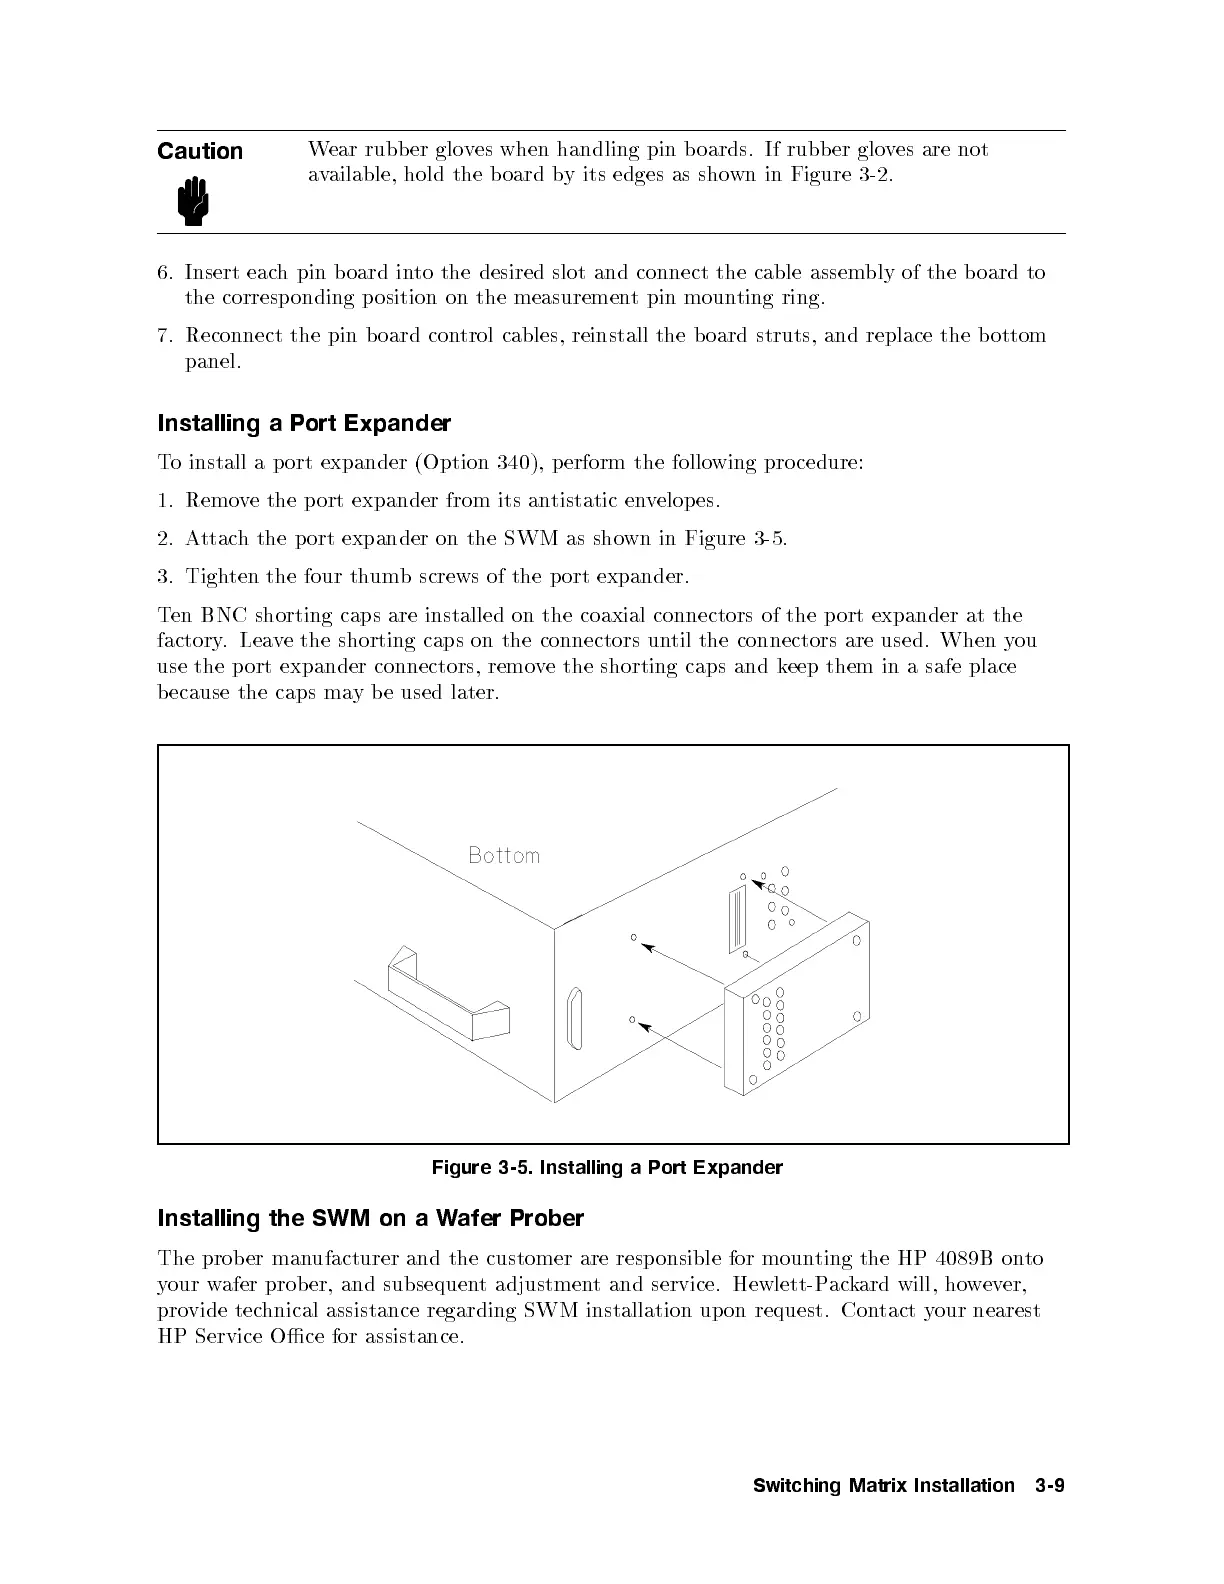
To install a p ort expander (Option 340), p erform the following pro cedure:
1. Remove the p ort expander from its antistatic envelopes.
2. Attach the port expander on the SWM as shown in Figure 3-5.
3. Tighten the four thumb screws of the p ort expander.
Ten BNC shorting caps are installed on the coaxial connectors of the port expander at the
factory. Leave the shorting caps on the connectors until the connectors are used. When you
use the port expander connectors, remove the shorting caps and keep them in a safe place
because the caps may b e used later.
Figure 3-5. Installing a Port Expander
Installing the SWM on a Wafer Prober
The prob er manufacturer and the customer are resp onsible for mounting the HP 4089B onto
your wafer prober, and subsequent adjustment and service. Hewlett-Packard will, however,
provide technical assistance regarding SWM installation upon request. Contact your nearest
HP Service Oce for assistance.
Switching Matrix Installation 3-9