Test Procedure
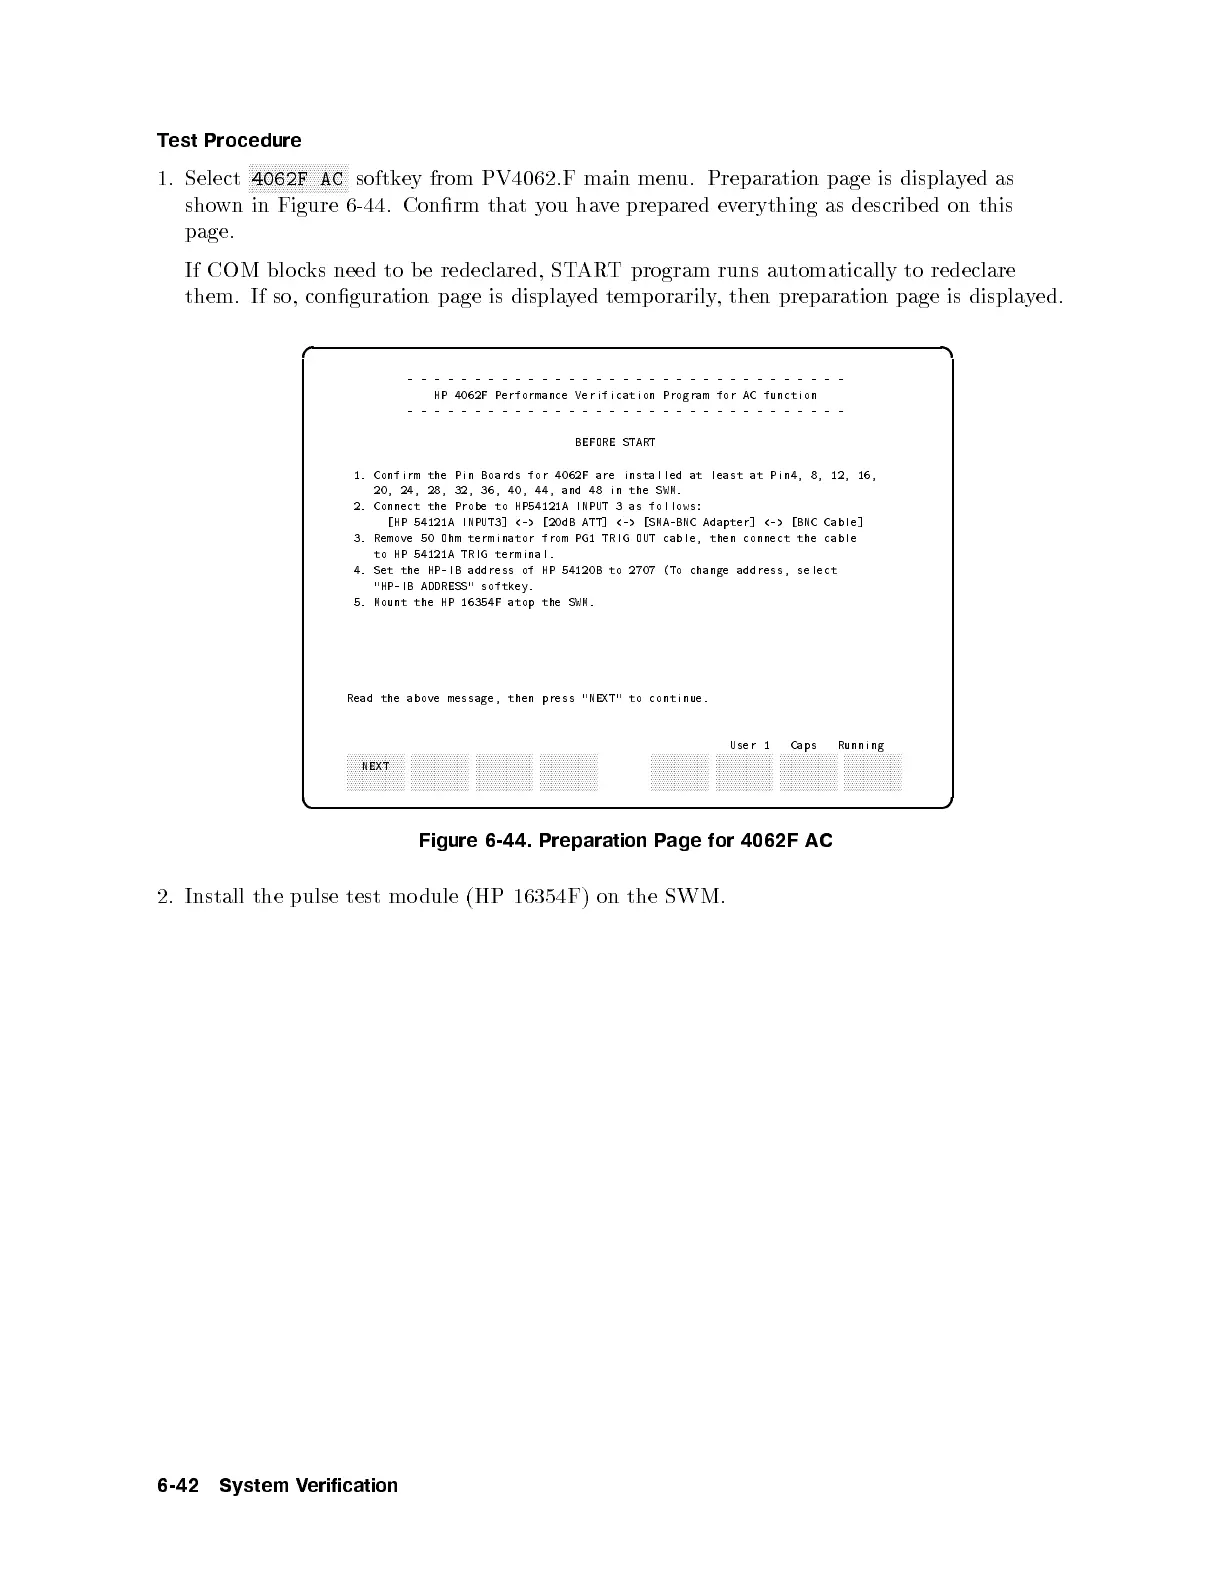
1. Select
NNNNNNNNNNNNNNNNNNNNNNNNNN
4062F AC
softkey from PV4062.F main menu. Preparation page is displayed as
shown in Figure 6-44. Conrm that you have prepared everything as describ ed on this
page.
If COM blo cks need to b e redeclared, START program runs automatically to redeclare
them. If so, conguration page is displayed temporarily, then preparation page is displayed.
d a
c b
---------------------------------
HP 4062F Performance Verification Program for AC function
---------------------------------
BEFORE START
1. Confirm the Pin Boards for 4062F are installed at least at Pin4, 8, 12, 16,
20, 24, 28, 32, 36, 40, 44, and 48 in the SWM.
2. Connect the Probe to HP54121A INPUT 3 as follows:
[HP 54121A INPUT3] <-> [20dB ATT] <-> [SMA-BNC Adapter] <-> [BNC Cable]
3. Remove 50 Ohm terminator from PG1 TRIG OUT cable, then connect the cable
to HP 54121A TRIG terminal.
4. Set the HP-IB address of HP 54120B to 2707 (To change address, select
"HP-IB ADDRESS" softkey.
5. Mount the HP 16354F atop the SWM.
Read the above message, then press "NEXT" to continue.
User 1 Caps Running
aaaaaaaaaaaaaaa
NEXT
aaaaaaaaaaaaaaa aaaaaaaaaaaaaaa aaaaaaaaaaaaaaa
aaaaaaaaaaaaaaa aaaaaaaaaaaaaaa aaaaaaaaaaaaaaa aaaaaaaaaaaaaaa
Figure 6-44. Preparation Page for 4062F AC
2. Install the pulse test mo dule (HP 16354F) on the SWM.
6-42 System Verification