WindO/I-NV4 User’s Manual 31-13
1 External Memory Devices
31
External Memory Devices
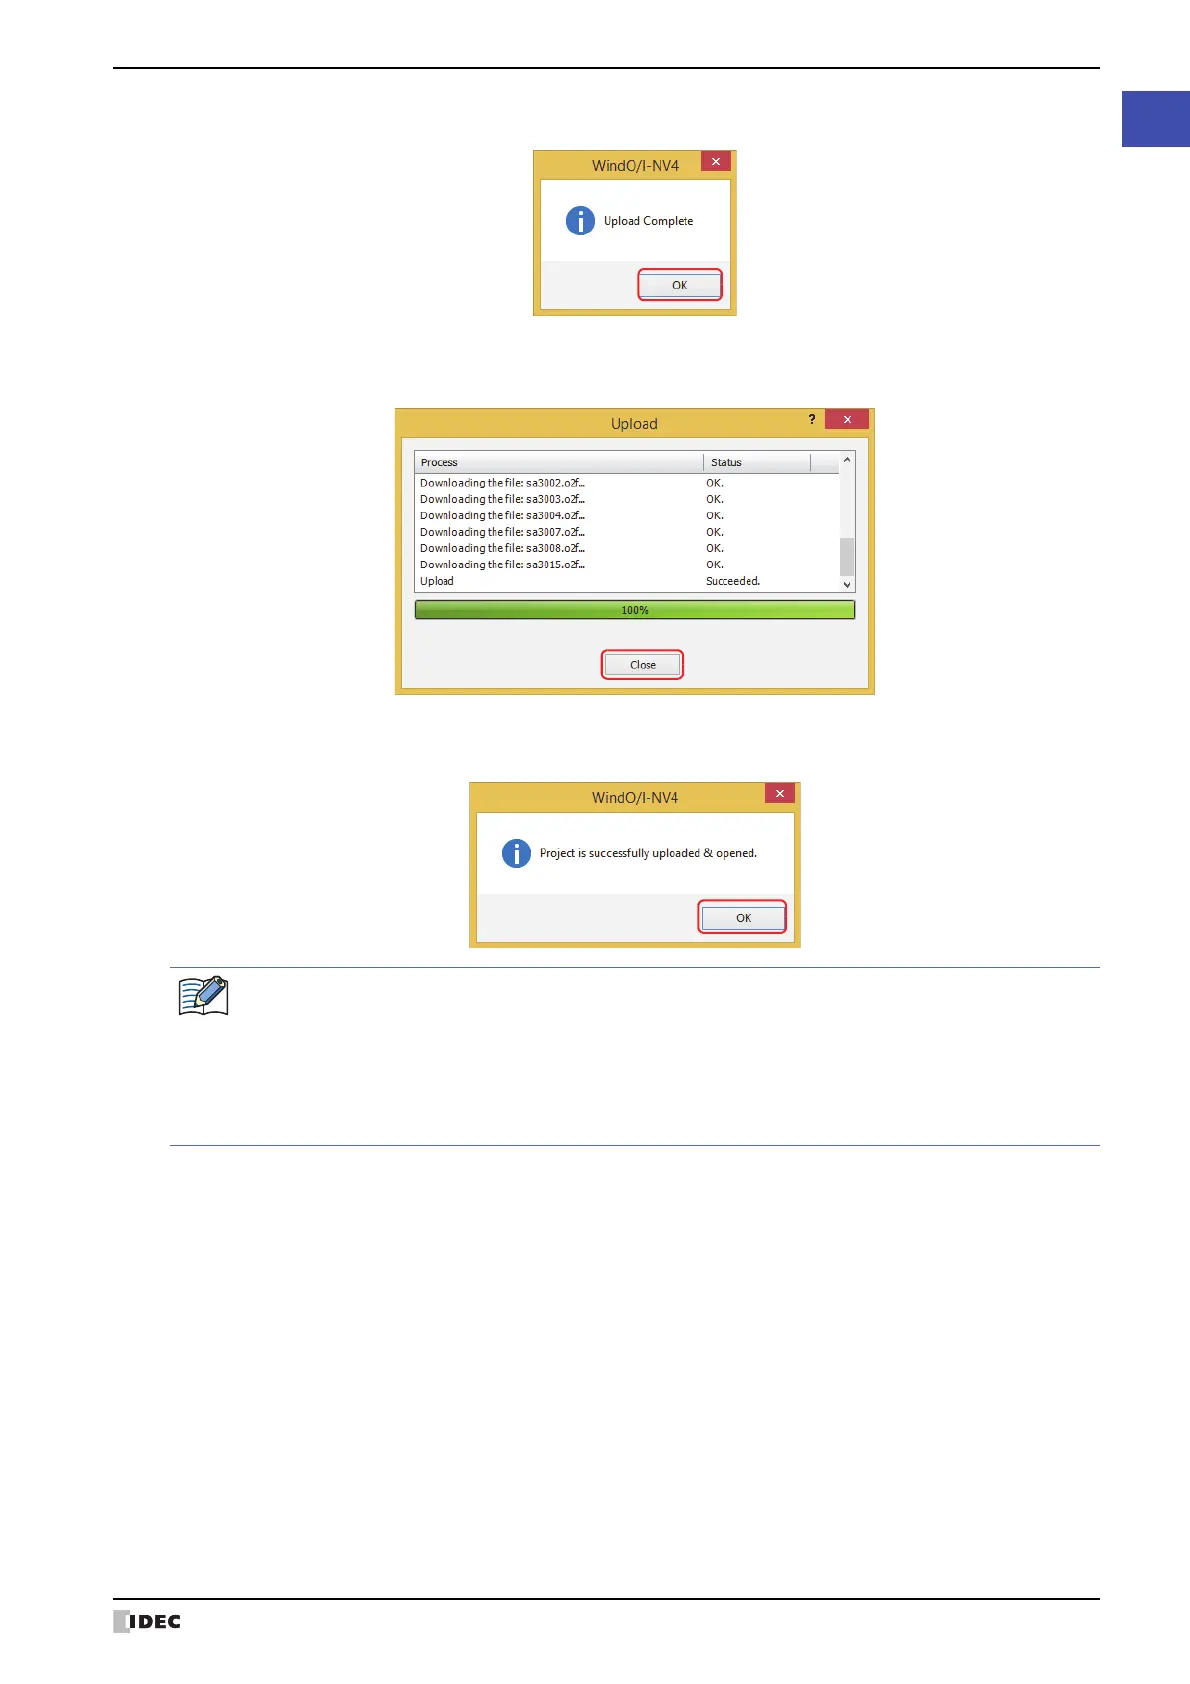
4 Click OK.
5 Click Close on the Upload dialog box.
A confirmation message appears indicating the project will be opened.
6 Click OK.
The uploaded project opens.
● Manipulating files using the file management functions provided with the OS
It is possible to use Explorer or any other program provided with the Windows OS to replace the recipe data, picture
and sound files that MICRO/I uses.
Insert the external memory device into the computer and save the new file(s) using the same name as the existing
files in each folder under the External Memory Device folder.
For the picture files that can be used with the MICRO/I, refer to Chapter 2 “1.4 Available Image Files” on page 2-20.
For the sound files that can be used with the MICRO/I, refer to Chapter 2 “1.5 Available Sound Files” on page 2-37.
If a password has been configured for the project data, the Enter Password screen will be displayed.
The password to enter varies based on the check box setting of the Use Password to open a Project
found under the Options tab in the Security dialog box.
When this check box is selected, enter the password for Use Password to open a Project.
When this check box is cleared, enter the password for the user account assigned to the Administrator
security group.
For details, refer to Chapter 23 “User Accounts and the Security Function” on page 23-1.
 Loading...