24
The menus of the control panel of Laminator are as below table.
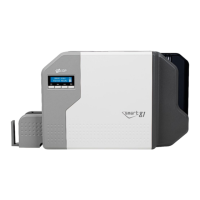
To determine whether Laminator is used as the
main control device of SMART-70 system or not.
When Laminator is used with Printer, this mode is
set to Slave. When Laminator is used alone, this
mode is set to Master.
Default is Slave.
To initialize the user issue laminating count.
To set the direction of Card In.
Default is the left.
To set the direction of Card Out.
Default is the right.
The Laminator draws in a card automatically when
the card is detected at the gate of Card In.
Default is On.
To select the laminating side of the card when
Operating Mode is Master.
Default is Null Side.
To adjust the position of patch to be attached on a
card[0 ~ 200].
When the value of Lami.StartPOS is bigger, the
laminating patch is attached on more back side of
card. When the value of Lami.StartPOS is smaller,
the laminating patch is attached on more front side
of card.
Default is 52.
To adjust the temperature for laminating[90 ~ 200].
Default is 160.
The resistance of temperature sensor is registered
when Laminator Head Ver.2 is used
[39.0 ~ 56.0].
To adjust the distance that Laminator Head
attaches the patch from Head Down to Up[5500 ~
6500].
As the value of Lami Width is bigger, the distance
of attached patch is longer. As the value of Lami