18
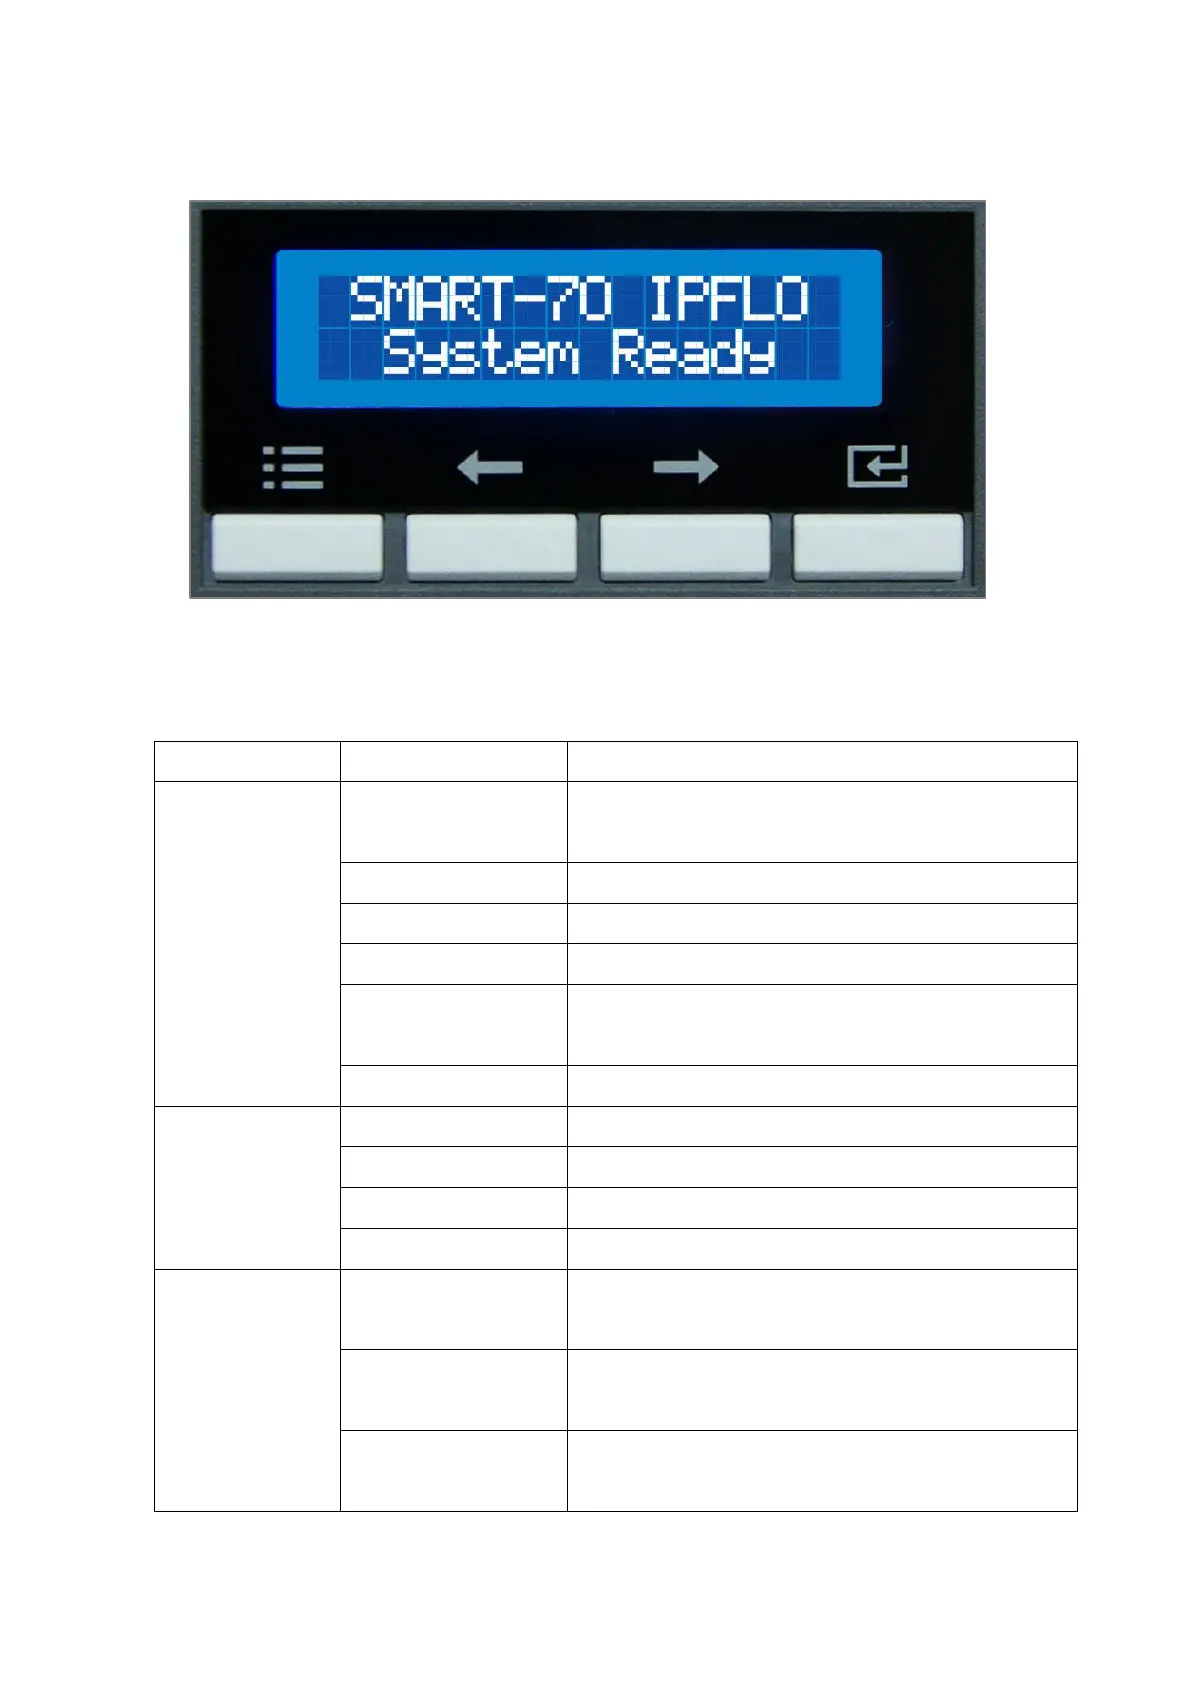
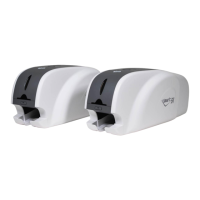
Control panel of Printer consists of 2 lines LCD and 4 buttons. The 4 buttons have the functions
as shown in the figure 6.
Figure 6 Control panel of Printer
The menus of the control panel of Printer are as below table.
To set module combination. Refer to the chapter
2.1.10 for modules combination setting.
To set Printer as a Master device. Default is Master.
To set the direction of Card In. Default is the left.
To set the direction of Card Out. Default is the right.
To set the automatic card feeding when the card is
detected at the direction of Card In. Default is OFF.
To reset user issue count.
To set whether to use DHCP function. Default is On.
IP address to be used when DHCP is OFF.
Network Mask to be used when DHCP is OFF.
Gateway address to be used when DHCP is OFF.
To set the start position of the printing on the card’s
X-axis (shorter side).
To set the start position of the printing on the card’s
Y-axis (longer side).
To set the end position of the printing on the card’s
Y-axis.