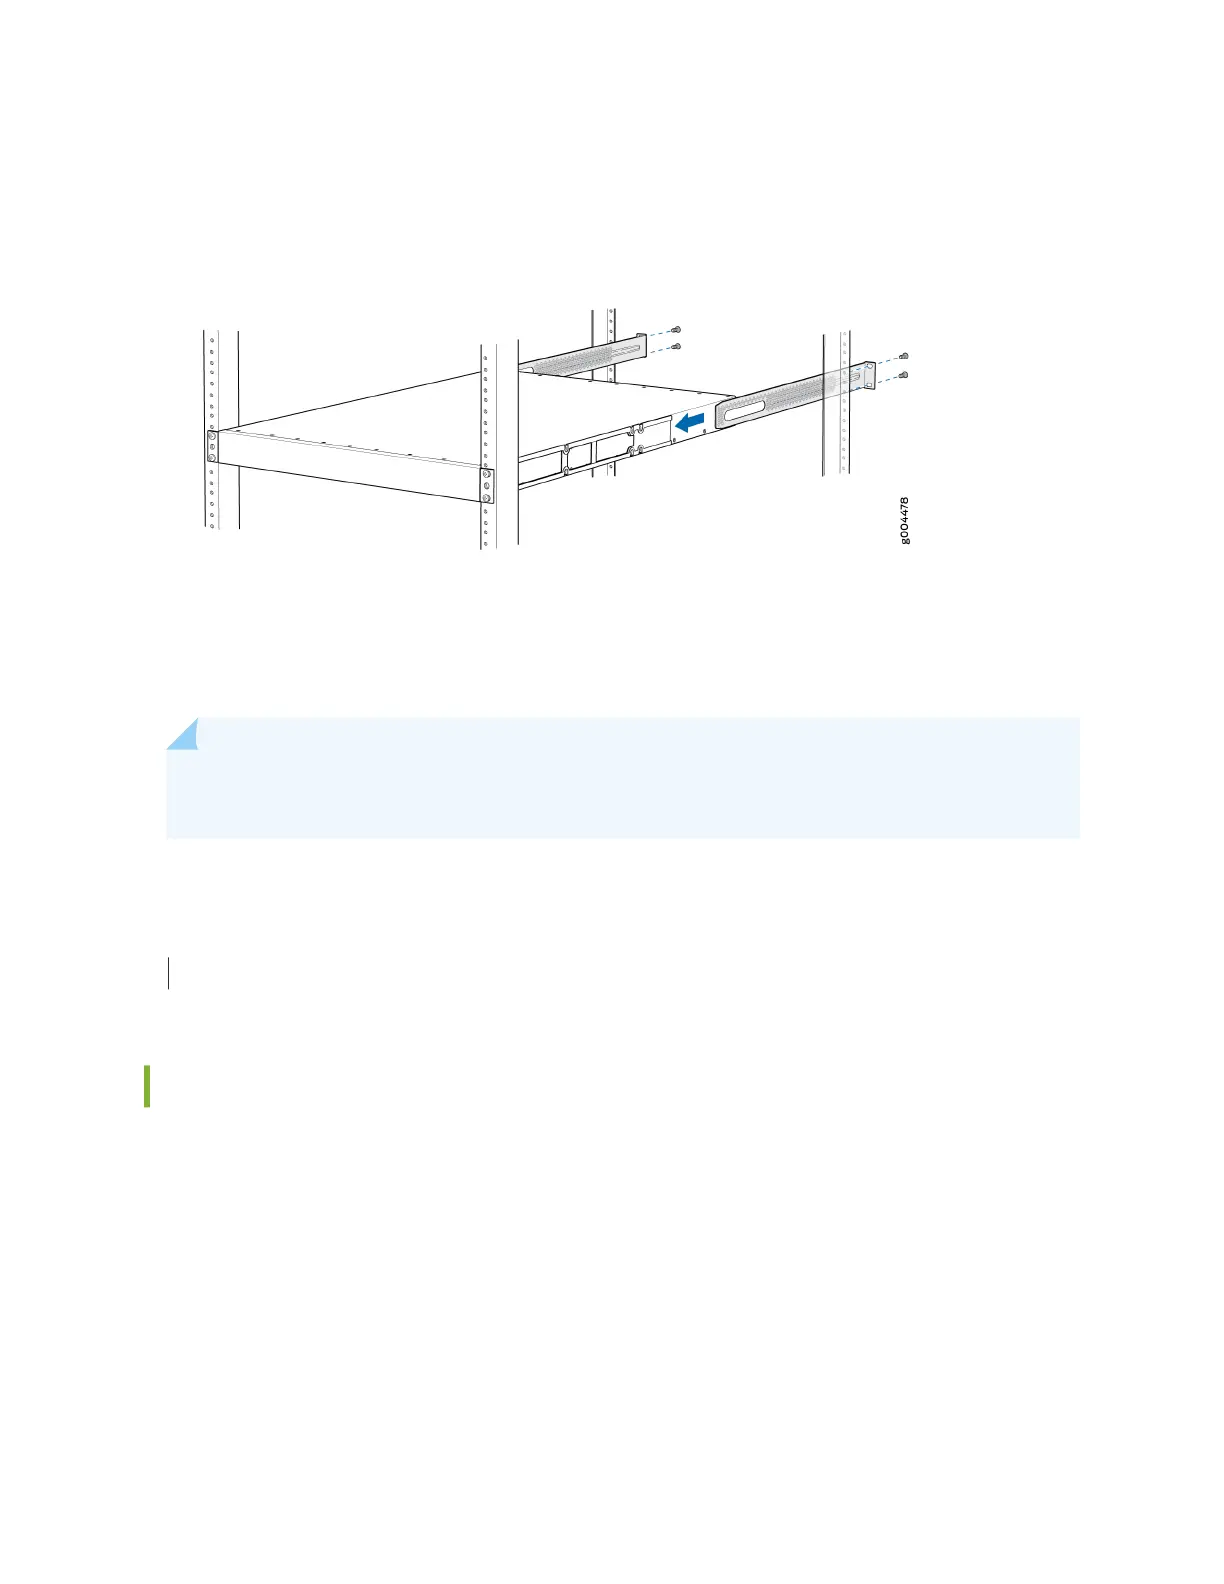
7. Slide the rear mounng-blades into the side mounng-rails. See Figure 60 on page 179.
Figure 60: Sliding the Rear Mounng-Blades into the Side Mounng-Rails
8. Aach the rear mounng-blades to the rear post by using the appropriate screws for your rack.
Tighten the screws.
9. Ensure that the switch chassis is level by verifying that all the screws on the front of the rack are
aligned with the screws at the back of the rack.
NOTE: We recommend that you install cover panels in the unused uplink module and power
supply slots.
SEE ALSO
Rack-Mounng and Cabinet-Mounng Warnings
Mounng an EX4300 Switch in a Recessed Posion in a Rack or Cabinet
You can mount an EX4300 switch in a recessed posion on two posts of either a two-post rack or a
four-post rack such that the switch is recessed inside the rack from the rack front by 2 inches. To mount
the switch in a recessed posion, use the front-mounng brackets provided in the separately orderable
four-post rack-mount kit.
Reasons to mount the switch in a recessed posion include:
• You are mounng the switch in a cabinet and the cabinet doors do not close completely unless the
switch is recessed.
179