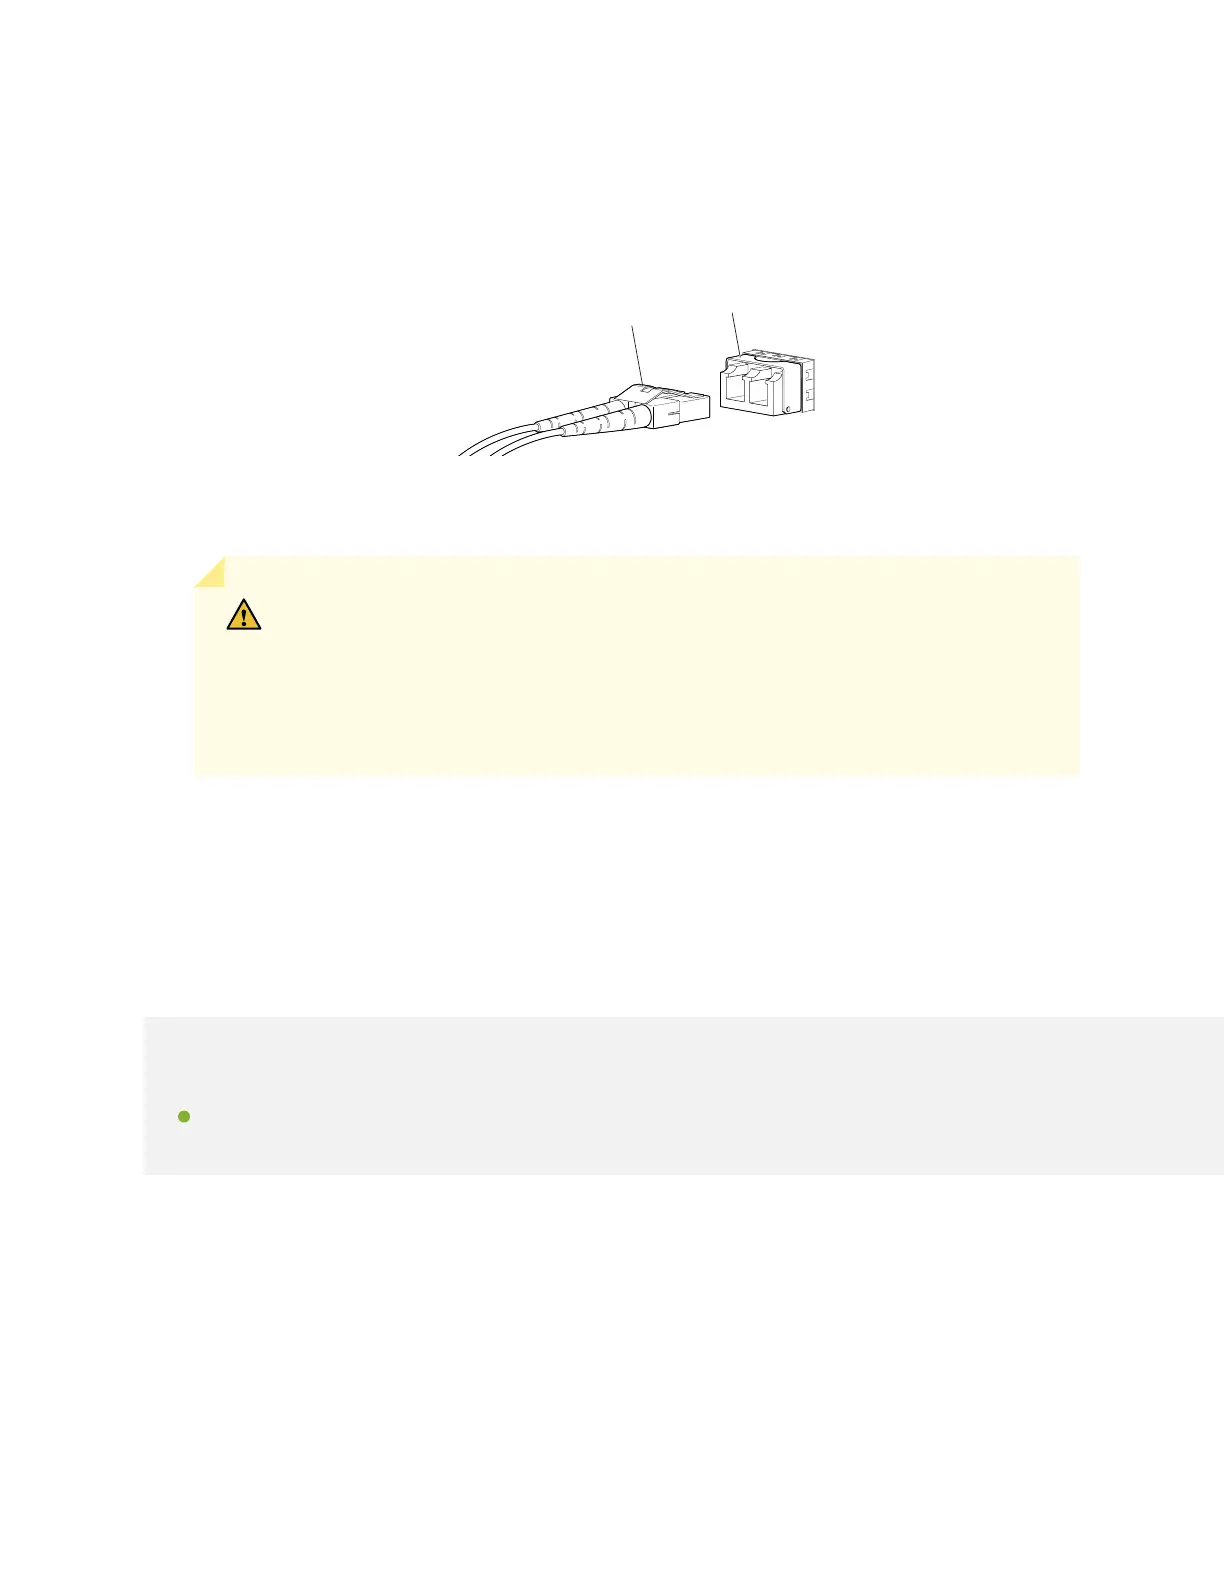
3. Insert the cable connector into the opcal transceiver (see Figure 76 on page 213).
Figure 76: Connect a Fiber-Opc Cable to an Opcal Transceiver Installed in a Device
g000704
Transceiver
Fiber-optic
cable
4. Secure the cables so that they do not support their own weight. Place excess cable out of the way in
a neatly coiled loop. Placing fasteners on a loop helps cables maintain their shape.
CAUTION: Do not bend ber-opc cables beyond their minimum bend radius. An arc
smaller than a few inches in diameter can damage the cables and cause problems that
are dicult to diagnose.
Do not let ber-opc cables hang free from the connector. Do not allow fastened
loops of cables to dangle, which stresses the cables at the fastening point.
Connecng QFX Series and EX Series Switches in a
QFX Virtual Chassis
IN THIS SECTION
Connecng QFX Series and EX Series Switches in a QFX Virtual Chassis | 214
213