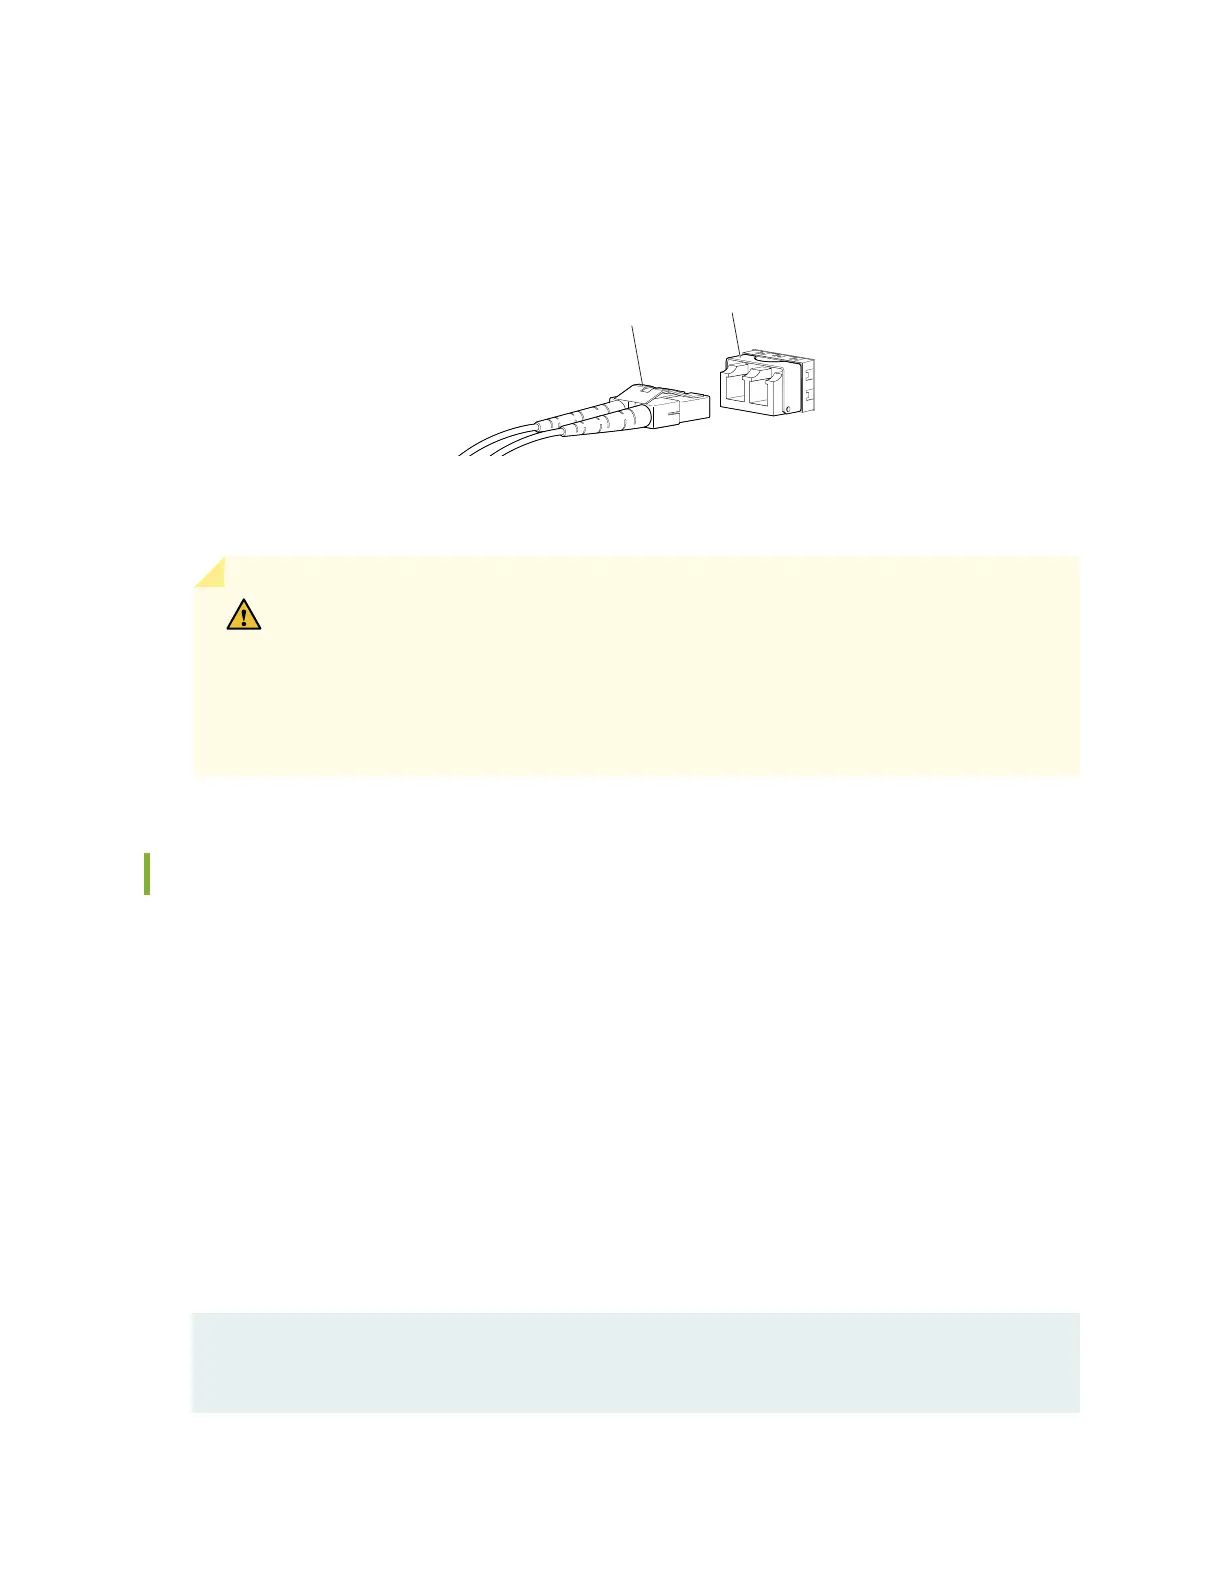
3. Insert the cable connector into the opcal transceiver (see Figure 100 on page 316).
Figure 100: Connect a Fiber-Opc Cable to an Opcal Transceiver Installed in a Device
g000704
Transceiver
Fiber-optic
cable
4. Secure the cables so that they do not support their own weight. Place excess cable out of the way in
a neatly coiled loop. Placing fasteners on a loop helps cables maintain their shape.
CAUTION: Do not bend ber-opc cables beyond their minimum bend radius. An arc
smaller than a few inches in diameter can damage the cables and cause problems that
are dicult to diagnose.
Do not let ber-opc cables hang free from the connector. Do not allow fastened
loops of cables to dangle, which stresses the cables at the fastening point.
Disconnect a Fiber-Opc Cable
Before you disconnect a ber-opc cable from an opcal transceiver, ensure that you have taken the
necessary precauons for safe handling of lasers. See
Laser and LED Safety Guidelines and Warnings
.
Ensure that you have the following parts and tools available:
• A rubber safety cap to cover the transceiver
• A rubber safety cap to cover the ber-opc cable connector
Juniper Networks devices have opcal transceivers to which you can connect ber-opc cables.
To disconnect a ber-opc cable from an opcal transceiver installed in the device:
1. Disable the port in which the transceiver is installed by issuing the following command:
[edit interfaces]
user@device# set
interface-name
disable
316