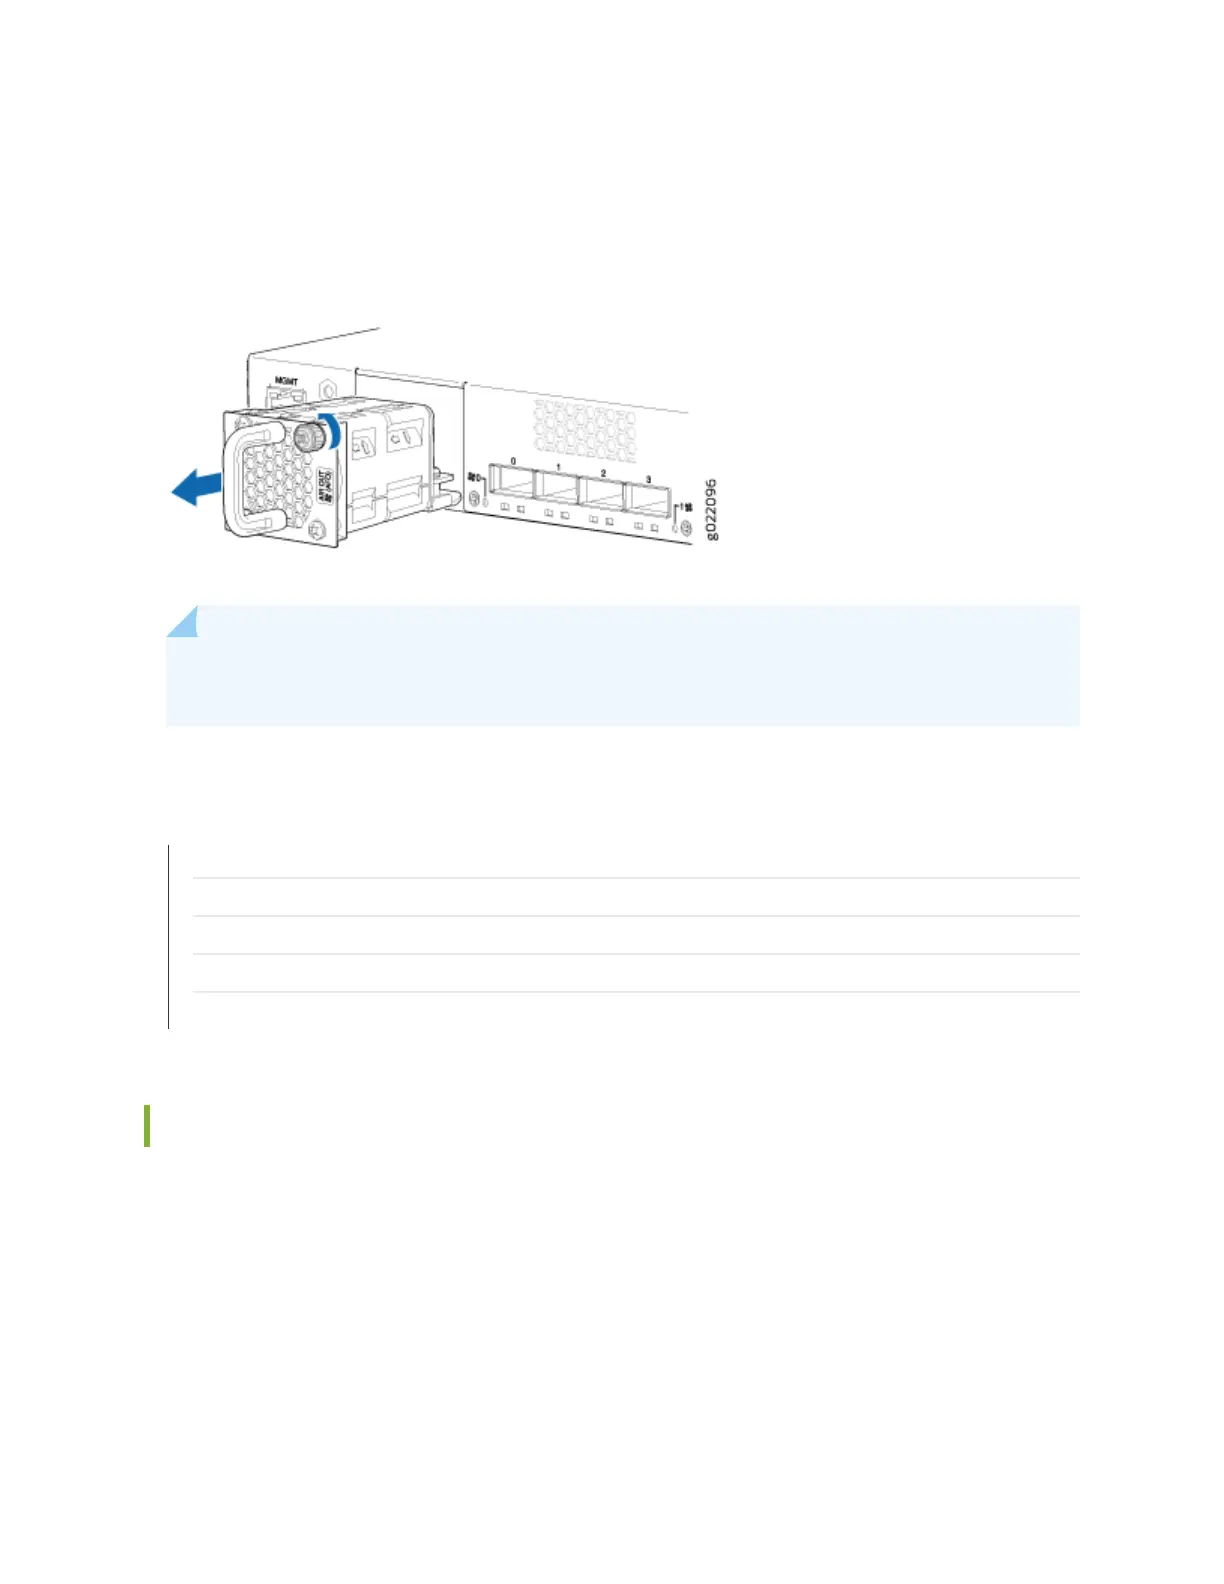
6. Tighten the capve screws on the faceplate of the fan module by using your ngers. If you are unable
to ghten the capve screws by using your ngers, use the screwdriver.
Figure 86: Removing a Fan Module from an EX4300 Switch
NOTE: Both the fan modules must be installed and operaonal for opmal funconing of the
switch.
SEE ALSO
Installing a Fan Module in an EX4300 Switch | 293
Installing and Removing EX4300 Switch Hardware Components
Cooling System and Airow in an EX4300 Switch | 82
Field-Replaceable Units in EX4300 Switches | 52
EX4300 Switches Hardware Overview | 2
Installing a Fan Module in an EX4300 Switch
Before you install a fan module in the switch:
• Ensure you understand how to prevent electrostac discharge (ESD) damage. See
Prevenon of
Electrostac Discharge Damage
.
Ensure that you have the following parts and tools available to install a fan module in the switch chassis:
• ESD grounding strap
• Phillips (+) screwdriver, number 2
293

 Loading...


