If you have a second installed power supply, connect it in the same way you did the rst.
• To connect one power supply to two power sources:
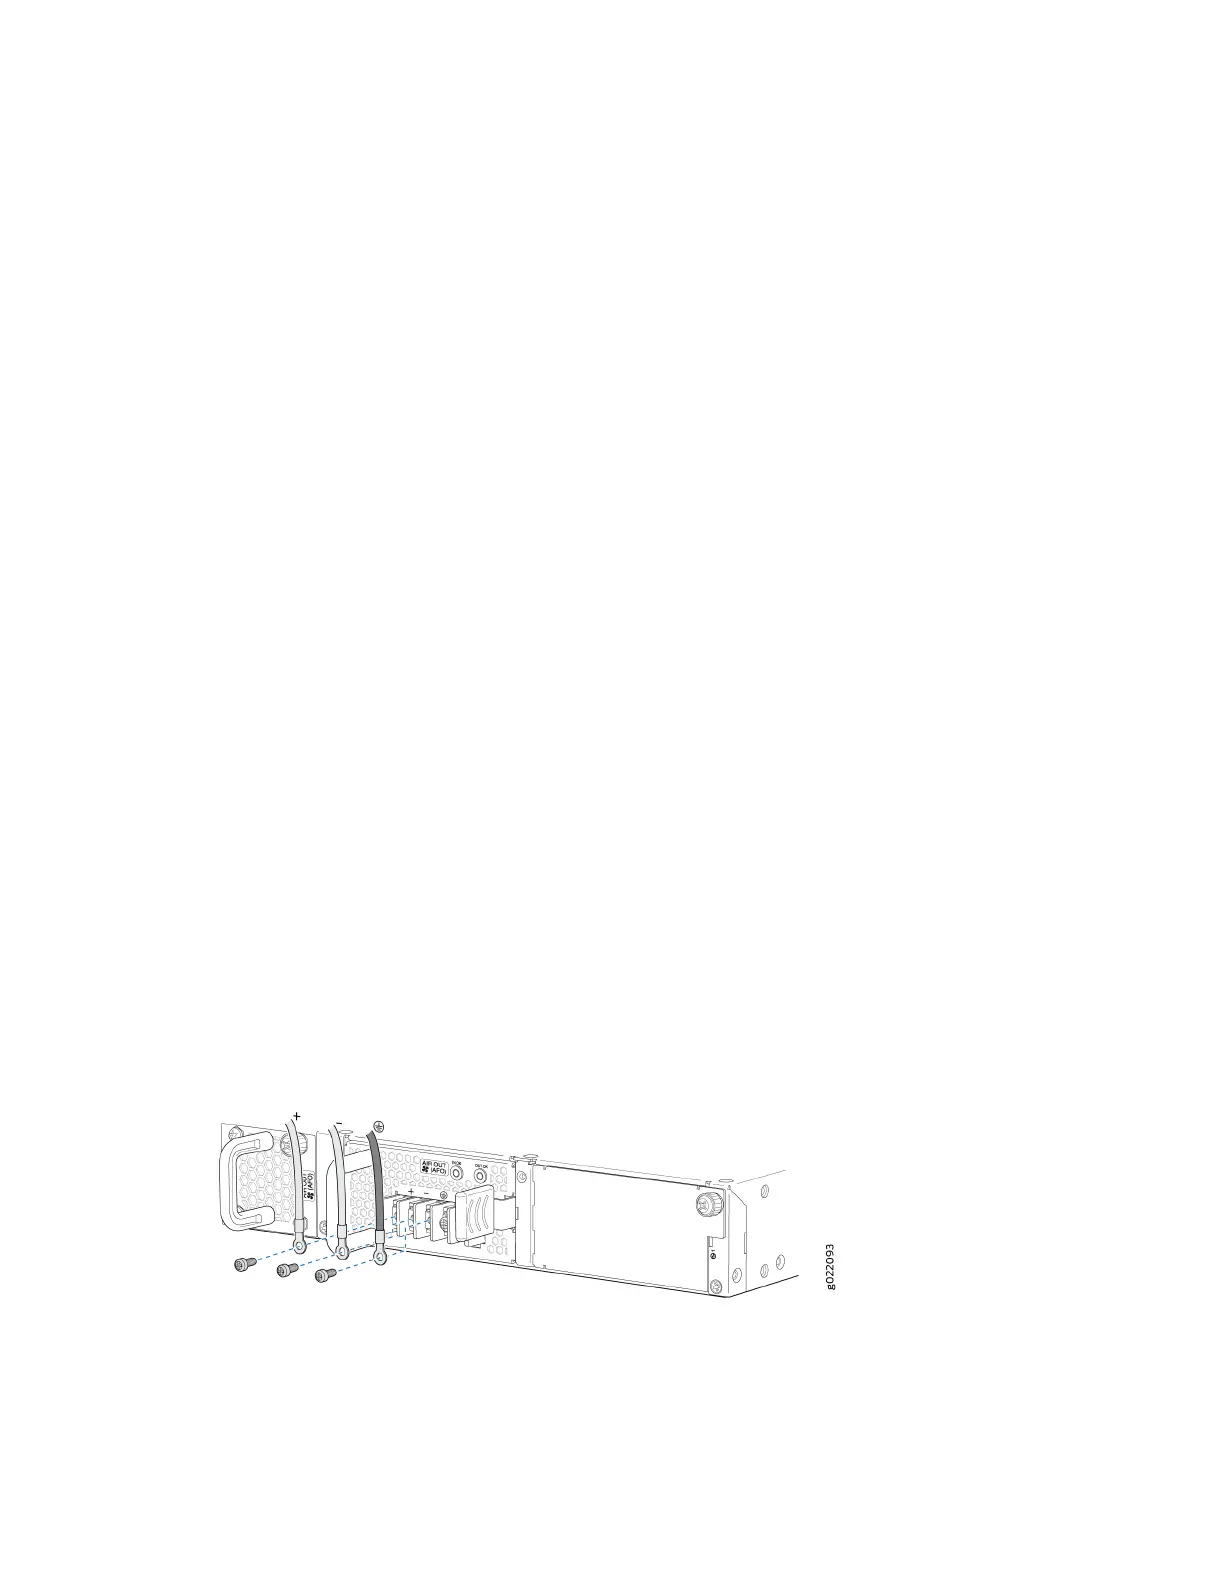
a. Secure the ring lug of the posive (+) DC power source cable from the rst DC power source
to a + terminal on the power supply.
b. Secure the ring lug of the negave (–) DC power source cable from the rst DC power source
to the – terminal adjacent to the + terminal on the DC power supply to which you connected
the ring lug of the posive (+) DC power source cable from the rst DC power source.
c. Secure the ring lug of the posive (+) DC power source cable from the second DC power
source to the other + terminal on the power supply.
d. Secure the ring lug of the negave (–) DC power source cable from the second DC power
source to the – terminal adjacent to the + terminal on the DC power supply to which you
connected the ring lug of the posive (+) DC power source cable from the second DC power
source.
e. Connect the ground wire to earth ground if the switch is not in a grounded rack. The
protecve earth ground terminal on an EX4300 switch, mounted on four posts of a rack, is
accessible through the slot on the mounng bracket on the le side only. If you are unable to
access protecve earthing terminal, you can connect the grounding cable to the earth ground
terminal on the DC power supply.
f. Tighten the screws on the power supply terminals on both the power supplies unl snug
using the screwdriver. Do not overghten—apply between 8 lb-in. (0.9 Nm) and 9 lb-in.
(1.02 Nm) of torque to the screws.
If you have a second installed power supply, connect it in the same way you did the rst.
Figure 69: Securing Ring Lugs to the Terminals on the DC Power Supply
13. Replace the terminal block cover.
14. Close the input circuit breaker.
15. Verify that the IN OK and OUT OK LEDs on the power supply are lit green and are on steadily.
204

 Loading...


