Note: KVAL suggests to follow the steps in the order below.
Step 1 Verify and Adjust the Hinge Carriage
Step 2 Verify and Adjust the Router and Counter Rotate Router Calibration
Step 3 Verify and Adjust the Pre-Drill Calibration
Step 4 Verify and Adjust the Chisels Calibration (Opt. CH)
Check Specifications of the Front Section
3-9
KVAL 994-X Operation/Service Manual
Select the Setup------Setup Hinge (1-4) buttons to display the setup menu. For descriptions of
menus, see “About the Setup Hinges 1-4 Screens” on page 2-45.
Step 1: Hinge Carriage Calibration
Adjusting the X Axis
1. Run the Calibration Routine. See “Run the Calibration Routine” on page 3-6. Use
the H Block as a reference to determine the horizontal center of the calibration slot.
Figure 3- 6 on page 3-10, shows an example of left and right off center locations.
2. Measure the amount of material left between the H-block and the slot on both sides
of the slot (a and b).
3. Calculate the difference between “a “and “b” and then divide by two. See Figure 3-
6 on page 3-10.
4. Next, what way does the slot need to move? To move to the left, enter a positive
number. To move to the right enter a negative number.
5. Locate the appropriate Menu in the
Setup interface screens
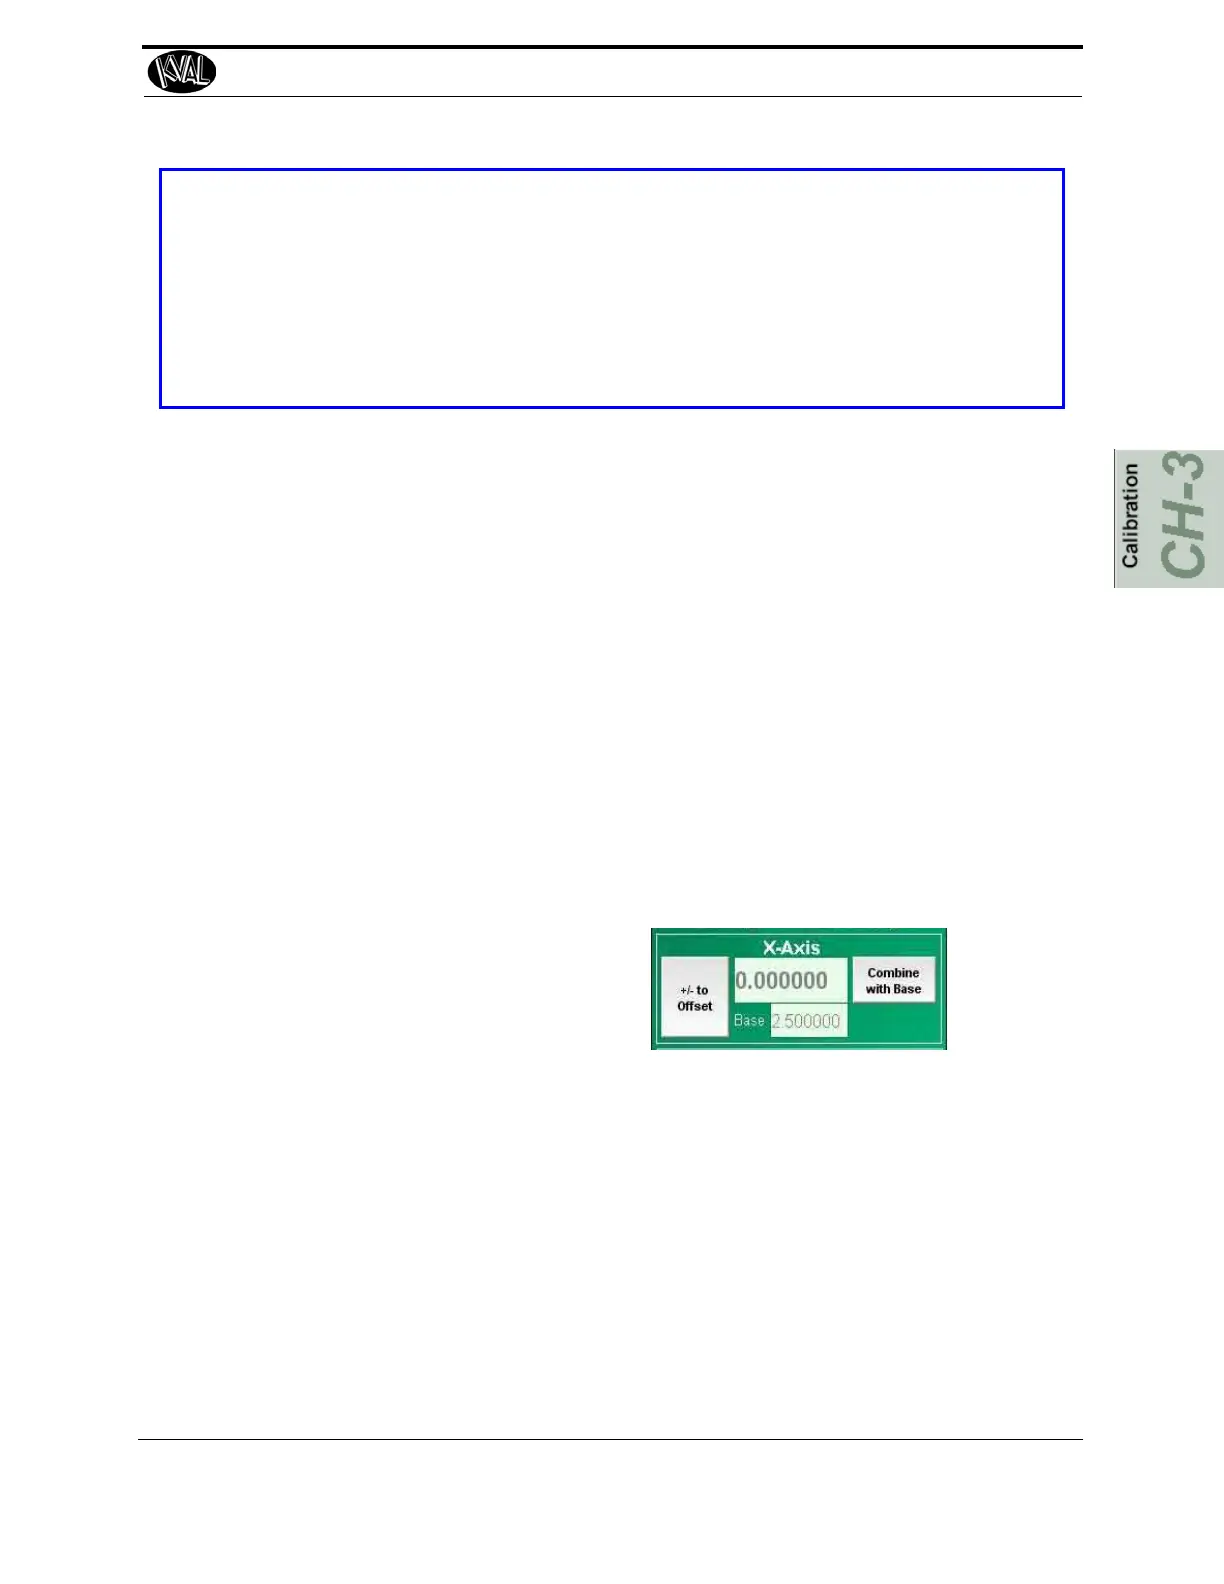
6. If there is a number in the box under X-Axis, select the Combine with Base button to
set a reference.
7. Once this number is added to the base, double select the box that has 0.000. A calcu-
lator will be displayed. Enter the offset in this box.
8. If it needs to go in the negative direction, select the negative symbol.
9. Select the check mark to confirm this number and exit to go back to the Setup
screen.
10. Exit out of the Setup screen and rerun the Calibration test.
11. Re-measure the slot.
12. If slot is not centered, repeat the steps above until the slot is centered.
13. After centering is achieved, select Combine with Base to store the corrections.