Group 5 Transport/Start up Page 41
JET3 Series Release 2.02
Figure
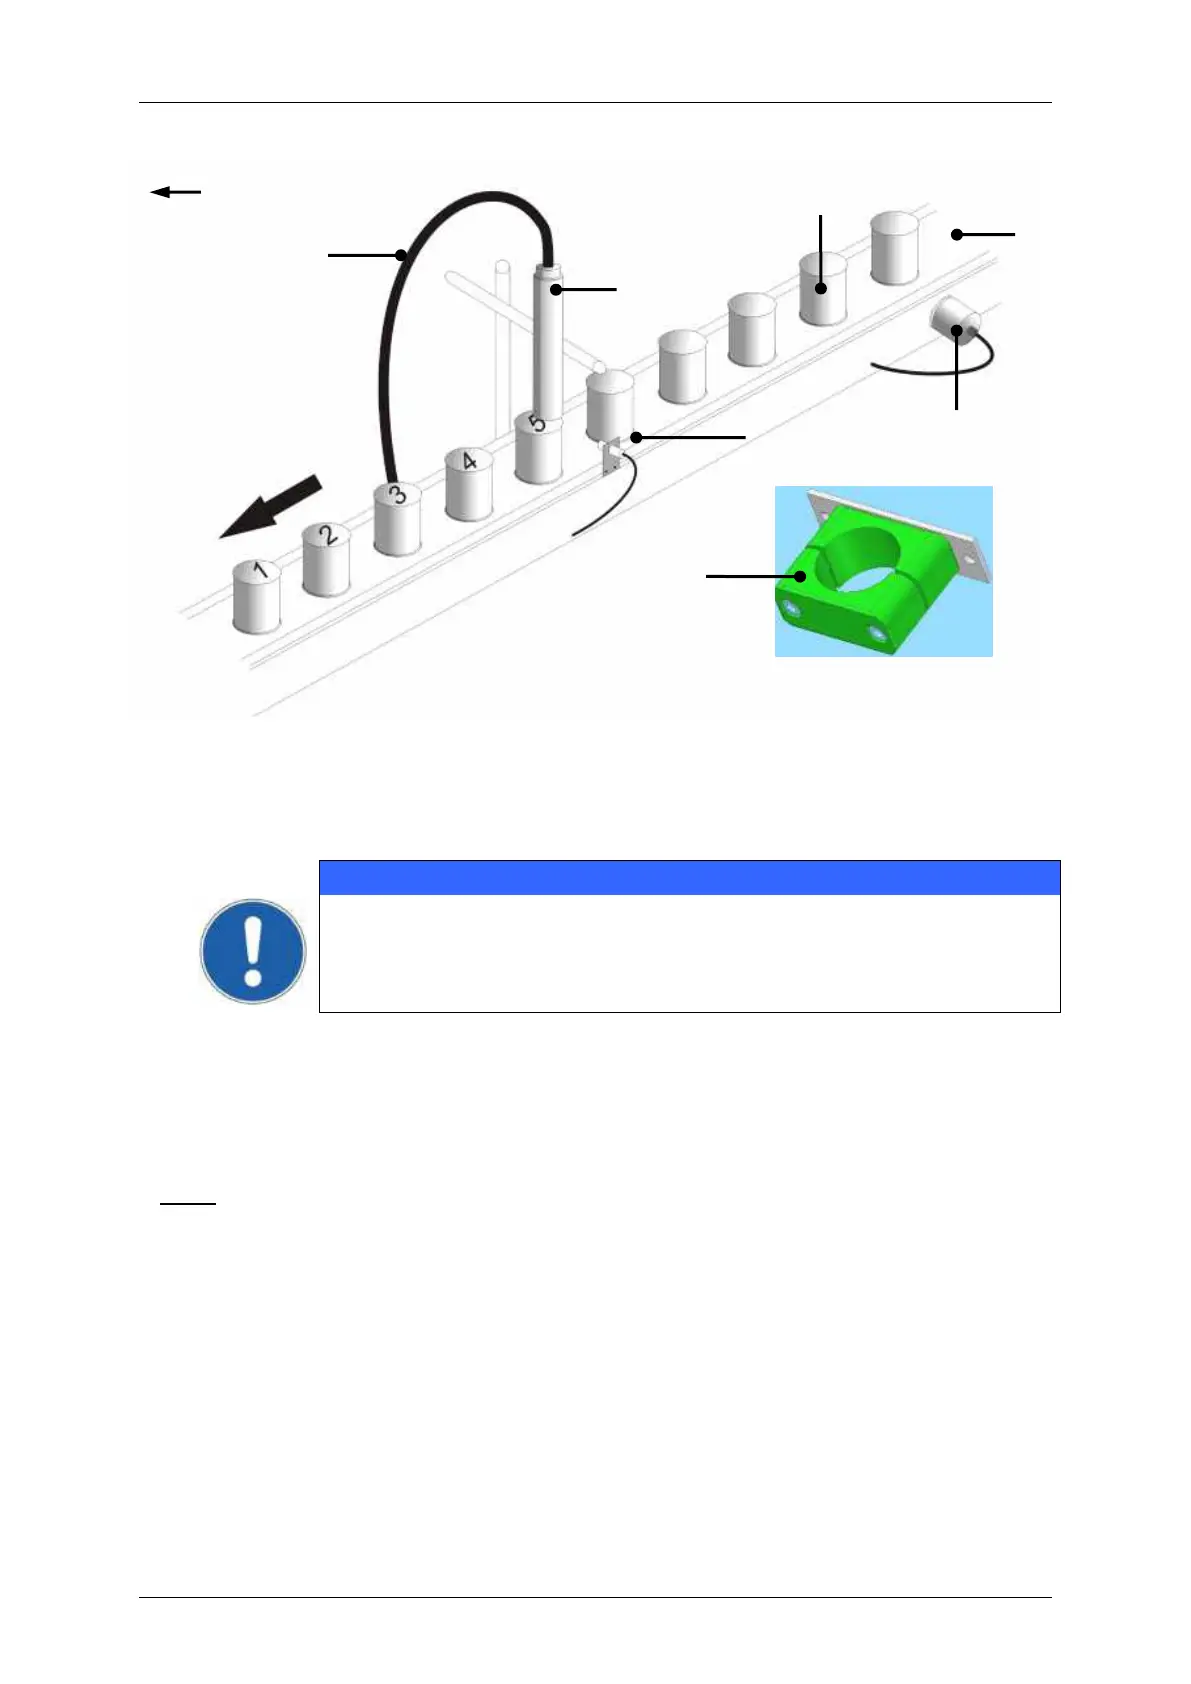
Print head installation (Example)
6 – Umbilical (Hose connection)
The print head should be attachted vibration-free. The hose connection of
the print head should not be smaller as a radius of R=100 mm statistically
(loop: 200 mm) and dynamically not below R=150 mm (loop: 300 mm)!
Torsional shear stress must be avoided!
The distance of the print head to the product depends on the required character height. As
smaller the required character height, as smaller the distance of the print head to the
product (smaller distances produce better type quality)
Note:
In general a distance of round about 8-10mm is recommended.
For applications with extreme small or large character heights a micro- and macro print head
are available optionally.


 To Next Page