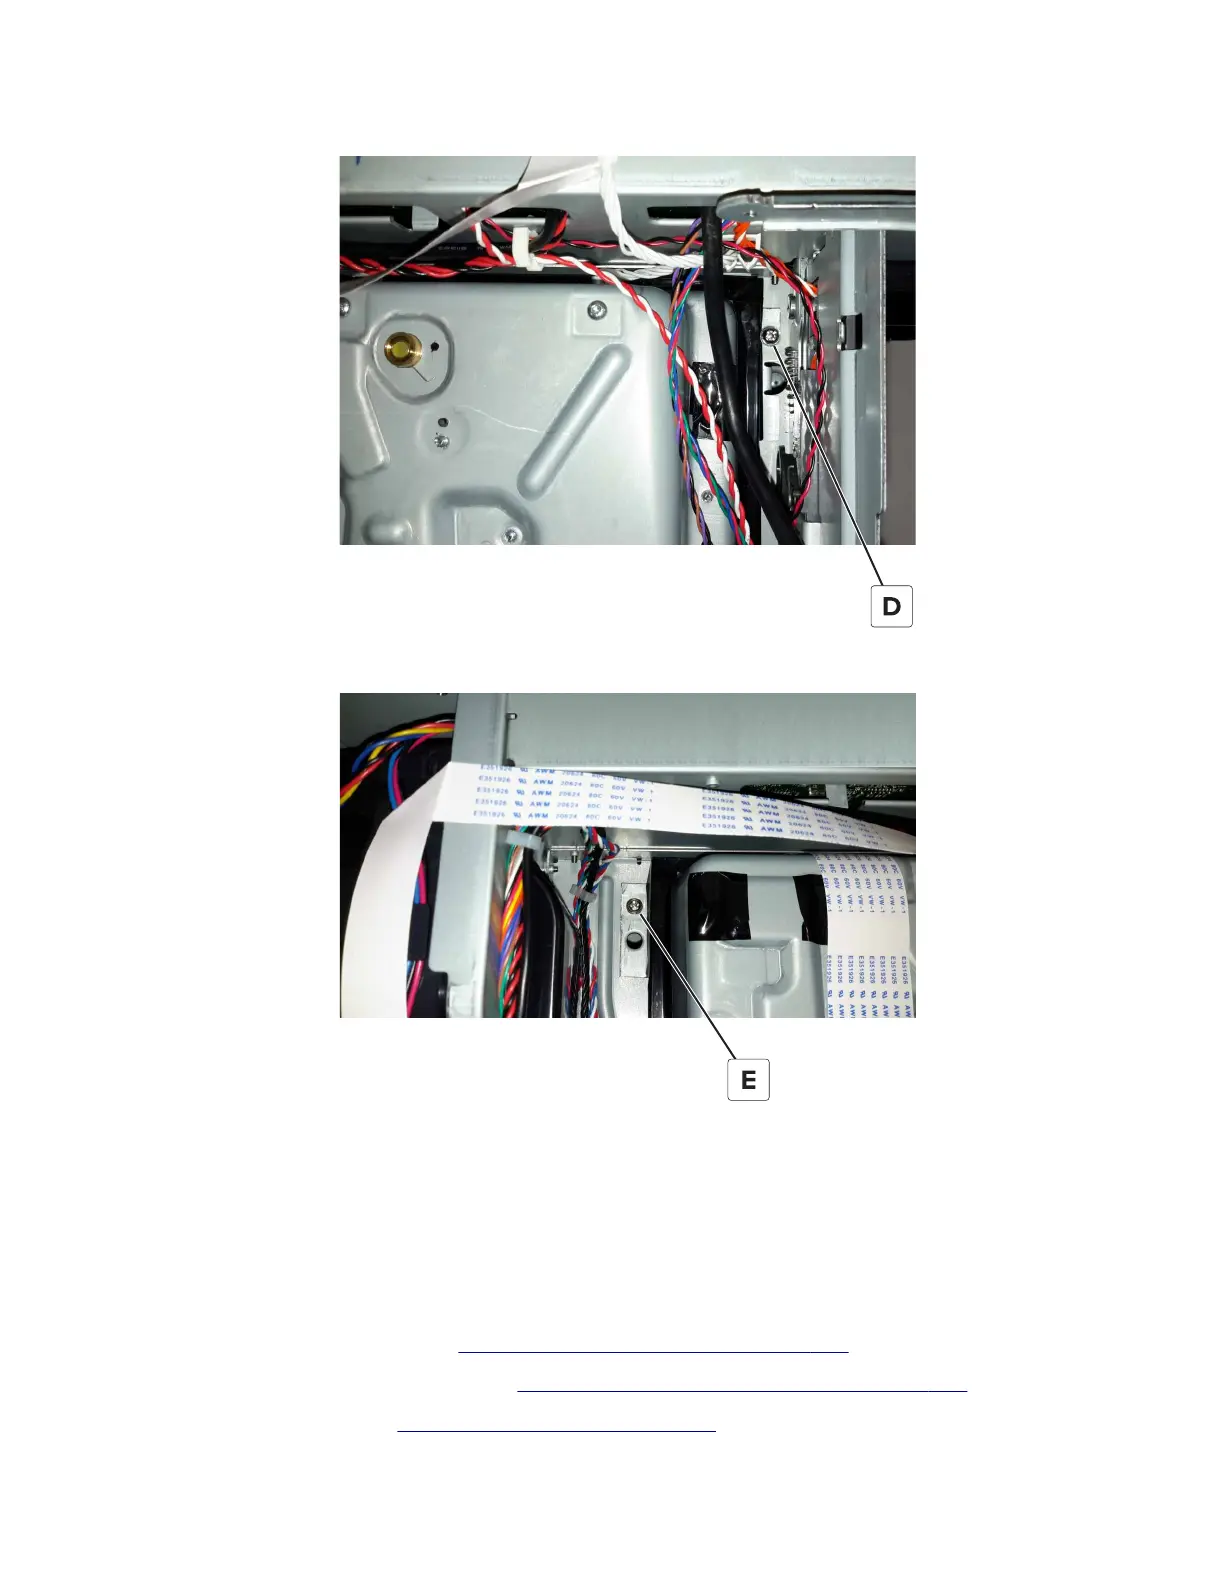
6 Remove the rear right screw (D) from the printhead.
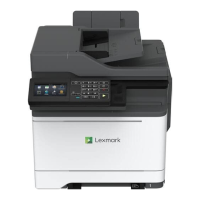
7 Remove the rear left screw (E) from the printhead.
Installation notes:
a When installing the printhead, replace the screws but do not tighten them right away. Install each screw
first before fully tightening all the screws.
b Perform printhead alignment and adjustment after installing the printhead.
Developer hold down removal
1 Remove the output bin cover. See “Output bin cover removal” on page 330.
2 Remove the controller board shield. See “Controller board shield removal” on page 408.
3 Remove the printhead. See “Printhead removal” on page 413.
7528
Repair information
415