32
SC100/200 Series Users Manual EM-6337-B Rev.15
4.8. MOUNTING ON A PANEL
4.8.1. MOUNTING PROCEDURE
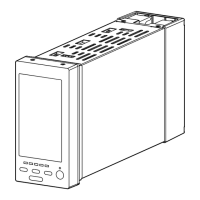
1) Remove both mounting brackets.
2) Detach the terminal cover and insert it rst and then the unit itself into the cutout hole. (The cover is slightly wider than
the unit.)
3) Put and slide the brackets back into the holes at the top and the bottom and tighten them until the unit is rmly xed.
• How to Remove the Terminal Cover
Insert the minus tip of a screwdriver into each hole at the
four corners of the cover and pull it to the direction as in-
dicated below to separate the terminal cover.
• How to Remove the Terminal Block
The terminal block is separable in two pieces (with option
/T). Loosen two screws on upper and lower of the termi-
nal block to separate.
In order to attach the terminal block, tighten the terminal
xing screws evenly. (torque: 1.2 N·m)
Be sure to turn off the power supply, input signal and
power supply to the output relays before separating the
terminal block.
Terminal fixing
screws
4.8.2. PANEL CUTOUT
unit: mm
138
68 [68+72×(n - 1)]
+1
0
+0.7
0
Panel thickness 2.3 – 20
138
+1
0
+1
0
• Single mounting • Clustered mounting
n = number of units