215922 290 Revision A
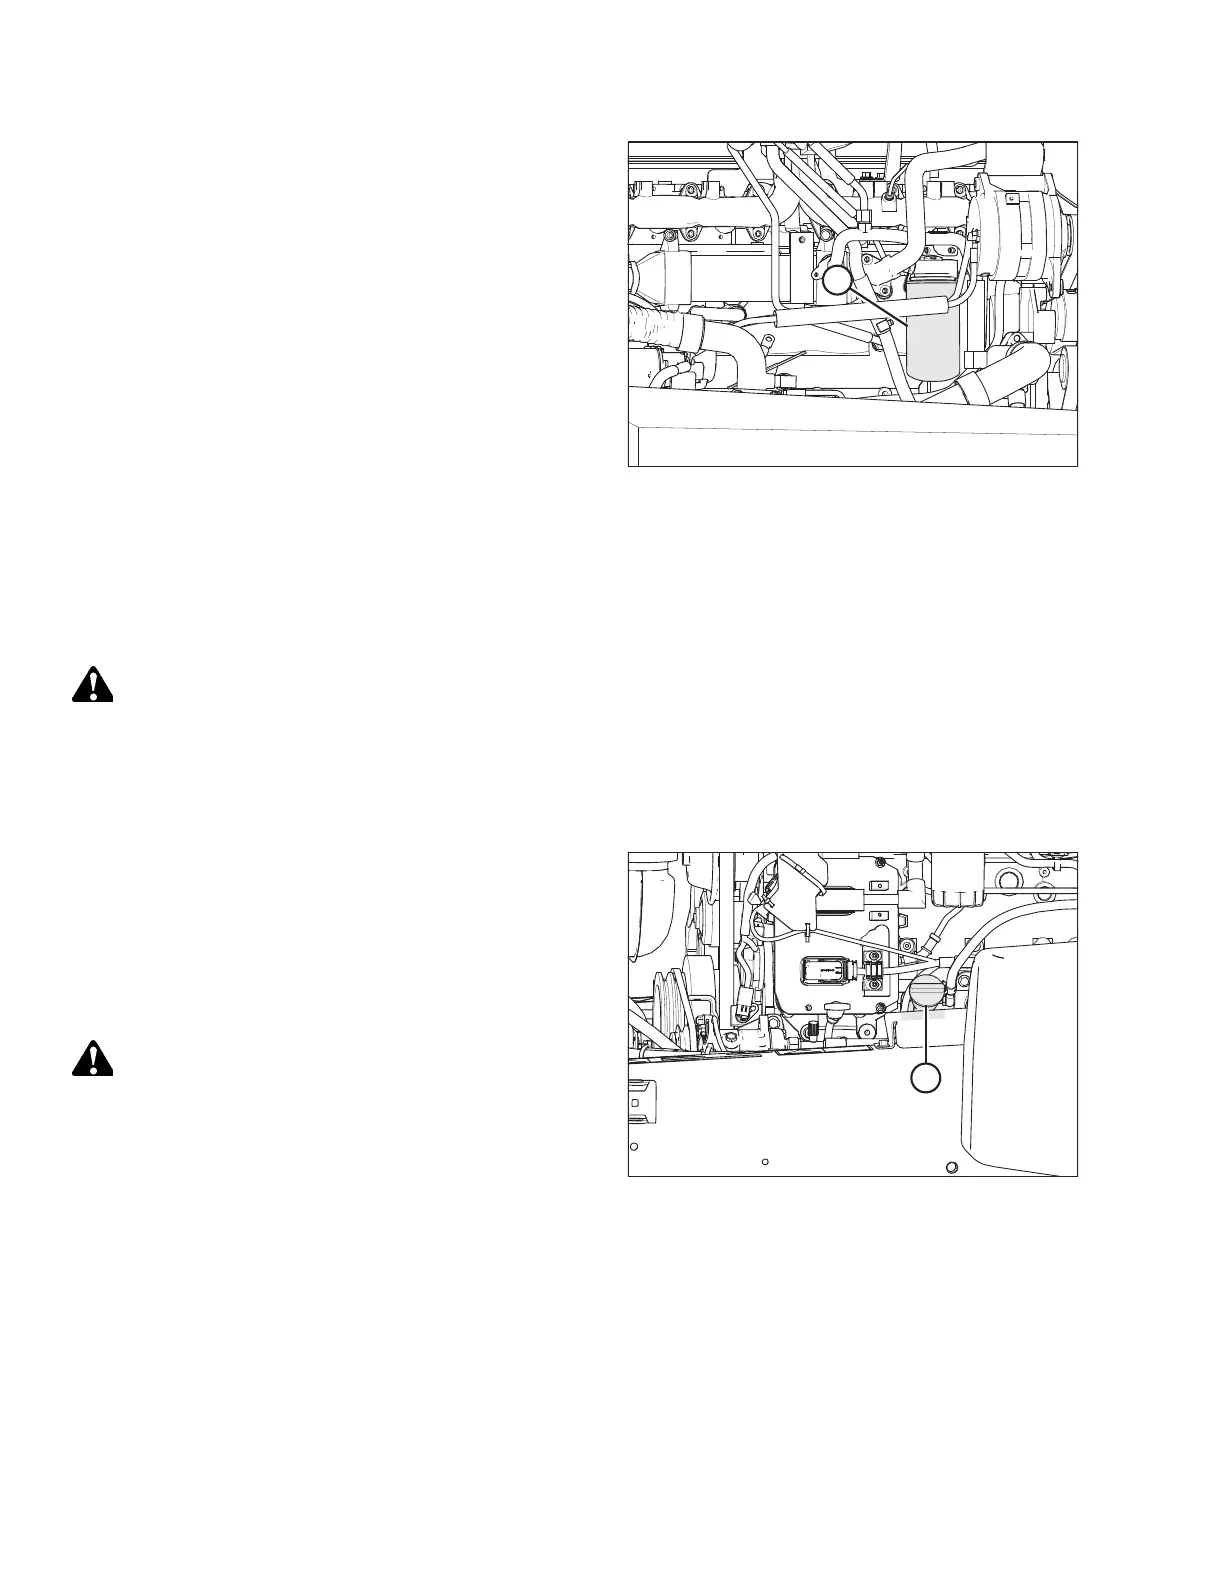
Figure 5.85: Engine Oil Filter
3. Clean around filter head (A) and remove the filter.
NOTE:
Check that the gasket is removed from the filter head.
4. Clean the gasket mating surface.
5. Apply a thin film of clean oil to the gasket on the new filter.
Refer to 5.1.5 Filter Part Numbers, page 234 for the
recommended oil filter.
6. Screw the new filter onto the filter mount until the gasket
contacts the filter head.
7. Tighten the filter an additional 1/2 to 3/4 turn by hand.
IMPORTANT:
Do NOT use a filter wrench to install the oil filter.
Overtightening can damage the gasket and filter.
8. Properly dispose of the used oil filter.
Adding Engine Oil
DANGER
To prevent bodily injury or death from the unexpected startup of the machine, always stop the engine and remove the
key from the ignition before leaving the operator’s seat for any reason.
1. Open the hood. For instructions, refer to 5.3.1 Opening Hood, page 239.
2. Shut down the engine, and remove the key from the ignition.
Figure 5.86: Oil Filler Cap
3. Clean the area around filler cap (A) and remove it by
turning the cap counterclockwise.
4. Carefully pour in 11 L (11.6 US qts) of new oil. A funnel is
recommended to avoid spillage. Refer to 5.1.4 Lubricants,
Fluids, and System Capacities, page 232 for oil
specifications.
CAUTION
Do NOT fill above the HIGH mark.
5. Replace oil filler cap (A) and turn it clockwise until snug.
6. Check the oil level. For instructions, refer to 5.7.1 Checking Engine Oil Level, page 270.
7. Close the hood. For instructions, refer to 5.3.2 Closing Hood, page 240.
MAINTENANCE AND SERVICING