MOOR INSTRUMENTS moorLDI2 RESEARCH USER MANUAL
54
7. SINGLE IMAGE SCAN
7.1 TO START
After setting up the scan window using
Setup
and configuring the system (or loading a previously
defined configuration file) it is possible to proceed to imaging.
Click on the single scan icon
(or type Alt M, I ie hold dow the Alt key and type M followed by I)
or
select
Measurement
Image scan
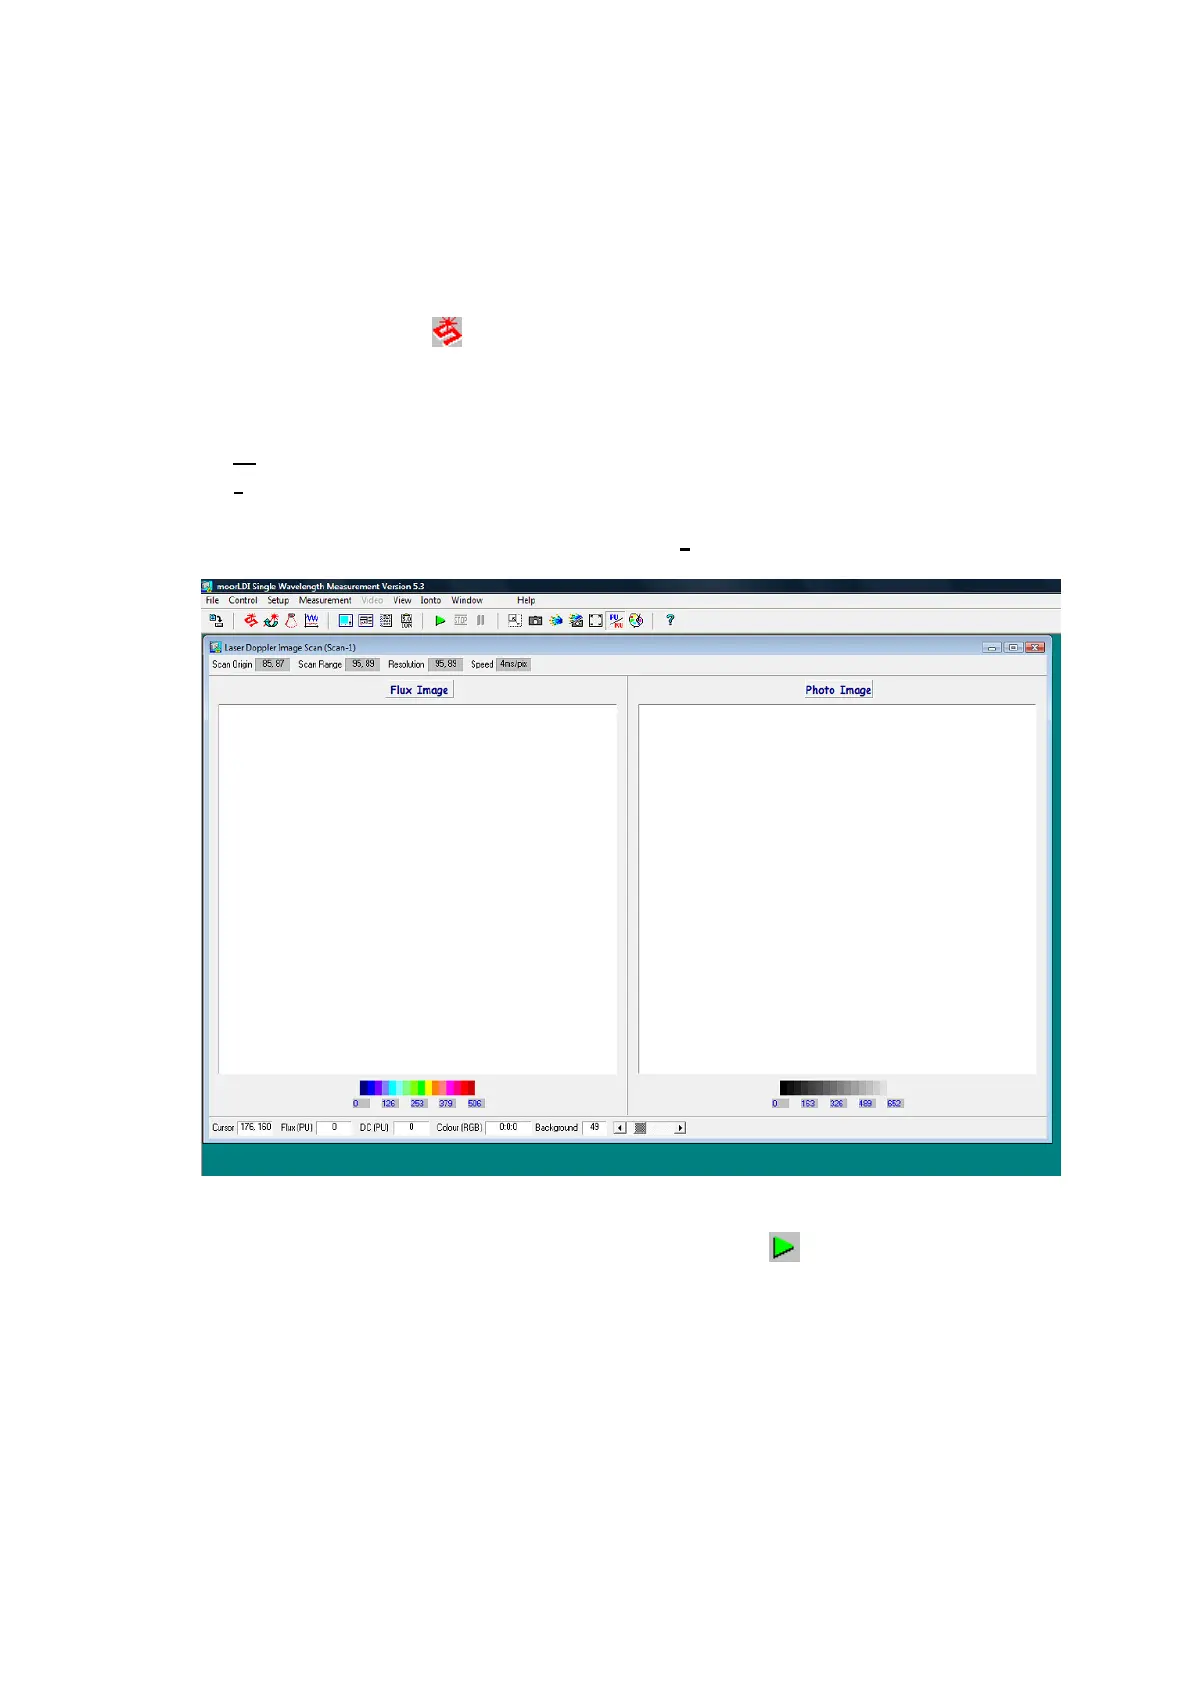
The following measurement window is displayed when
Image scan
is selected:
This has additional icons for image acquisition, save and display on the icon tool bar.
To start collecting photo and flux images click on the green flag .
The system will then prompt for the distance from scan head to tissue if the preference setup has been
set to prompt. Note that the distance can be automatically measured and entered via the scanner setup
window. If you wish to change the scan distance, without returning to scanner setup, then you need to
enter the distance manually.
There is a raised plastic mark on each side of the scan head. The marks are approximately lined up
with the bottom of the glass window where the ‘Laser Aperture’ is labelled. Measure from one mark,
parallel with the laser line, to the plane of the tissue surface and enter the distance into the box.