Manage Device Security
356
M4100 Series Managed Switch
Note: There is an implicit deny all rule at the end of an ACL list. This means
that if an ACL is applied to a packet and if none of the explicit rules
match, then the final implicit “deny all” rule applies and the packet is
dropped.
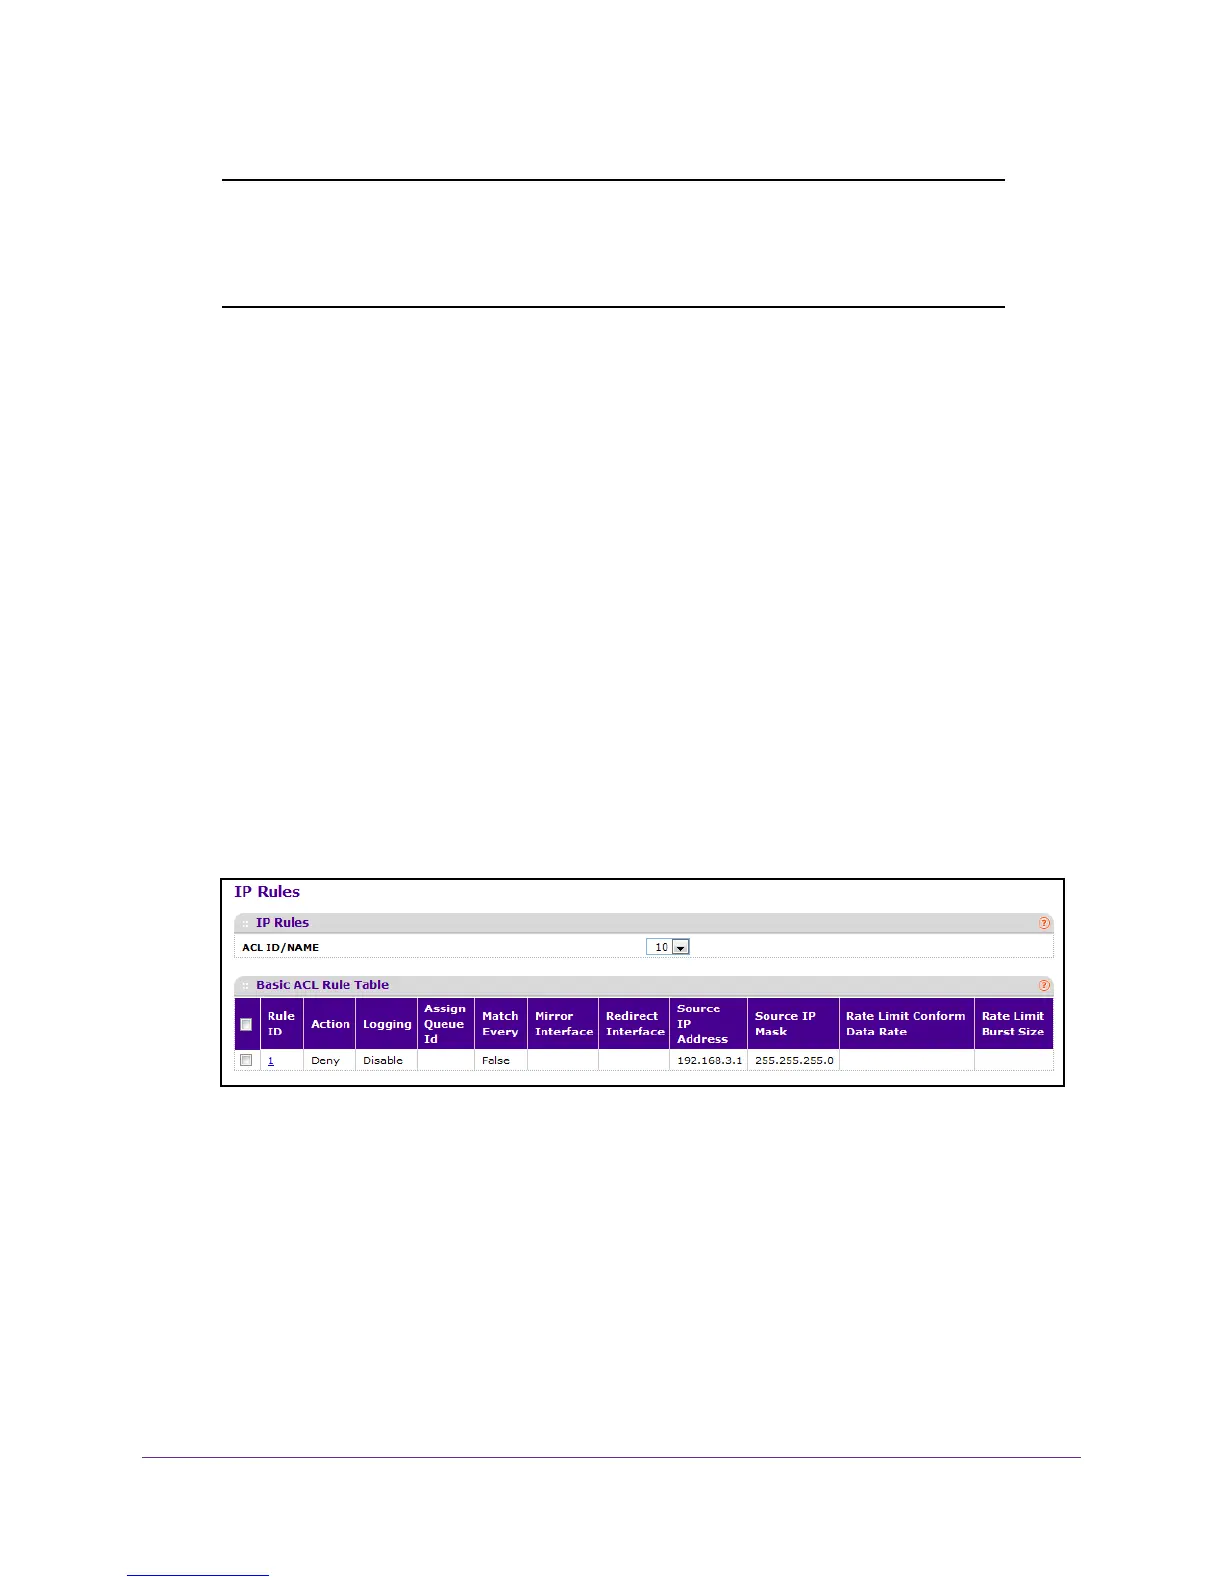
To configure rules for an IP ACL:
1. Prepare your computer with a static IP address in the 169.254.100.0 subnet, for
example, 169.254.100.201.
2. Connect an Ethernet cable from an Ethernet port on your computer to an Ethernet port on
the switch.
3. Launch a web browser
.
4. Enter the IP address of the switch in the web browser address field.
The default IP address of the switch is 169.254.100.100.
The Login screen displays.
5. Enter the user name and password.
The default admin user name is admin and the default admin password is blank, that is,
do not enter a password.
6. Click the Login button.
The web management interface menu displays.
7. Select Security
ACL > Advanced IP Rules.
What is shown on this screen varies depending on the current step in the rule
configuration process
8. To add an IP ACL rule, select the ACL ID to add the rule to, complete the fields described in
the following list, and click the ADD button. (Displays only for ACL IDs from 1 to 99.)
• Rule ID. Enter a whole number in the range of 1 to 51
1.
This number is used to identify the rule. An IP ACL can add up to 511 rules.
• Action. Specify the action to be taken if a packet matches the rule's criteria.
The
choices are permit or deny.

 Loading...


