Configure System Information
71
M4100 Series Managed Switch
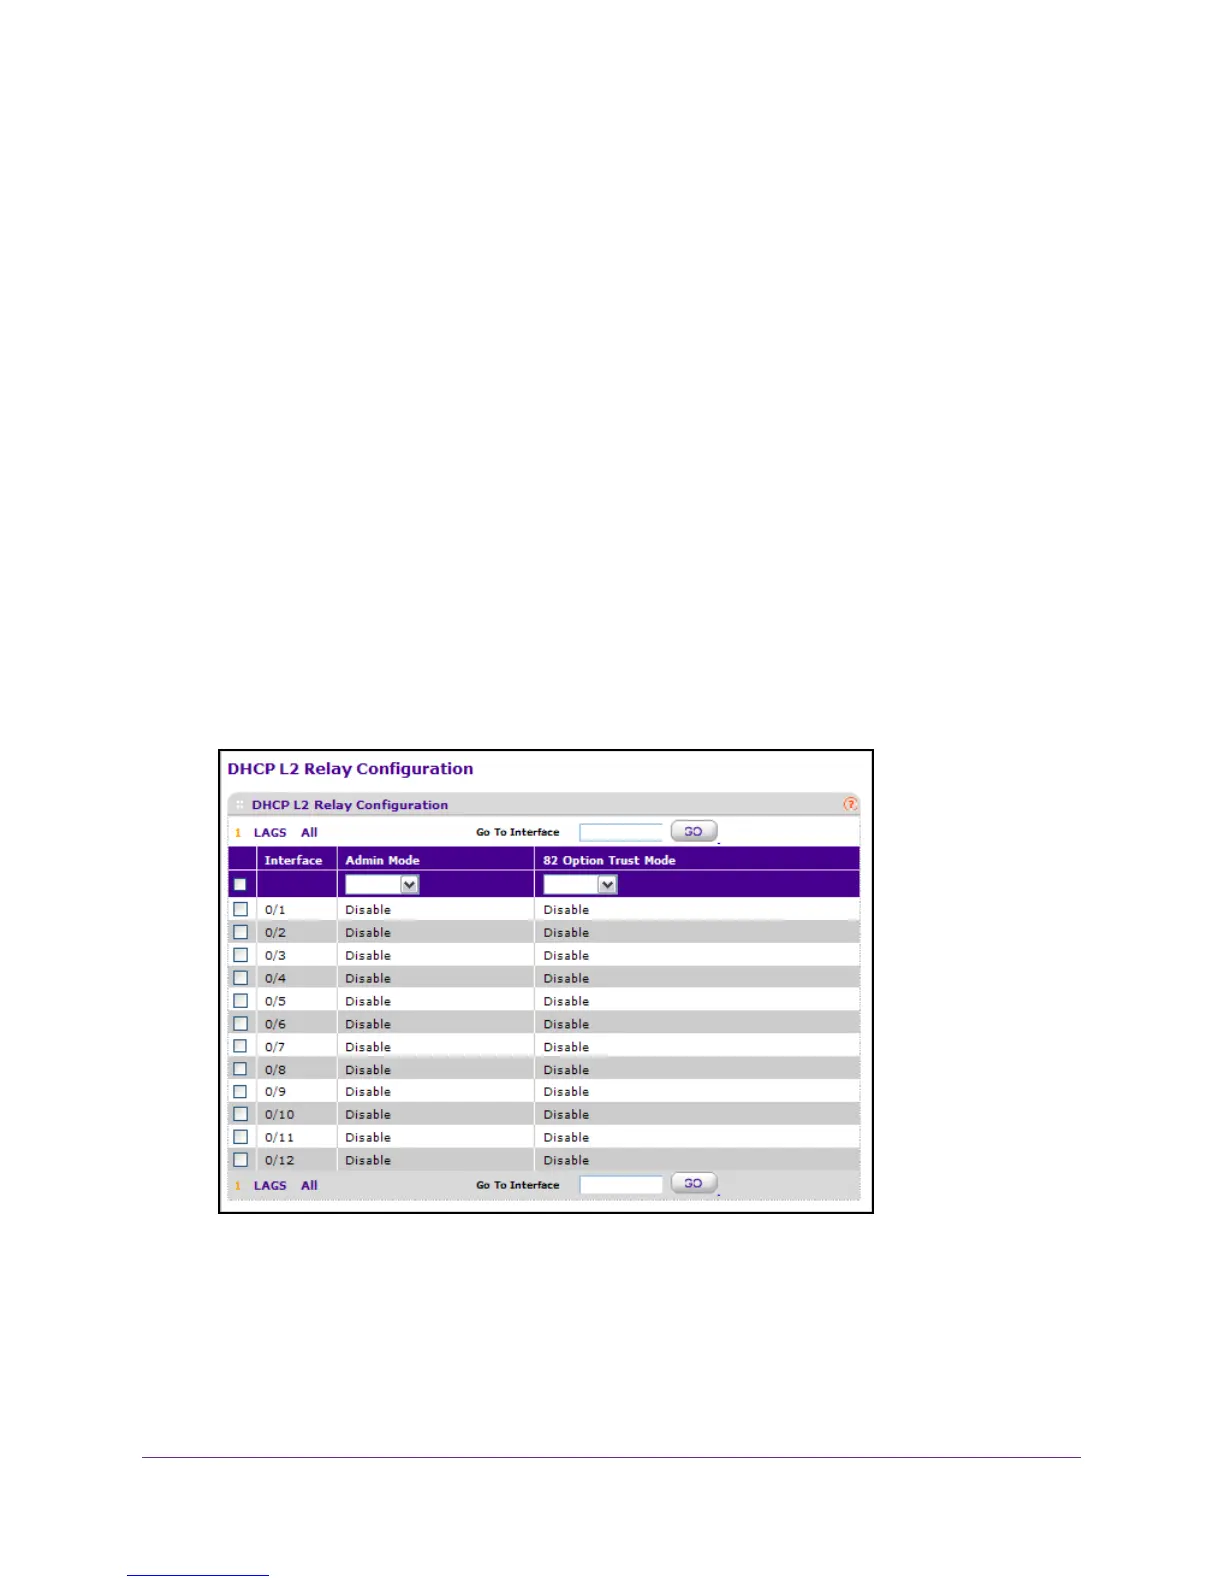
Configure the DHCP L2 Relay Interface
To configure the DHCP L2 Relay Interface:
1. Prepare your computer with a static IP address in the 169.254.100.0 subnet, for
example, 169.254.100.201.
2. Connect an Ethernet cable from an Ethernet port on your computer to an Ethernet port on
the switch.
3. Launch a web browser
.
4. Enter the IP address of the switch in the web browser address field.
The default IP address of the switch is 169.254.100.100.
The Login screen displays.
5. Enter the user name and password.
The default admin user name is admin and the default admin password is blank, that is,
do not enter a password.
6. Click the Login button.
The web management interface menu displays.
7. Select System > Services > DHCP L2 Relay > DHCP L2 Relay Interface Configuration
.
8. Use Admin Mode to enable or disable the DHCP L2 Relay on the selected interface.
The default is disable.
9. Use 82 Option T
rust Mode to enable or disable an interface to be trusted for DHCP L2
Relay (Option-82) received.
 Loading...


