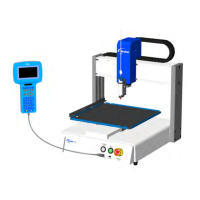
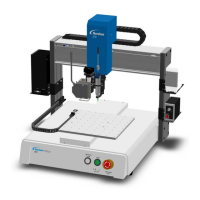
E Series Automated Dispensing System
15www.nordsonefd.com info@nordsonefd.com 800-556-3484 Sales and service of Nordson EFD dispensing systems are available worldwide.
Position the Robot and Install and Connect Components
Refer to the Quick Start Guide and to this section as needed to install the system components and make
connections.
NOTES:
• The components of an automated dispensing system vary. Steps for a complete system with all available
components are provided in this manual and in the Quick Start Guide. Perform only the steps that apply to your
system.
• If the system is being used in the European Community, the robot is shipped with an enclosure or light curtain
that (1) prevents an operator from entering the robot’s work area and (2) generates an emergency stop signal if the
enclosure door switch is opened while the robot is running.
Before you begin any programming or operation, complete the following tasks as applicable for your system.
Applicability Item
Components to Install
or Connect
Installation Tasks
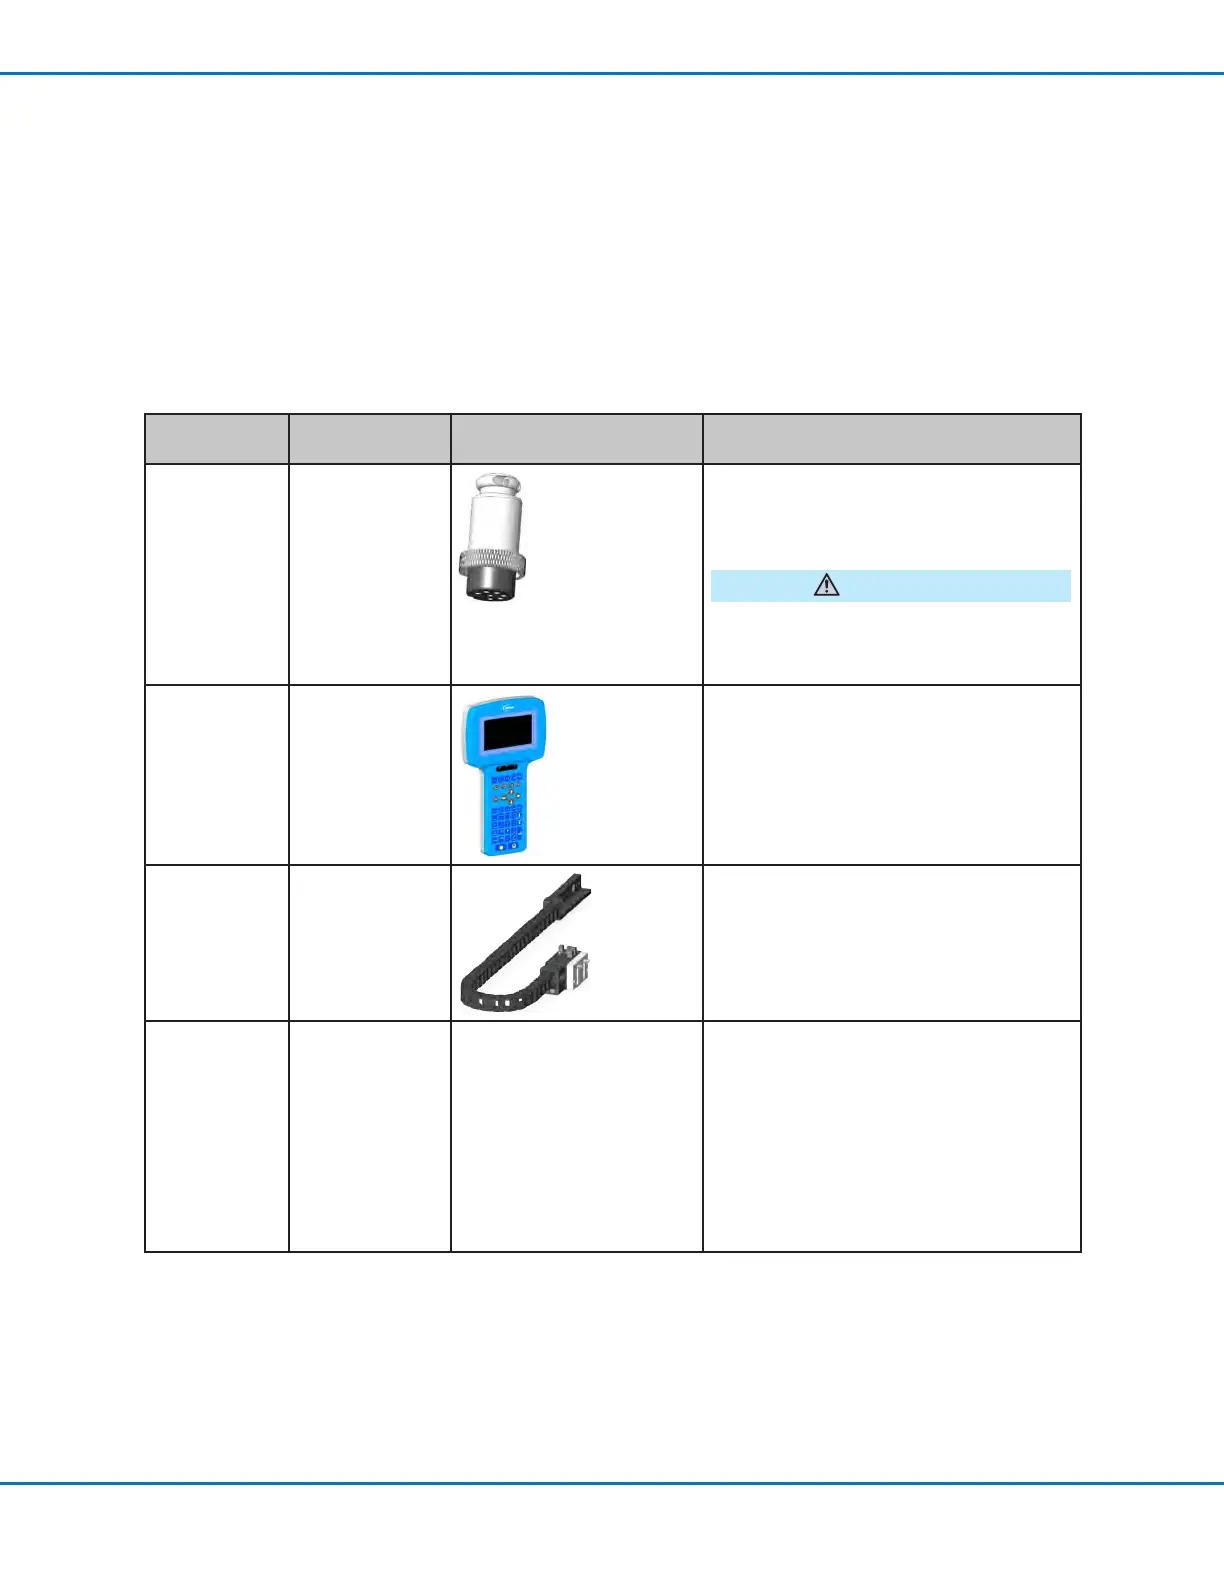
All models Input / output
safety plug
(SHORTED)
Connect the input / output safety plug to
the Ext. Control port to bypass the door
switch.
CAUTION
Install this plug only if you want to bypass
the door switch. When this plug is installed,
the installer assumes all safety liability.
All models Teach Pendant
Connect the Teach Pendant cable to the
Teach Pendant port on the front of the
robot.
If present Tip alignment
kit (optional)
(7360892)
Install the tip alignment kit.
Connect the cable to the Tactile port on
the back of the robot.
All models Dispensing valve
components
As applicable
Mount the syringe barrel or dispensing
valve holder (as applicable) on the Z
axis; choose mounting holes that allow a
maximum workpiece clearance but also
allow the dispensing tip to reach all areas
on the workpiece where dispensing is
required.
Refer to the dispensing equipment
manuals for all other dispensing system
installation steps.