E Series Automated Dispensing System
61www.nordsonefd.com info@nordsonefd.com 800-556-3484 Sales and service of Nordson EFD dispensing systems are available worldwide.
Creating Patterns (continued)
How to Make a Line
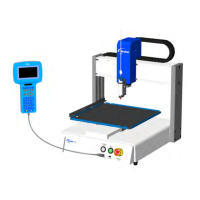
Line Passing
Line Start Line End
PREREQUISITES
The system is in the Teach Mode. Refer to “How to Switch from Run Mode to Teach Mode” on page44.
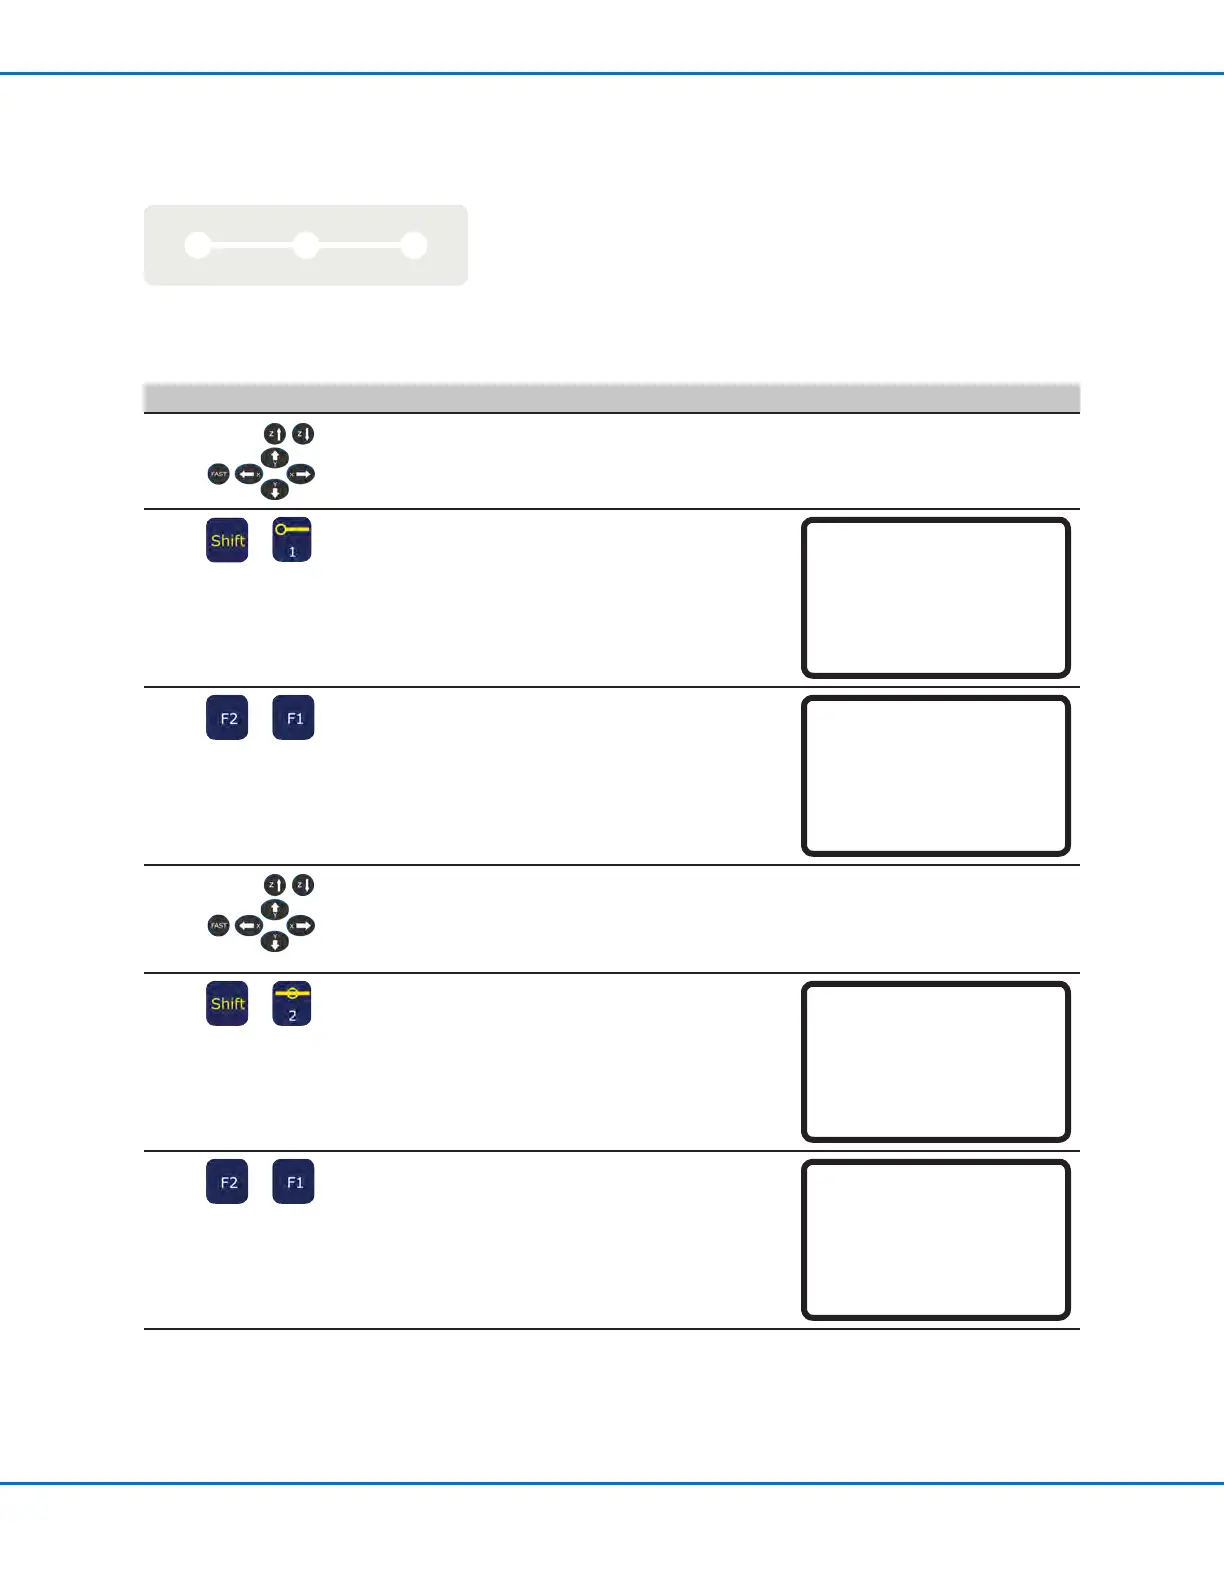
# Key Press Step Teach Pendant Display
1
• Jog the dispensing tip to an XYZ
location for the rst dispense point (Line
Start).
2
>
• Press SHIFT > 1 to register the location
as a Line Start point.
• Make XYZ coordinate changes as
needed.
Line Start 1/2
------------------------------
X: 130.93 mm
Y: 37.39 mm
Z: 45.54 mm
[F1] OK [F2] Next [F3] Current
3
>
• Press F2 to move to the Line Start
parameter screen.
• Press F1 to save and exit.
Line Start 2/2
------------------------------
Line Speed: 10.0 mm/s
Pre-move Delay: 0.00 s
Settling Distance: 0.00 mm
Dispenser Off(0)/On(1): 1
[F1] OK [F2] Next
4
• Jog the tip to the XYZ location of the
second point (Line Passing).
5
>
• Press SHIFT > 2 to register the location
as a Line Passing point.
• Make XYZ coordinate changes as
needed.
Line Passing 1/2
------------------------------
X: 130.93 mm
Y: 37.39 mm
Z: 45.54 mm
[F1] OK [F2] Next [F3] Current
6
>
• Press F2 to move to the Line Passing
parameter screen.
• Press F1 to save and exit.
Line Passing 2/2
------------------------------
Line Speed: 10.0 mm/s
Node Time: 0.00 s
Dispenser Off(0)/On(1): 1
[F1] OK [F2] Next
Continued on next page