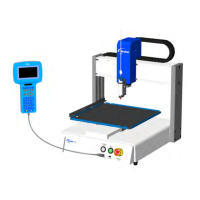
E Series Automated Dispensing System
66 www.nordsonefd.com info@nordsonefd.com 800-556-3484 Sales and service of Nordson EFD dispensing systems are available worldwide.
How to Fill an Area
PREREQUISITES
The system is in the Teach Mode. Refer to “How to Switch from Run Mode to Teach Mode” on page44.
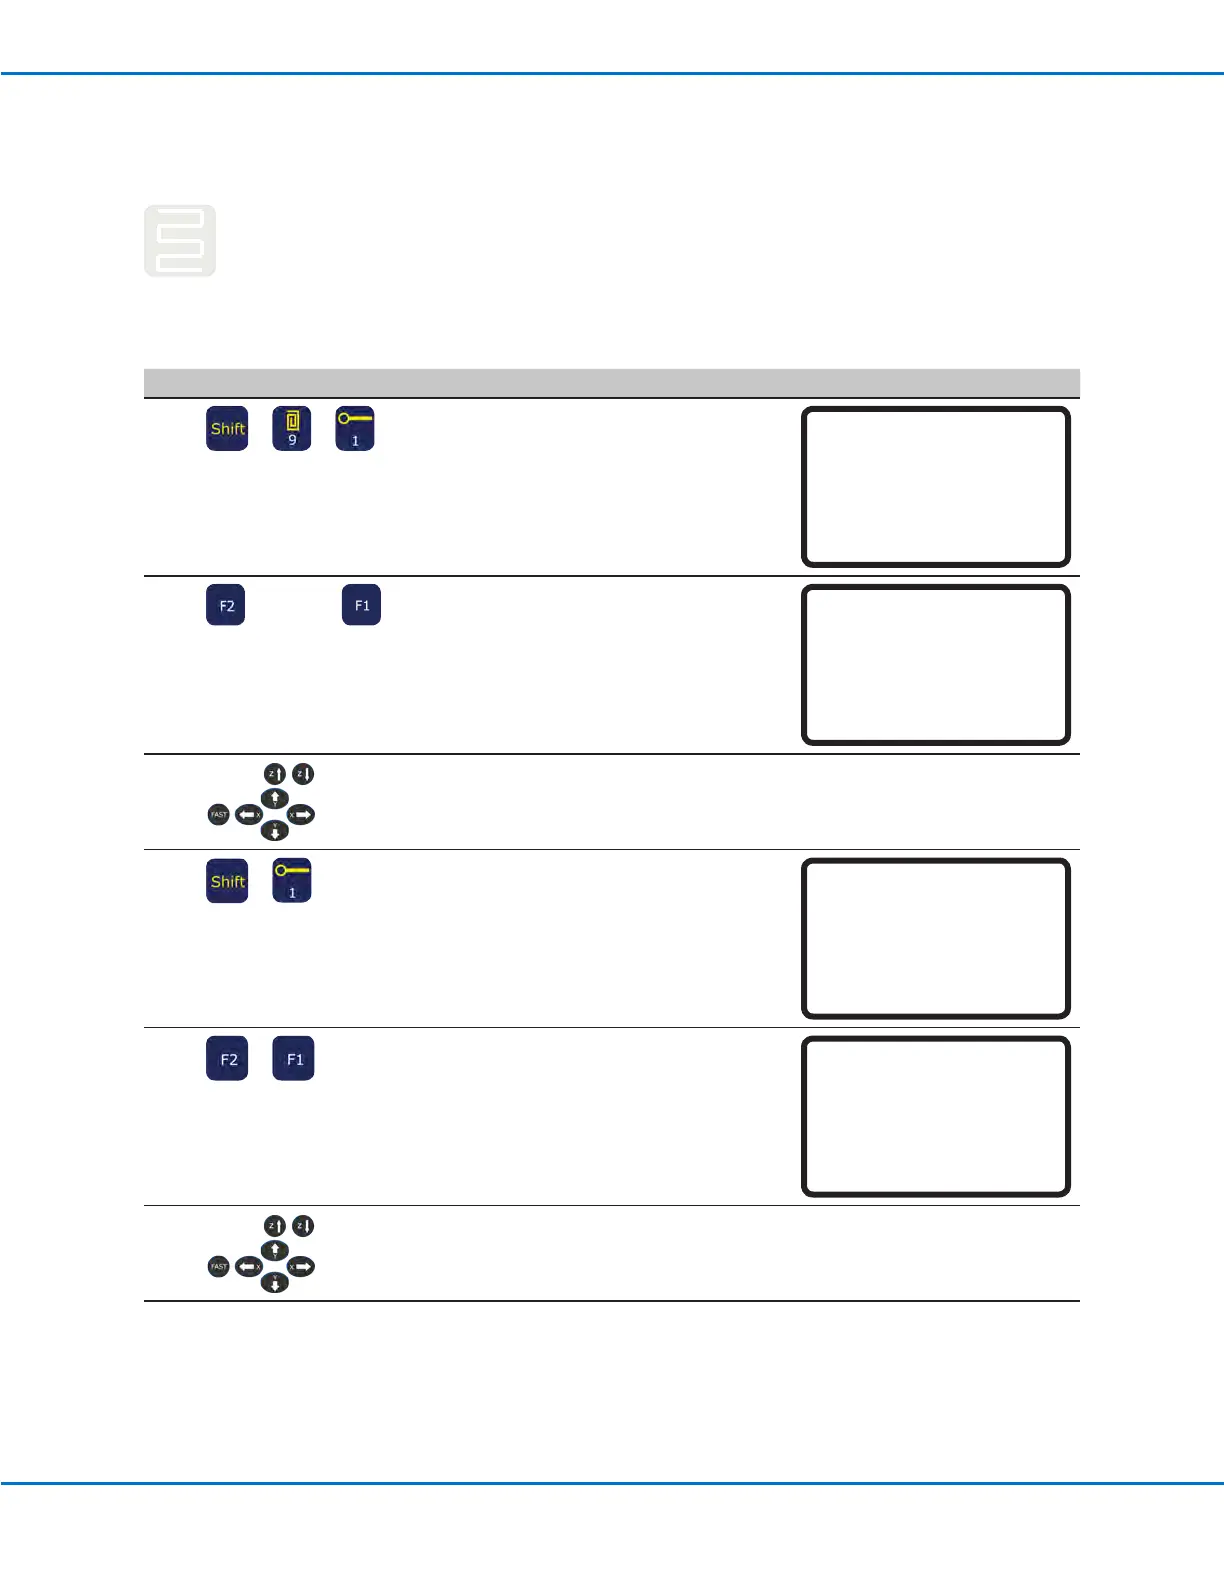
# Key Press Step Teach Pendant Display
1
> >
• Press SHIFT > 9 to open the Fill Area
menu, then select the Fill Type.
• Press 1 RECTANGLE.
NOTE: This procedure shows how to ll
a rectangle. Refer to “22 Fill Area” on
page106 for detailed information on
each of the ll types.
Fill Area 1/2
------------------------------
Fill Type: 2
1 Rectangle 5 Circle Out
2 Rectangle In 6 Polygon In
3 Rectangle Out 7 Polygon Out
4 Circle In
[F1] OK [F2] Next
2
> xx.xx >
• Press F2 to move to the Fill Area
parameter screen.
• Enter the Width and Band settings
for the area to be lled, then press F1
to save the setting and return to the
program.
Fill Area 2/2
------------------------------
Width: 0.00 mm
Band: 0.00 mm
[F1] OK [F2] Next
3
• Jog the dispensing tip to the top left
corner of the area to be lled.
4
>
• Press SHIFT > 1 to register the location
as a Line Start point.
Line Start 1/2
------------------------------
X: 130.93 mm
Y: 37.39 mm
Z: 45.54 mm
[F1] OK [F2] Next [F3] Current
5
>
• Press F2 to move to the Line Start
parameter screen.
• Press F1 to save and exit.
Line Start 2/2
------------------------------
Line Speed: 10.0 mm/s
Pre-move Delay: 0.00 s
Settling Distance: 0.00 mm
Dispenser Off(0)/On(1): 1
[F1] OK [F2] Next
6
• Jog the dispensing tip to the bottom
right corner of the area to be lled.
Continued on next page
Creating Patterns (continued)