E Series Automated Dispensing System
58 www.nordsonefd.com info@nordsonefd.com 800-556-3484 Sales and service of Nordson EFD dispensing systems are available worldwide.
How to Create and Run a Program
The procedure provides the basic steps for creating and running a program. Every program is different. Use these
steps and the other applicable sections of this manual to create a program.
PREREQUISITES
The system is properly installed and set up. Refer to “Installation” on page14 and “Setup” on page32.
The Teach Pendant cable is connected to the robot and the system is in the Teach Mode. Refer to “How to Switch
from Run Mode to Teach Mode” on page44.
(Recommended) The tip height is calibrated; if the tip was changed, perform a Needle Adjust (systems without
a tip detector) or Auto Needle Adjust (systems with a tip detector). Refer to “Calibrating the Tip Height” on
page70.
The workpiece is properly positioned on the xture plate.
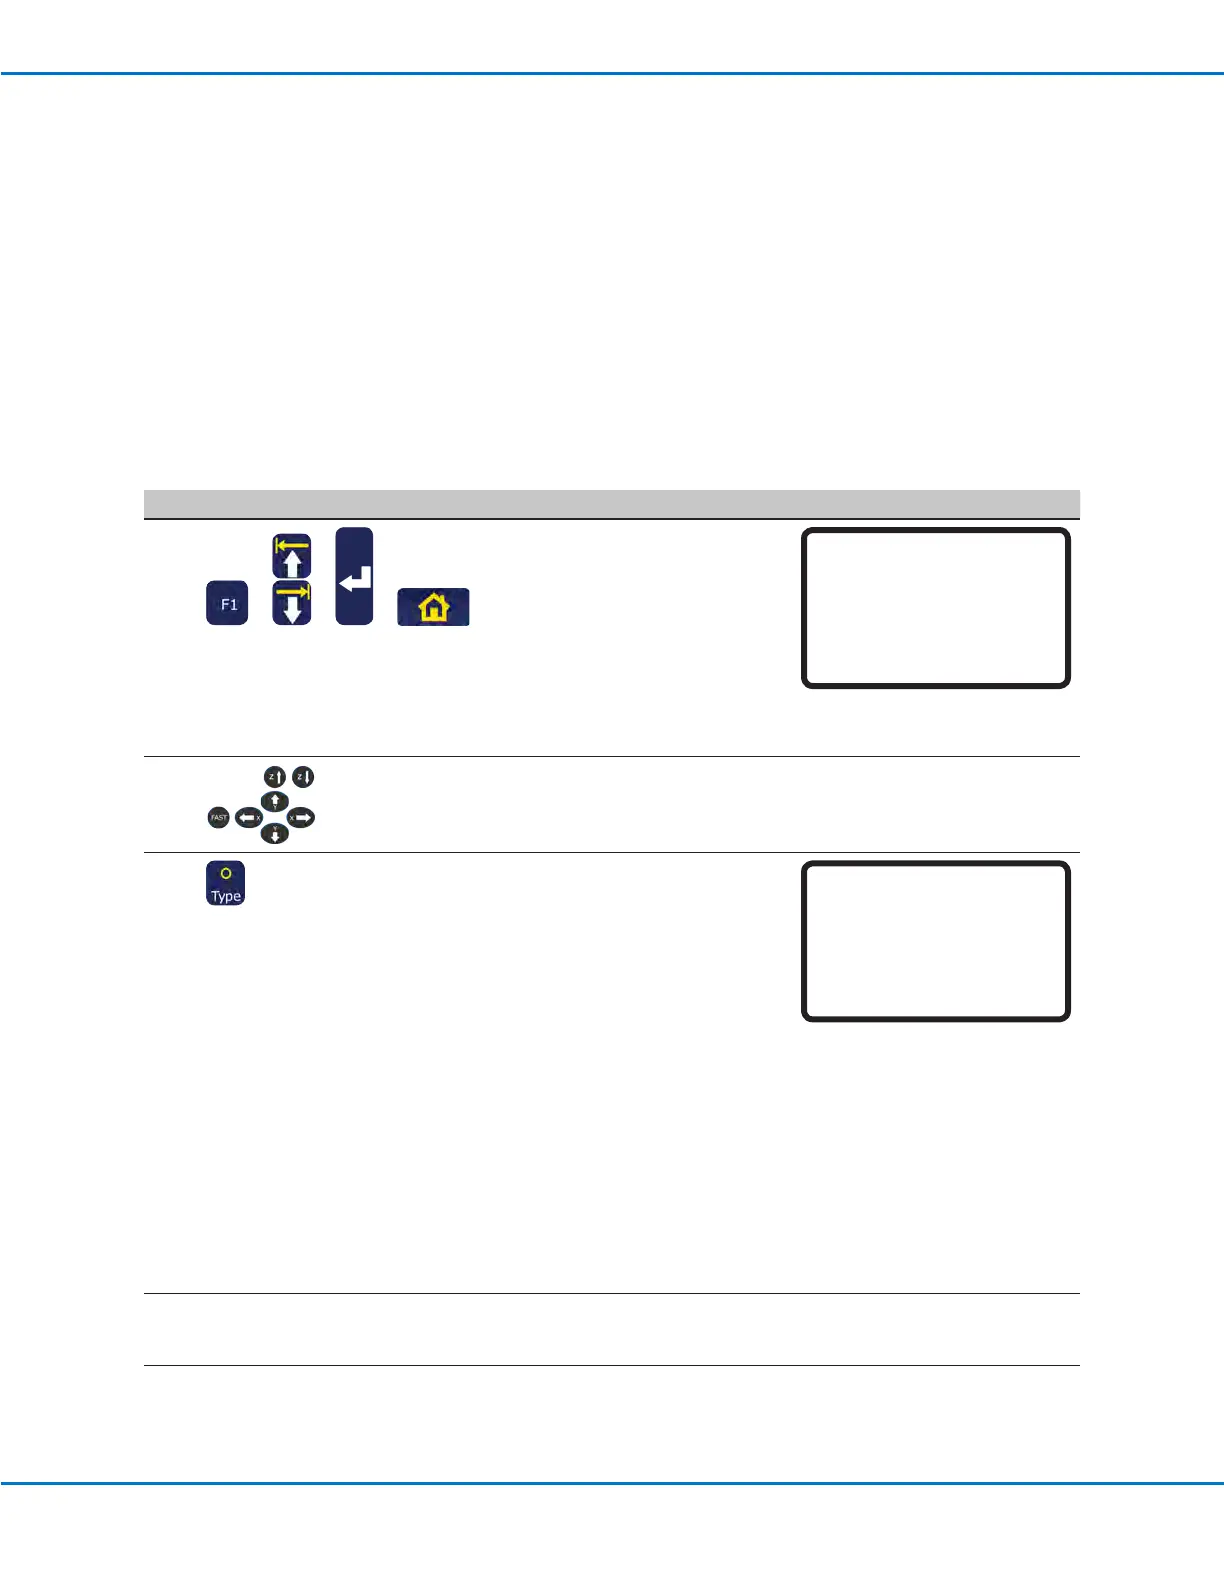
# Key Press Step Teach Pendant Display
1
> > >
• Press F1.
• MOVE UP / DOWN to TEACH/
RUN.
• Press ENTER.
• Press HOME. If prompted, enter
a password.
The system opens the last
program number that was
modied prior to shutdown.
[PROGRAM MENU] 1/1
01*Teach/Run
02 Program List
03 Reset Counter
04 Program Offset
05 Needle Adjust
06 Auto Needle Adjust
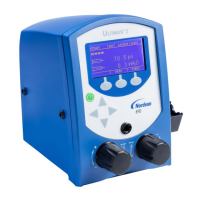
2
• Jog the tip to the rst point in a
pattern.
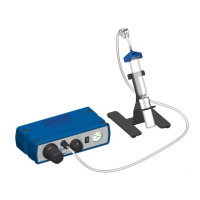
3
> x
• When the tip is at the correct
XYZ location for the rst point,
press TYPE to select a dispense
command for the point.
• Refer to the following sections
of this manual for information on
creating programs:
- “Best Practices for
Programming” on page19.
- “Creating Patterns” on
page60.
- “Appendix A, Type Menu
Reference” on page89 for
detailed information on all
commands.
NOTE: You can also press the
ENTER key in empty address
lines to open the Type menu.
[TYPE] 1/4
01 Dispense Dot
02 Line Start
03 Line Passing
04 Arc Point
05 Line End
06 Circle
07 End Program
4
• Continue entering commands
until the program is complete.
Continued on next page
Working with Programs and Commands (continued)