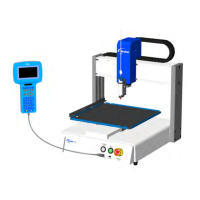
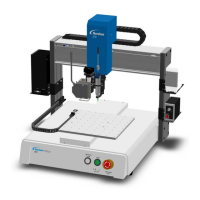
E Series Automated Dispensing System
72 www.nordsonefd.com info@nordsonefd.com 800-556-3484 Sales and service of Nordson EFD dispensing systems are available worldwide.
Systems with a Tip Detector
If your system includes the optional tip detector, follow these procedures to calibrate the tip height and to
automatically recalibrate the tip height after a same-to-same dispensing tip change.
Set a Calibration Point (Initial Setup for Auto Needle Adjust)
The system uses Needle Detect Setup for the Automatic Needle Adjust function to recalibrate the tip height after a
same-to-same dispensing tip change.
PREREQUISITES
The system is in the Teach Mode. Refer to “How to Switch from Run Mode to Teach Mode” on page44.
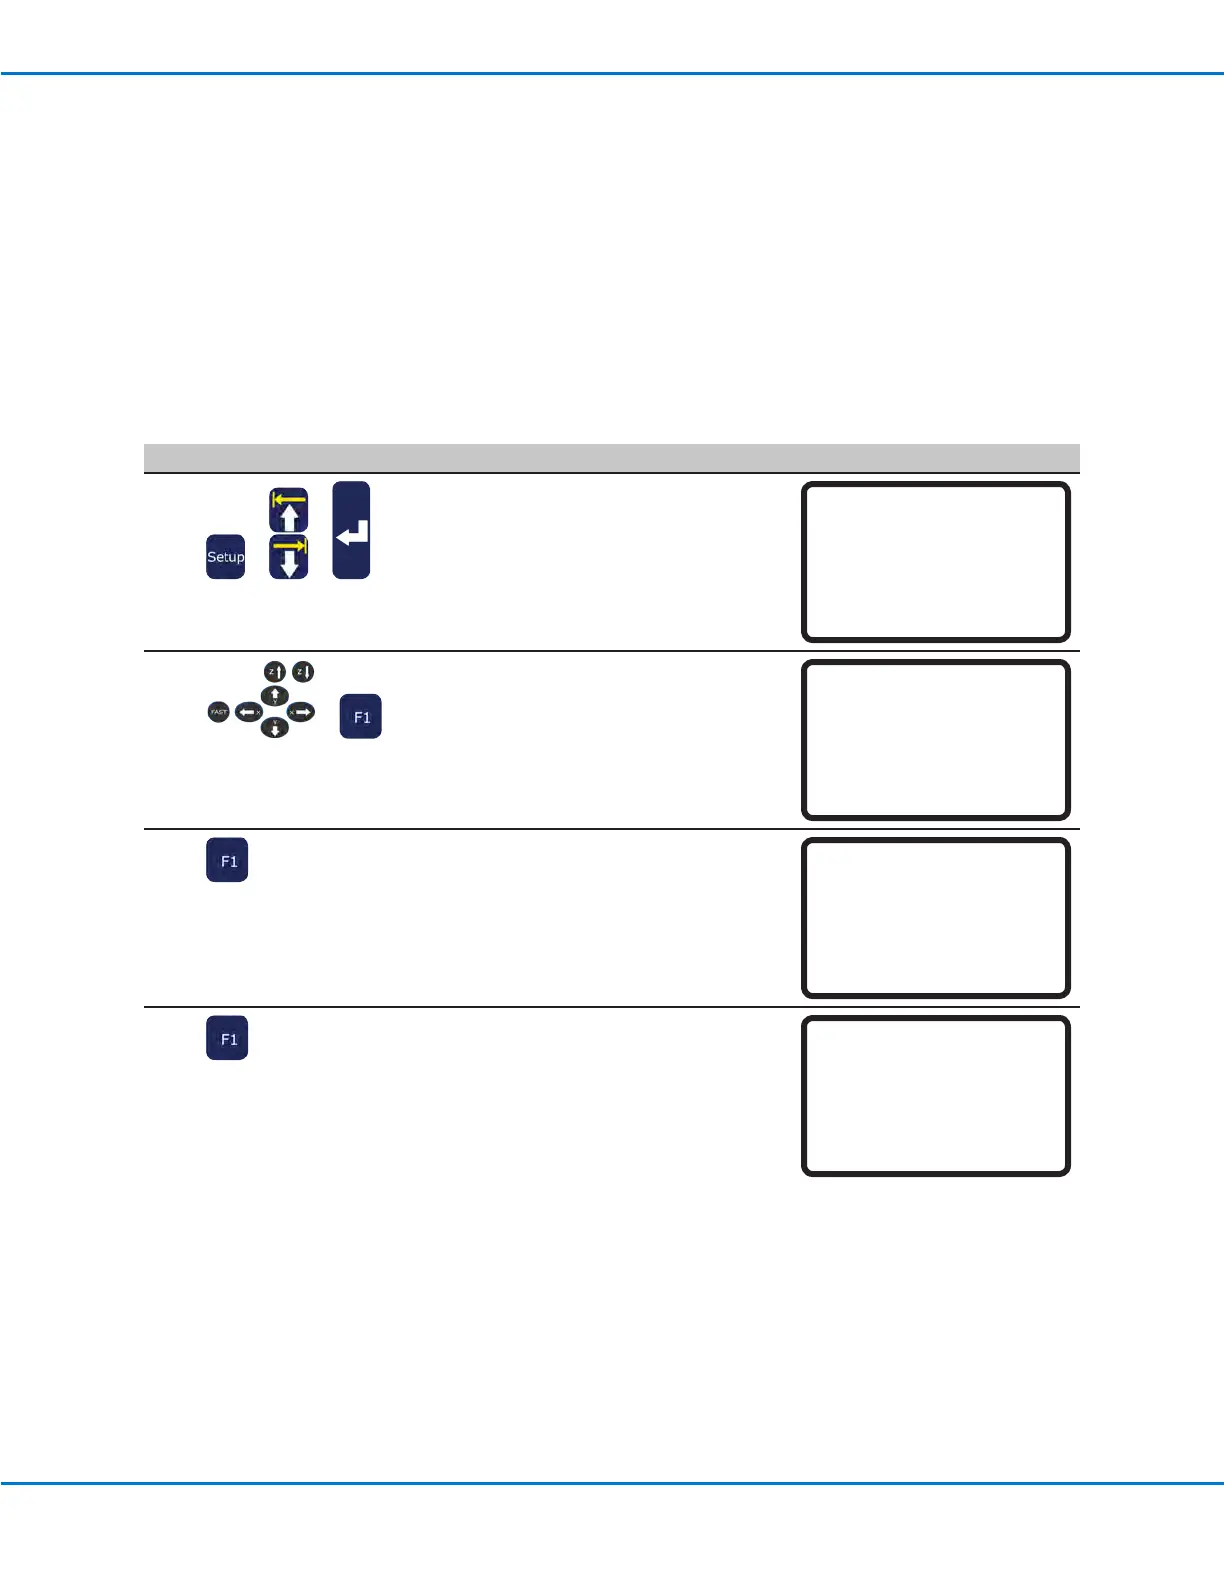
# Key Press Step Teach Pendant Display
1
> >
• Press SETUP.
• MOVE UP / DOWN to NEEDLE DETECT
SETUP.
• Press ENTER.
[SETUP] 2/3
08 Pause Status
09 Auto Purge
10 Pre-cycle Initialize
11 Pre-dispense Wait Time
12 Default Dispense Port
13*Needle Detect Setup
14 Run Limit
2
>
• Jog the tip to the tip detector and
lower the tip until it is as close to the
crosshairs (cross point) as possible
• Press F1.
The Needle Detect Setup screen
appears.
Needle Detect Setup
------------------------------
Jog tip to needle detect
device cross point
------------------------------
[F1] OK
3
• Press F1.
The system begins the calibration.
Needle Detect Setup
------------------------------
Press [F1] to search for
needle position
------------------------------
4
• Press F1 to accept the calibration.
NOTE: Press F2 to cancel the
calibration.
Needle Detect Setup
------------------------------
Reset position?
------------------------------
[F1] Yes [F2] No
Calibrating the Tip Height (continued)