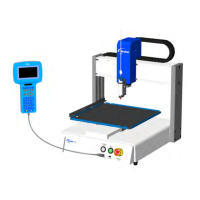
E Series Automated Dispensing System
68 www.nordsonefd.com info@nordsonefd.com 800-556-3484 Sales and service of Nordson EFD dispensing systems are available worldwide.
How to Make an Array of Dots (Step & Repeat)
Use Step & Repeat to dispense the same pattern on multiple workpieces in an array.
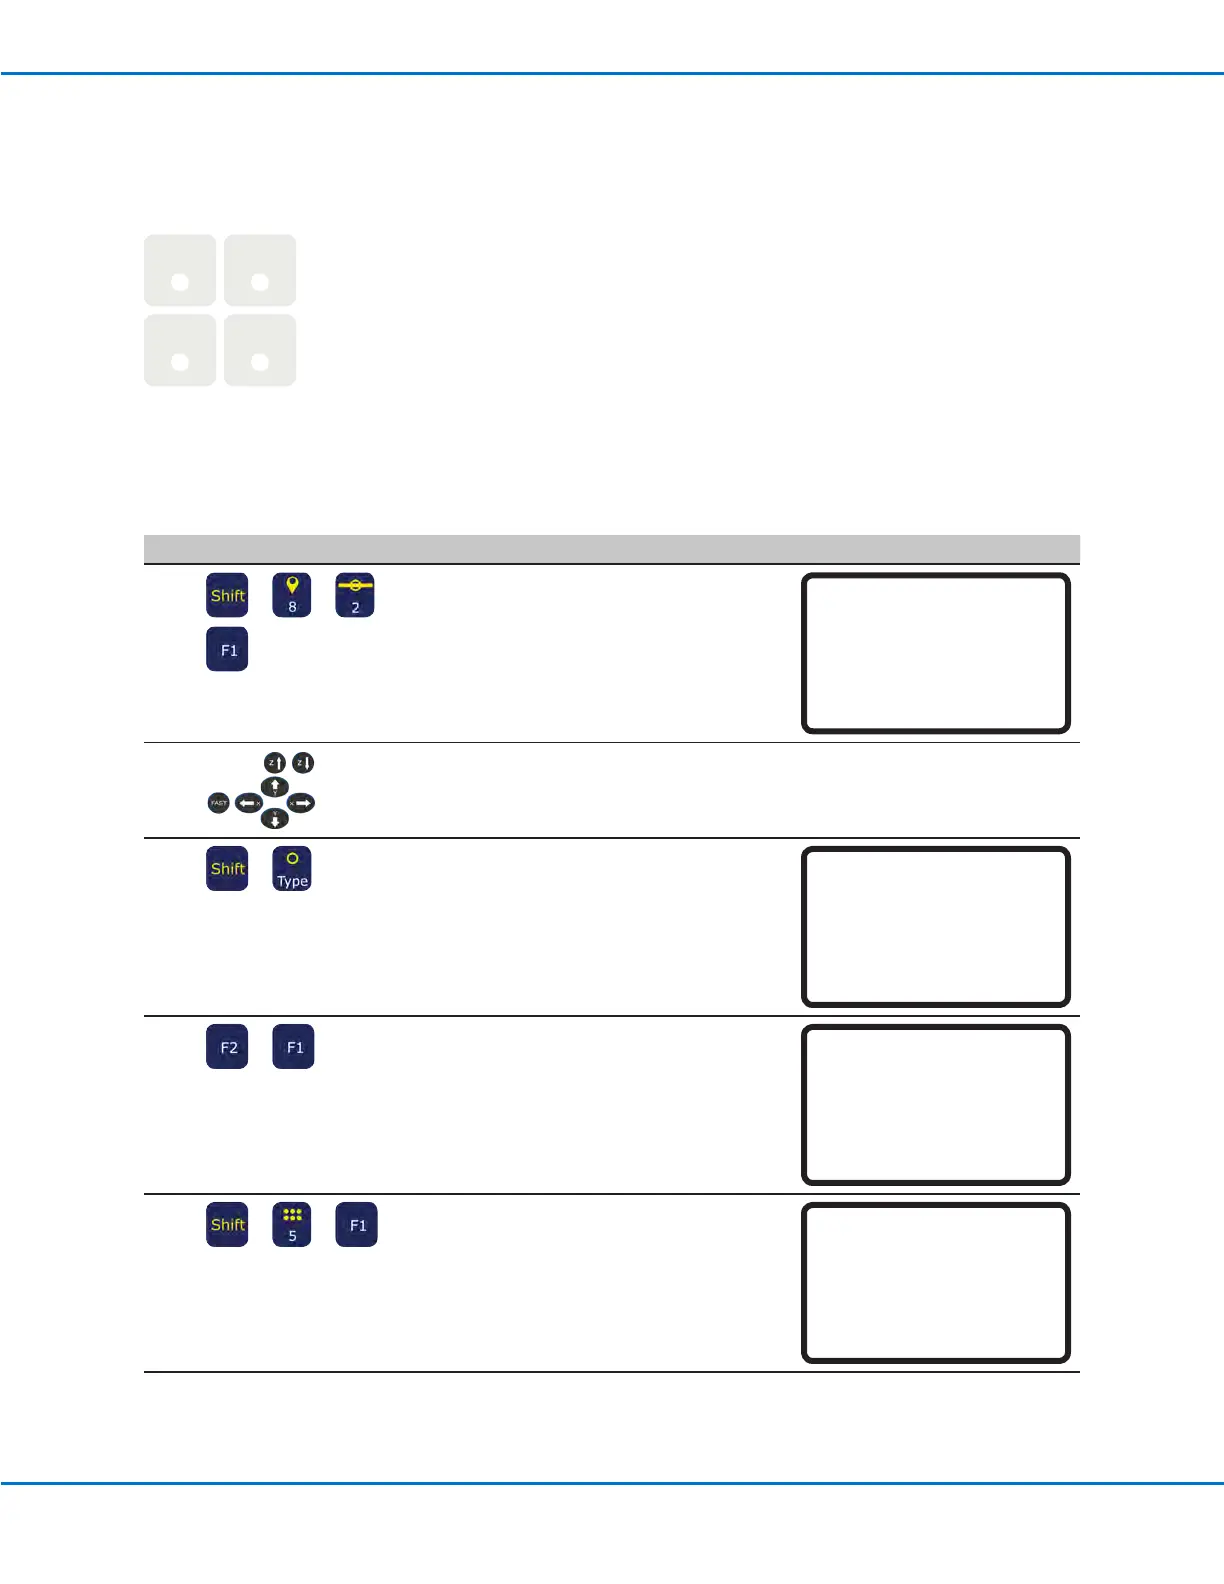
Dispense
Dot
Dispense
Dot
Dispense
Dot
Dispense
Dot
PREREQUISITES
The system is in the Teach Mode. Refer to “How to Switch from Run Mode to Teach Mode” on page44.
Multiple workpieces are properly positioned on the xture plate. Refer to “12 Step & Repeat 2D” on page98
and to “12 Step & Repeat 3D” on page100 for detailed information on this command.
# Key Press Step Teach Pendant Display
1
> > >
• Press SHIFT > 8 to open the Label
screen.
• Enter a Label number (in this example,
the number 2).
• Press F1 to save and exit.
Label
------------------------------
Label: 2
[F1] OK
2
• Jog the dispensing tip to the desired
XYZ location for the rst dispense dot.
3
>
• Press SHIFT > TYPE to open the
Dispense Dot screen.
• Make XYZ coordinate changes as
needed.
Dispense Dot 1/3
------------------------------
X: 130.93 mm
Y: 37.39 mm
Z: 45.54 mm
[F1] OK [F2] Next [F3] Current
4
>
• Press F2 to move through the Dispense
Dot parameter screens.
• Press F1 to save and exit.
Dispense Dot 3/3
------------------------------
Retract Distance: 100.00 mm
Retract Low: 10.0 mm/s
Retract High: 10.0 mm/s
[F1] OK [F2] Next
5
> >
• Press SHIFT > 5 to open the Step &
Repeat menu.
• Press F1.
Step & Repeat
------------------------------
[F1] Step & Repeat 2D
[F2] Step & Repeat 3D
------------------------------
Continued on next page
Creating Patterns (continued)