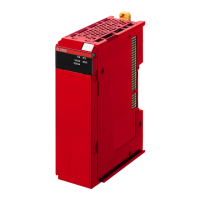
POWER
PORT2
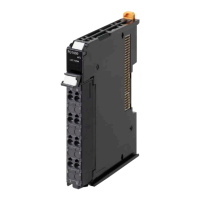
POWER
PORT2
Settings not required.
Setting only with the Network
Configurator is possible.
Setting with the Sysmac
Studio is possible.
Tag and tag set settings
Tag and tag set settings
Tag and tag set settings
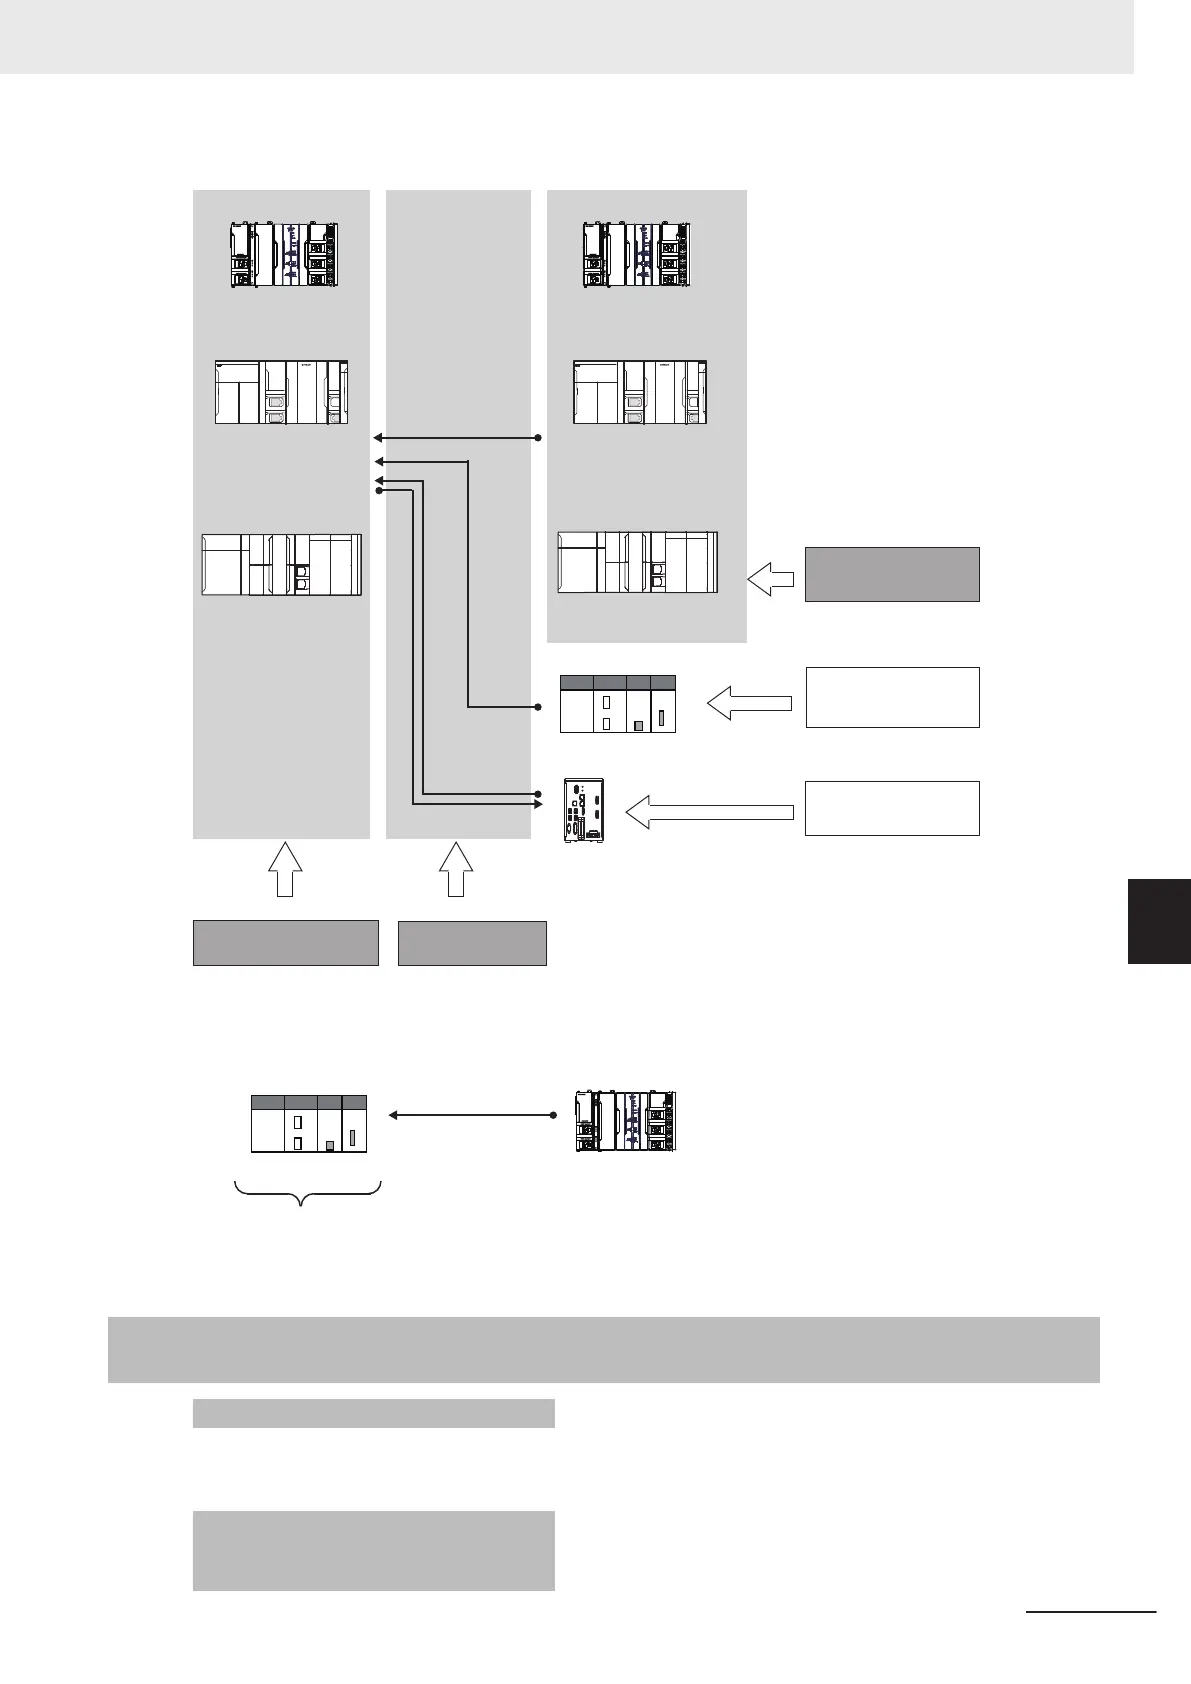
CS-/CJ-series PLC
FH/FZ/FQ/ZW-series Sensor
or another similar unit
(CPU Unit built-in EtherNet/IP port
or EtherNet/IP Unit)
Tag and tag set settings Connection settings
Setting with the Sysmac
Studio is possible.
Setting with the Sysmac
Studio is possible.
Settings for the target device
Settings for the originator device
NJ-series Controller NJ-series Controller
(CPU Unit built-in
EtherNet/IP port or
EtherNet/IP Unit)
NX-series Controller NX-series Controller
(Two built-in
EtherNet/IP ports)
(Two built-in
EtherNet/IP ports)
(NX-series EtherNet/IP
Unit
Two EtherNet/IP ports)
(NX-series EtherNet/IP
Unit
Two EtherNet/IP ports)
Use the Network Configurator if a CS/CJ-series PLC operates as the originator device.
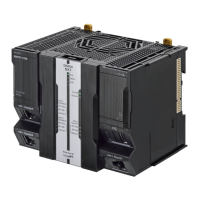
POWER
PORT2
NX-series EtherNet/IP UnitCS-/CJ-series PLC
Settings for the target device
Settings for the originator device
Setting only with
the Network Configurator is possible.
A-3-2
Procedure to Make the EtherNet/IP Connection Settings with the
Sysmac Studio
1 Registering devices
• Main Window
↓ Register devices with which the EtherNet/IP connections
are established to the project.
Setup Window
2 Creating network variables
*1
--- Refer to Registering the Net-
work V
ariable for the Origina-
tor Device
on page A-13.
Global Variable Table on the
Sysmac Studio
Appendices
A-7
NX-series EtherNet/IP Unit User's Manual (W627)
A-3 Use the Sysmac Studio to Set the Tag Data Links (EtherNet/IP Connections)
A
A-3-2 Procedure to Make the EtherNet/IP Connection Settings with the Sysmac Stu-
dio
 Loading...