User’s Manual of WGS Managed Series
2.2 Installing the Switch
This section describes how to install your Managed Switch and make connections to the Managed Switch. Please read the
following topics and perform the procedures in the order being presented. To install your Managed Switch on a desktop or shelf,
simply complete the following steps.
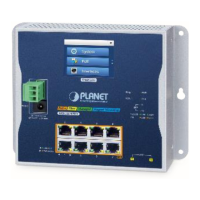
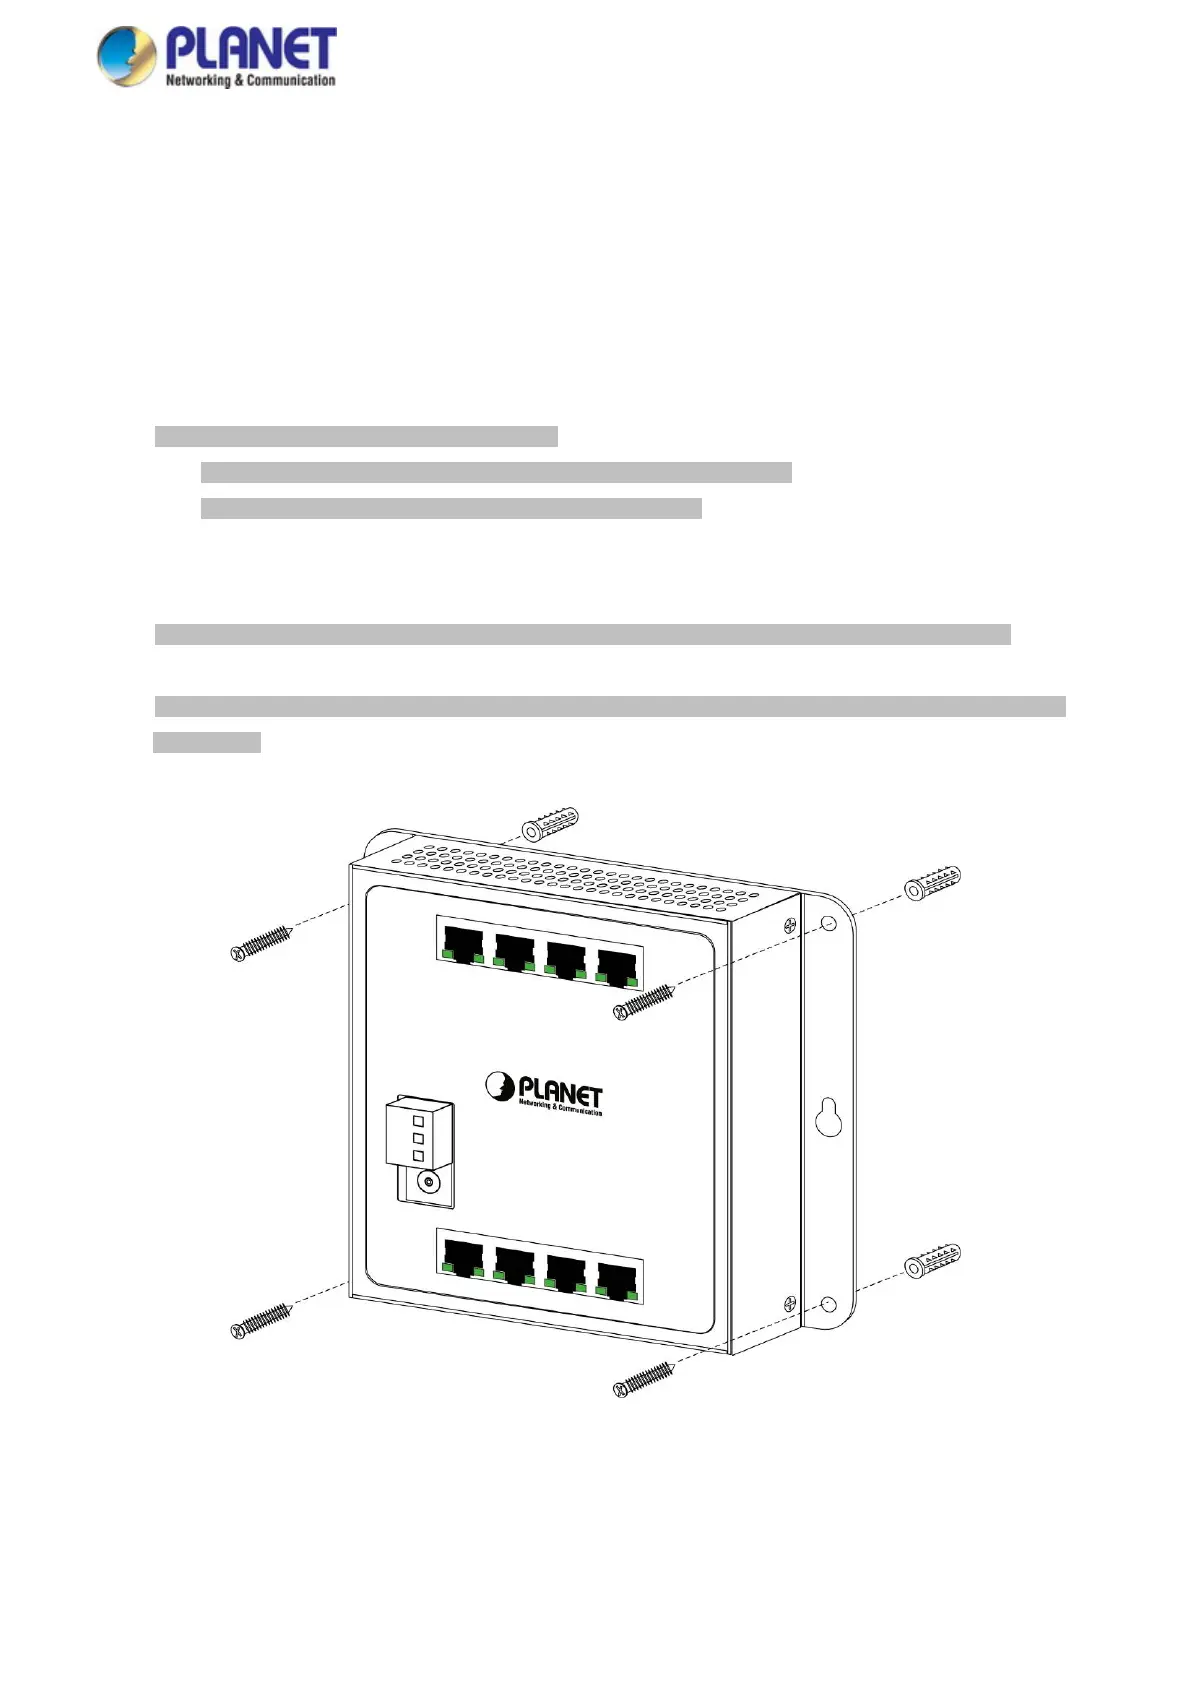
2.2.1 Wall Mount/Magnet Installation
A. To install the Managed Switch on desktop or shelf, please follow these steps:
Step 1: There are 4 holes with 8mm diameter on the wall;
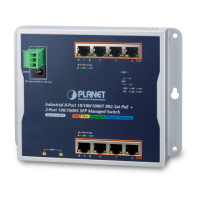
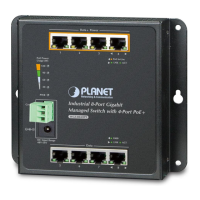
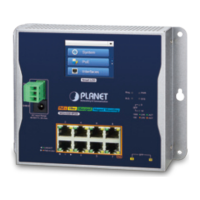
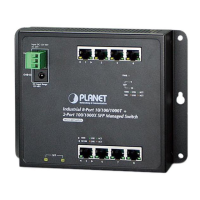
■ WGS-804HPT/WGS-4215-8T: the distance between the 2 holes is 133mm
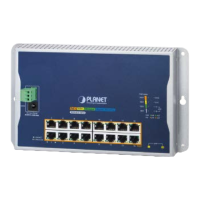
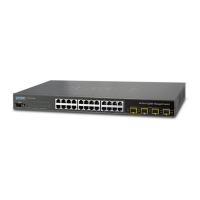
■ WGS-4215 Series: the distance between the 2 holes is 163mm
Note: The line through them must be horizontal.
Step 2: Install a conductor pipe inside the board hole and flush the edge of the conductor pipe with the wall surface.
Step 3: Screw the bolts into the conductor pipe. The Wall-mount Managed Switch is between bolts and conductor pipe, as
shown below.
 Loading...