Chapter B - INFORMATION DISPLAYS
B-6 Planmeca ProMax
USER PREFERENCE SETTINGS
Technical Manual
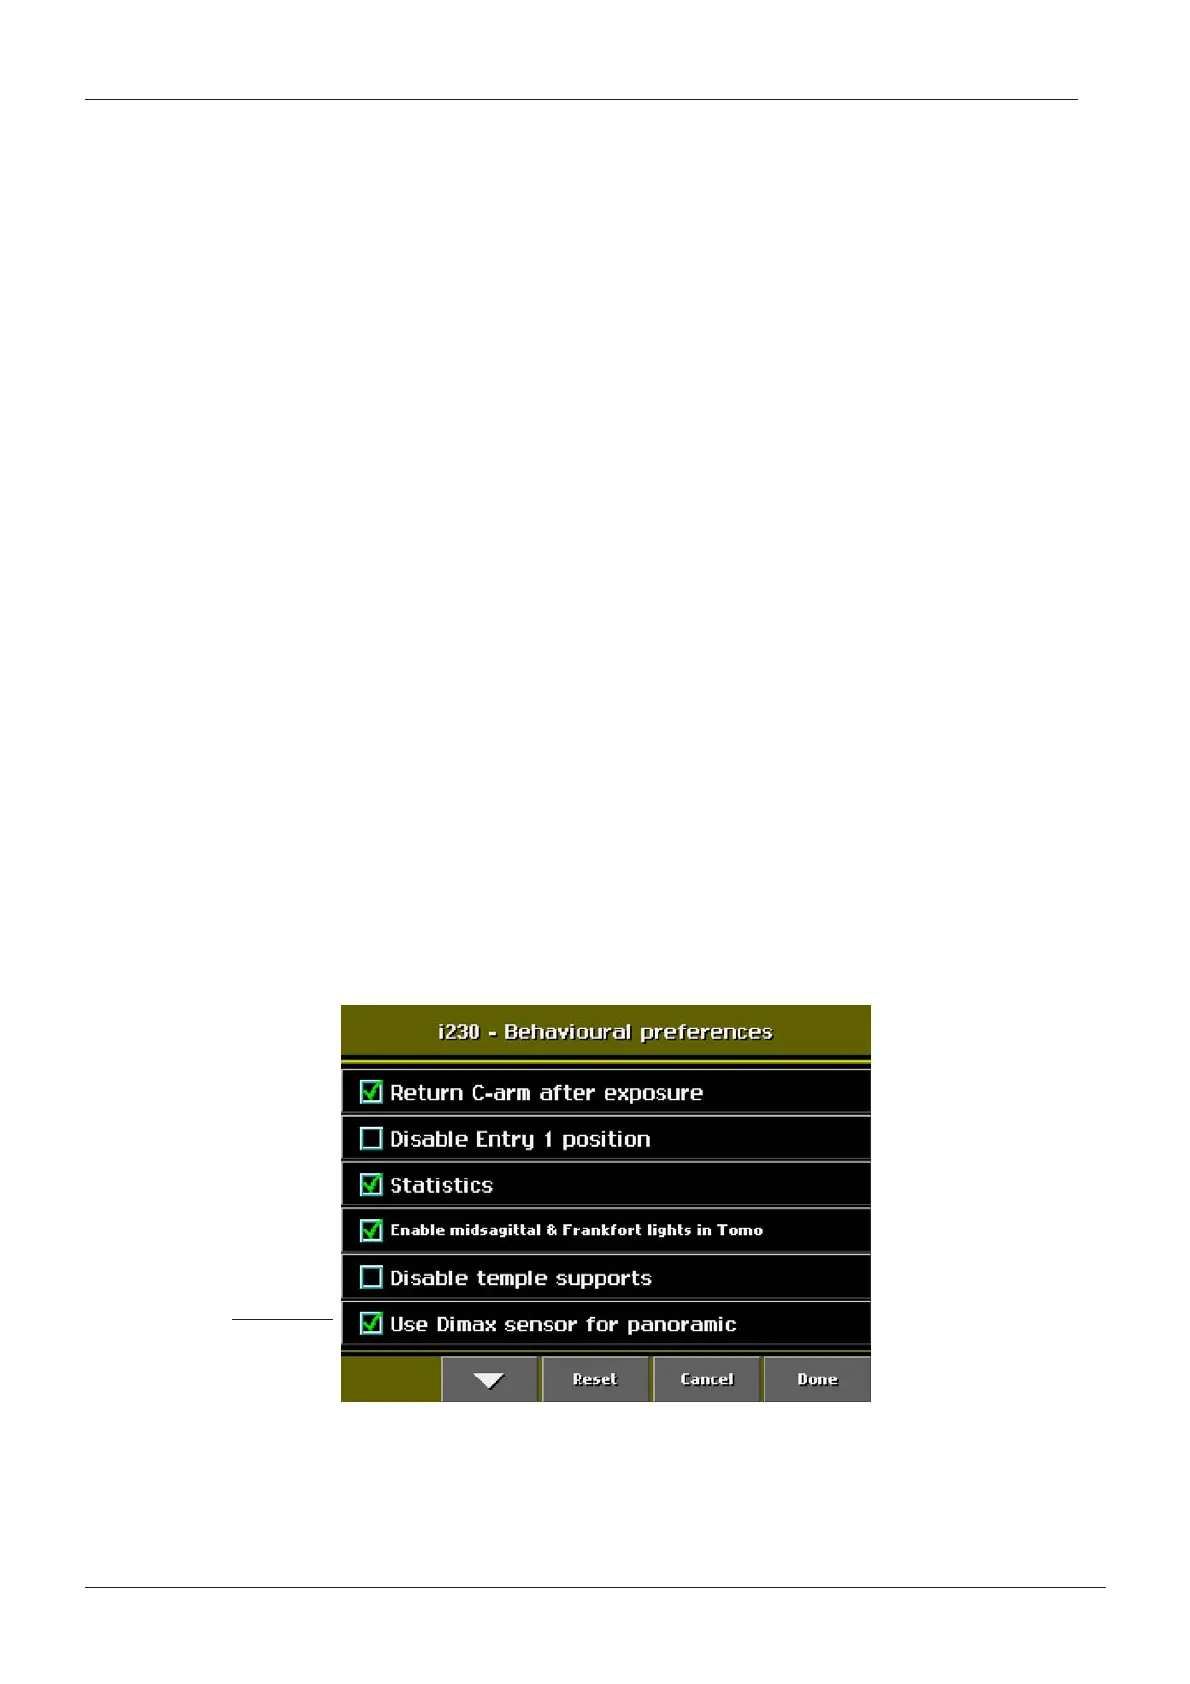
2.3 Behavioural preferences
From the list of User preference settings select Behavioural preferences (i230).
Return C-arm after exposure: The C-arm can be set to automatically return to Entry position
after the panoramic exposure. To switch off the automatic return of the C-arm empty the
check box.
Disable Entry 1 position: You can disable the C-arm to move to the back from the patient
positioning area by selecting Disable Entry 1 position.
Statistics: The patient’s radiation dose will be shown in a pop-up window after each
exposure if the Statistics option is selected on this display. Radiation dose is indicated in
terms of DAP (Dose Area Product) and calculated separately for each exposure. The
measurement unit for DAP is milligray per square centimeter (mGy*cm²). If needed, DAP
values can be calibrated as described in section 6.4 “DAP value adjustments” on page B-38.
Enable midsagittal & Frankfort lights in Tomo: If you wish to use the midsagittal and
Frankfort plane lights in Tomo mode, select this option. To enable this feature you need to
reboot the unit by switching it off and on again.
Disable temple supports: The X-ray unit can be used without temple supports when the
temple support motor is inactivated. Remove the temple supports after selecting the Disable
temple support function.
Use Dimax sensor for panoramic:
NOTE: This option will be shown only if the X-ray unit has a 3D V2/ 3D s sensor and a
SmartPan license.
Select this option if you want to use a 3D V2 / 3D s sensor for taking 3D images and a Dimax
sensor for taking panoramic (and tomo / transtomo / cephalometric) images.
When the option is not selected (check box empty) you can take 3D and SmartPan (Smart-
Pan, SmartTMJ, SmartSinus) images with the same sensor.
Confirm your selection(s) by touching Done. Touching the Cancel field will bring you back to
the User preference settings display without storing the new settings. Touching the Reset
field will return the valid values without closing the Behavioural preferences display.
Figure 8
X-ray units
with 3D V2 / 3D s sensor
(with SmartPan license)

 Loading...


