Section 2: Installation
HR2 Series Operator Manual Page 2-21
2.7 CONNECTIONS OF OPTIONAL ACCESSORIES
2.7.1 Connecting optional Keypad
The optional keypad can be connected to the HR2 Series printer with the RS-232C terminal, thus providing a
stand-alone function.
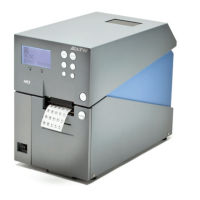
1. Make sure that power cable is not connected to the
printer.
2. Connect the cable from the optional Keypad device to
the RS-232C terminal at the rear of the printer.
Note:
Make sure the connector is correctly oriented. Secure
the printer with one hand, and insert the connector firmly.
3. Set the printer for use with the connected device. Refer
to Section 3.7 Interface Mode and perform the
procedures to set the Keypad CONNECT to ENABLE.
4. Then set the DATA PORT as RS-232C and the SUB
PORT as NONE.
Notes:
• Keypad needs to connect to RS-232C connector, and RS-232C interface are not able to use as data port
at the same time.
• You cannot use data port when Keypad is connected and the setting of Keypad connection is valid. (You
can use Sub Port, but SBPL command is not effective.)
2.7.2 Installing optional Memory storage
The optional SD card can be used for uploading and downloading the data (graphics, extended character)
registered in the printer and the printer firmware.
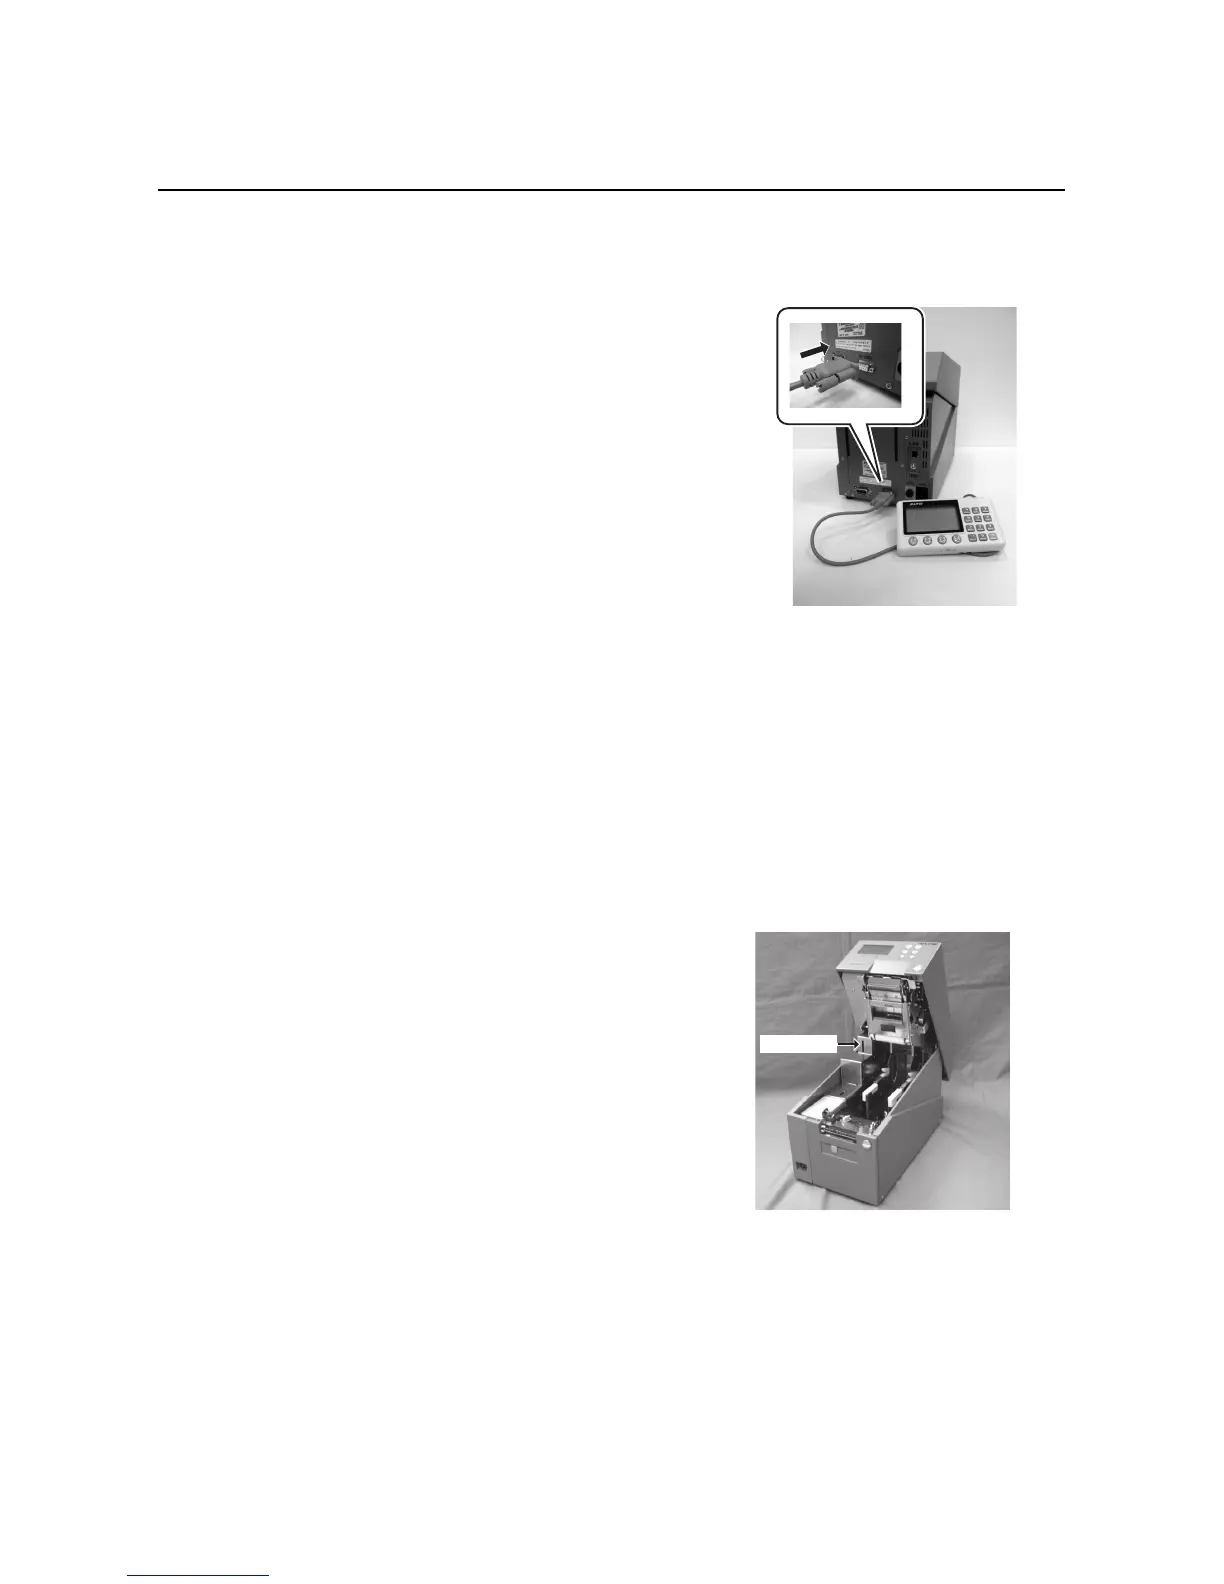
Installing optional SD card
You can connect the optional SD card to the SD card slot
located as shown in the picture.
 Loading...