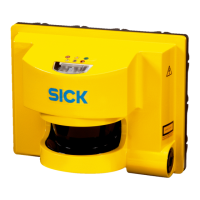
EasyManuals Logo

SICK microScan3 Core I/O AIDA User Manual

SICK microScan3 Core I/O AIDA
152 pages
To Next Page IconTo Next Page
To Previous Page IconTo Previous Page
Page #102 background imageLoading...
Page #102 background image
Approach
1.
In the Exchange column, click on Yes.
2. Check that the front screen is clean.
3. In the Check cleanliness column, click on OK.
4. In the Optical cover calibration column, click on Start.
The calibration process starts. Typically, this process can take up to a minute. A
progress bar shows the progress.
5. Do not switch off the safety laser scanner and do not disrupt the connection
between the computer and the safety laser scanner during the adjustment.
The end of the calibration is shown.
7 C
ONFIGURATION
102
O P E R A T I N G I N S T R U C T I O N S | microScan3 Core I/O AIDA 8017784/1ELL/2022-01-21 | SICK
Subject to change without notice

Table of Contents

Other manuals for SICK microScan3 Core I/O AIDA

Questions and Answers:

Question and Answer IconNeed help?

Do you have a question about the SICK microScan3 Core I/O AIDA and is the answer not in the manual?

SICK microScan3 Core I/O AIDA Specifications

General IconGeneral
Scanning angle275°
Protection classIP65
Configuration methodSOPAS ET
Enclosure ratingIP65
Dimensions102 mm x 152 mm x 106 mm
Scanning range5.5 m
Protective field range5.5 m
Number of monitoring cases128
Supply voltage24 V DC
Performance levelPL e (ISO 13849-1)
Warning field range5.5 m
Resolution for safety field30 mm / 40 mm / 50 mm / 70 mm
Connection typeM12
Protective field resolution30, 40, 50, 70 mm
Number of protective fields128

Related product manuals