10.4.2 Completely replacing the safety laser scanner
1. Disconnect the connecting cables the system plug.
2.
Unscrew the fixing screws and remove the defective safety laser scanner.
3. Mount the new safety laser scanner, see "Mounting", page 56.
4. Reconnect the connecting cables to the system plug.
5. Configure the safety laser scanner, see "Configuration", page 63.
6. Perform commissioning again, taking particular care to conduct all of the thorough
checks described, see "Commissioning", page 103.
10.5 Replacing the system plug
If the system plug is damaged or defective, you must replace it.
NOTICE
Enc
losure rating IP65 only applies if the safety laser scanner is closed and the system
plug is mounted.
NOTICE
If t
he system plug is mounted with excessive force, the contacts can break or bend.
b
Plug in the system plug carefully.
b
Do not force it.
Tool required:
•
T
X10 Torx wrench
Approach
1. Make sure that the environment is clean and clear of fog, moisture, and dust.
2.
Disconnect the connecting cables from the system plug.
3. If necessary: move the safety laser scanner to a clean location.
4. Unscrew the screws in the defective system plug and remove the system plug from
the safety laser scanner.
5.
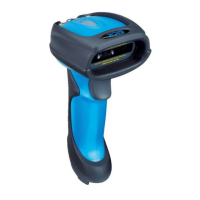
Make sure that the seal is seated correctly (1).
6.
Carefully place the new system plug onto the safety laser scanner at the back (2).
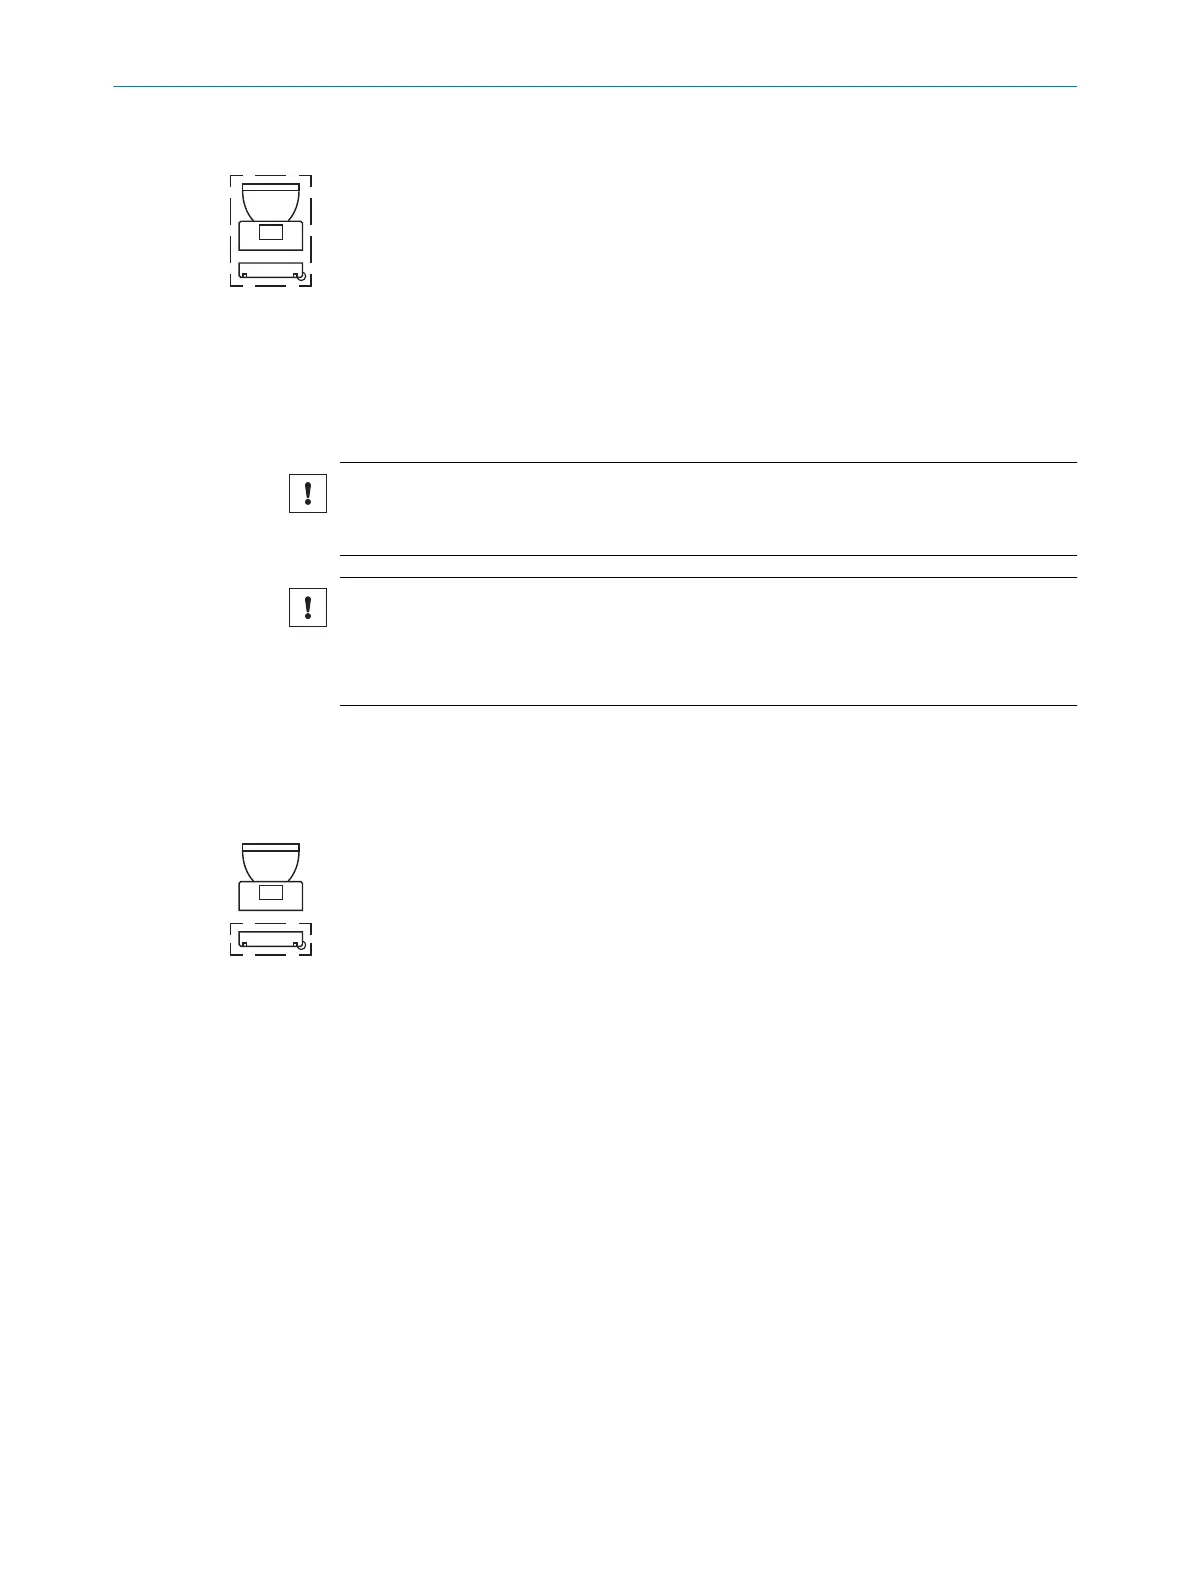
7.
Carefully fold the system plug onto the safety laser scanner (3).
8. Screw in the system plug using the captive screws. Tightening torque: 1.6 Nm …
1.9 Nm.
9. Reconnect the connecting cables to the system plug.
10. Configure the safety laser scanner, see "Configuration", page 63.
11. Perform commissioning again, taking particular care to conduct all of the thorough
checks described, see "Commissioning", page 103.
10 M
AINTENANCE
114
O P E R A T I N G I N S T R U C T I O N S | microScan3 Core I/O AIDA 8017784/1ELL/2022-01-21 | SICK
Subject to change without notice

 Loading...