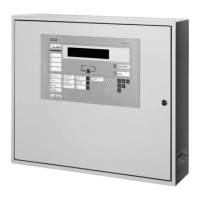
Mounting and installation of the compact control panels
5
213 |
Building Technologies
1. Screw the round spacer (7) onto the rear panel to right of the periphery board.
2. Screw the two spacers (4) onto the rear panel to the left of the periphery board.
3. Screw one counternut (3) onto each spacer (4).
4. Screw the fork heads (2) onto the spacers (4) and fix them in a horizontal
position (in accordance with the figure) using the counternut (3).
5. Insert the mounting plate (10) with the hinge brackets (1) into the fork heads (2)
so that the fastening clamps (6) can be inserted into the fork heads from above.
6. Swivel the fastening clamps (6) backwards so that they snap into place behind
the fork heads (2).
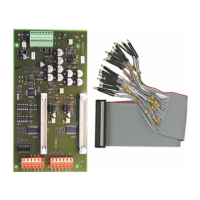
7. Guide the pre-assembled connection cable (12) to the periphery board through
the cable duct (13) and wire up the RT interface in accordance with the pin
assignment.
8. Wire up the RT device (if present) with the pre-assembled connection
cable (11) according to the pin assignment.
9. Swivel the mounting plate (10) over the periphery board and fix it with the pre-
mounted fixing screws (8, 9) in the round spacer (7).
5.28.2 Pin assignments
5.28.2.1 X15 terminal strip
Pin Description
1 Relay 1, input -
2 Relay 2, input -
3 Relay 3, input -
4 Relay 4, input -
5 Test output
6 0 V supply
7 Relay 4 switching contact (configurable as NO or NC)
8 Relay 4 switching contact
9 Alarm test switching contact
10 Fault test switching contact (configurable as NO or NC)
11 Not used
12 Fault test switching contact
13 Relay 1 switching contact (configurable as NO or NC)
14 Relay 1 switching contact
15 Relay 2 switching contact (configurable as NO or NC)
16 Relay 2 switching contact
 Loading...


