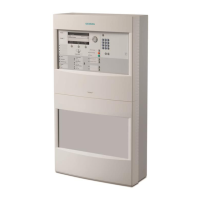
Mounting and installation of the compact control panels
5
103 |
Building Technologies
Mounting steps
1. Position the luster terminal (3) in accordance with the dimensions (x) and (y)
and secure the luster terminal with the supplied adhesive mount.
2. Connect the assembled cable (4) to the luster terminal (3) and to the
connection terminal X11 (5) of the power supply according to the pin
assignment shown in the next chapter.
3. Secure the temperature sensor (NTC resistor) (2) directly next to the
batteries (1) as shown.
Secure the temperature sensor as close to the batteries as possible.
When using two power supplies (150 W) just one temperature sensor has to fitted
despite this.
5.7.3 Pin assignments version A4
5.7.3.1 X1 mains connection
Pin Designation Description
1 PE Earth (protective conductor)
2 L External conductor (L1)
3 L External conductor (L1)
4 N Neutral conductor
5 N Neutral conductor
Admissible cable cross-section: 0.2…2.5 mm²
5.7.3.2 X8 output voltage
Pin Designation Description
10 +B
I-begr.
Connection for battery, current limited via internal battery fuse F2 (without parallel
switching)
9 +B
I-unbegr.
Connection for battery, no current limit (when switching in parallel, fuse in the
cable tree)
8 +24 V Supply output +24 V
7 +24 V Supply output +24 V
6 +24 V Supply output +24 V
5 +24 V Supply output +24 V
4 +24 V Supply output +24 V
3 0 V Supply output 0 V
2 0 V Supply output 0 V
1 0 V Supply output 0 V
Admissible cable cross-section: 0.2…2.5 mm²
Batteries may be connected either on terminal 10 or, with external fuse, to
terminal 9.