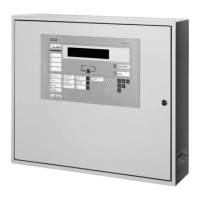
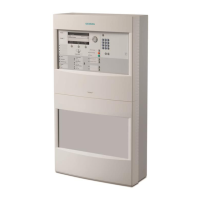
lation of the compact control panels
5
75 |
Building Technologies
w Components that make access to the periphery board difficult are removed
(e.g. mounting plate).
w Connections and plug-in contacts are disconnected and the cables are
labelled.
w The periphery board is removed.
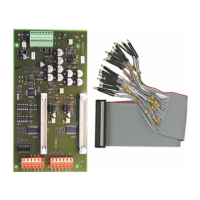
1. Mount the periphery board (3) with the nine fixing screws (2) to the threaded
bolts (1) in the rear panel.
2. Wire up the periphery board (2-loop) according to the pin assignment.
3. Re-install any modules that you may have had to remove.
5.3.2 Pin assignments
Inputs and outputs which are not used do not require termination.
FDnet detector lines which are not used must not be terminated.
5.3.2.1 X1 supply
Pin Designation Description
1 #BATT Message input from the power supply: Battery fault
2 #CONV Message input from the power supply: Converter fault
3 #MAINS Message input from the power supply: Mains failure
4 COMMON Ground
5 3SRC+ Supply input for third supply source (+) [FR]
6 3SRC– Supply input for third supply source (–) [FR]
7 VSYS+ Supply input from the power supply (+)
8 VSYS+ Supply input from the power supply (+)
9 VSYS– Supply input from the power supply (–)
10 VSYS– Supply input from the power supply (–)
Admissible cable cross-section: 0.2…2.5 mm²
3SRC
-
#CONV
#BATT
-
VSYS
-
 Loading...


