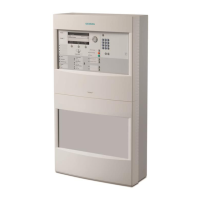
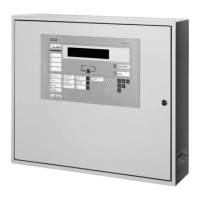
Mounting and installation of the compact control panels
5
59 |
Building Technologies
5 Mounting and installation of the compact
control panels
5.1 Mounting procedure
Mounting takes the following sequence:
● Mounting of rear panel
● Fitting all components
● Assembly of the stations
Prerequisites
● All parts have been checked to make sure they are complete and intact.
● The mains supply cable is disconnected from the power supply.
Mounting steps
The detailed mounting steps in the following chapters are largely optimized, but do
not have to be complied with.
WARNING
Mortal danger due to electric shock
● Before working on the station check that the mains supply cable is
disconnected from the power supply.
● Check to make sure that the mains is secured against inadvertently being
switched on.
● Always connect the grounding (PE) to the mains supply cable first.
● The components must be installed by a qualified electrician or a trained
NOTICE
● Perform all mechanical work before installing the components.
● Insert possible plug-in cards only after installing all the card cages.
● Do not connect up the batteries after installation but wait until commissioning.
1. Mount the rear panel.
2. Install the options in the rear panel.
3. Mount options on the operating unit.
4. Secure the operating unit and the optional operating add-on on the hinge of the
rear panel and wire them up.
5. Fit the batteries (do not connect).
6. Insert the inscription strips into the operating unit or the operating add-on.
7. Screw the operating unit or the operating add-on to the wall.