Operation instructions
SIPOS SEVEN: PROFITRON, HiMod
Page 94 Y070.302/EN
9 System settings
9
System settings
This function is used to the select the informa-
tion shown on the display in standby mode.
If the Drive Controller is not operated during the
set interval, the display changes to the standby
mode;
– The display illumination is dimmed;
– The display changes to the standby screen
and
– The user is signed off.
IfaUSBashdriveisconnected,thedisplaywill
not change to the standby mode.
The follow representations can be selected as
standby screen:
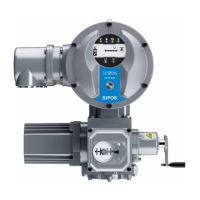
■
‘Standard‘(g.1):
The status indication is shown.
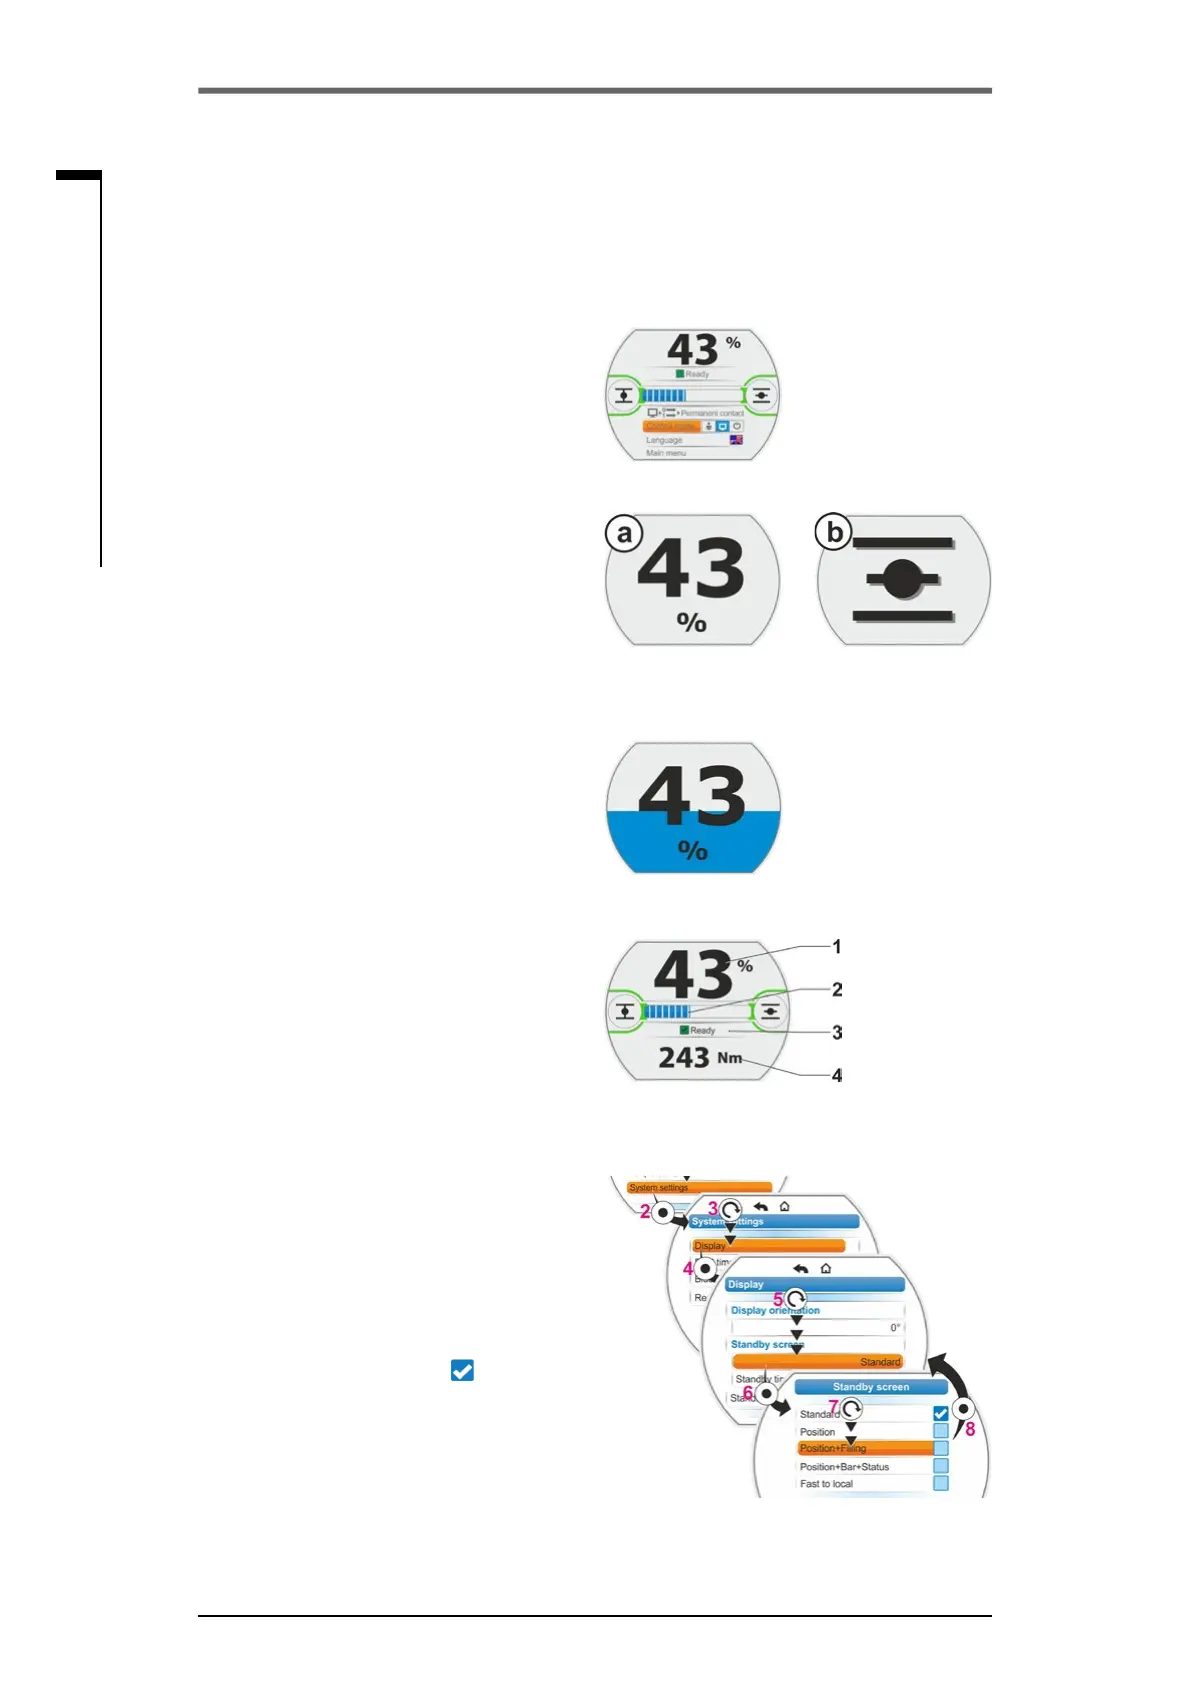
■
’Position‘(g.2):
– Position in percent OPEN (a).
– If the actuator is in end position OPEN
or CLOSED, the respective symbol is
shown (b).
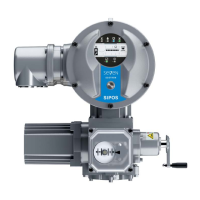
■
’Position+Filling‘(g.3):
– Position in percent
– Opening percentage, visually indicated as
llinglevel.
■
‘Position+Bar+Status‘(g.4):
– Position in percent (item 1)
– Position bar, visually indicates the opening
percentage (item 2).
– Status of the actuator (item 3)
– Ifatorquemeasurementangeisavail-
able, the torque applied is indicated
(item 4).
■
‘Fast to local’: Refer to the following chapter.
Operation sequence
1. Perform steps item 1 to item 4, as described
in the previous chapter, ‘Display orientation’.
2. Set selection marker for ‘Standby screen‘
to‘Standard‘(g.5,item5)andconrm
(item 6).
The display changes to 'Standby screen'
menu
The current setting is ticked
.
3. Set selection marker to desired setting (7)
andconrm(8).
As soon as the display changes to the initial
state, the newly selected standby screen is
shown in the display.
Fig� 1: ”Standard“ standby screen
Fig� 2: “Position“ standby screen:
a: Position 43 % OPEN,
b: End position OPEN
Fig� 3: ”Position+Filling“
standby screen
Fig� 4: “Position+Filling+Status“
standby screen
Fig� 5: Select standby screen
9�1�2 Standby screen